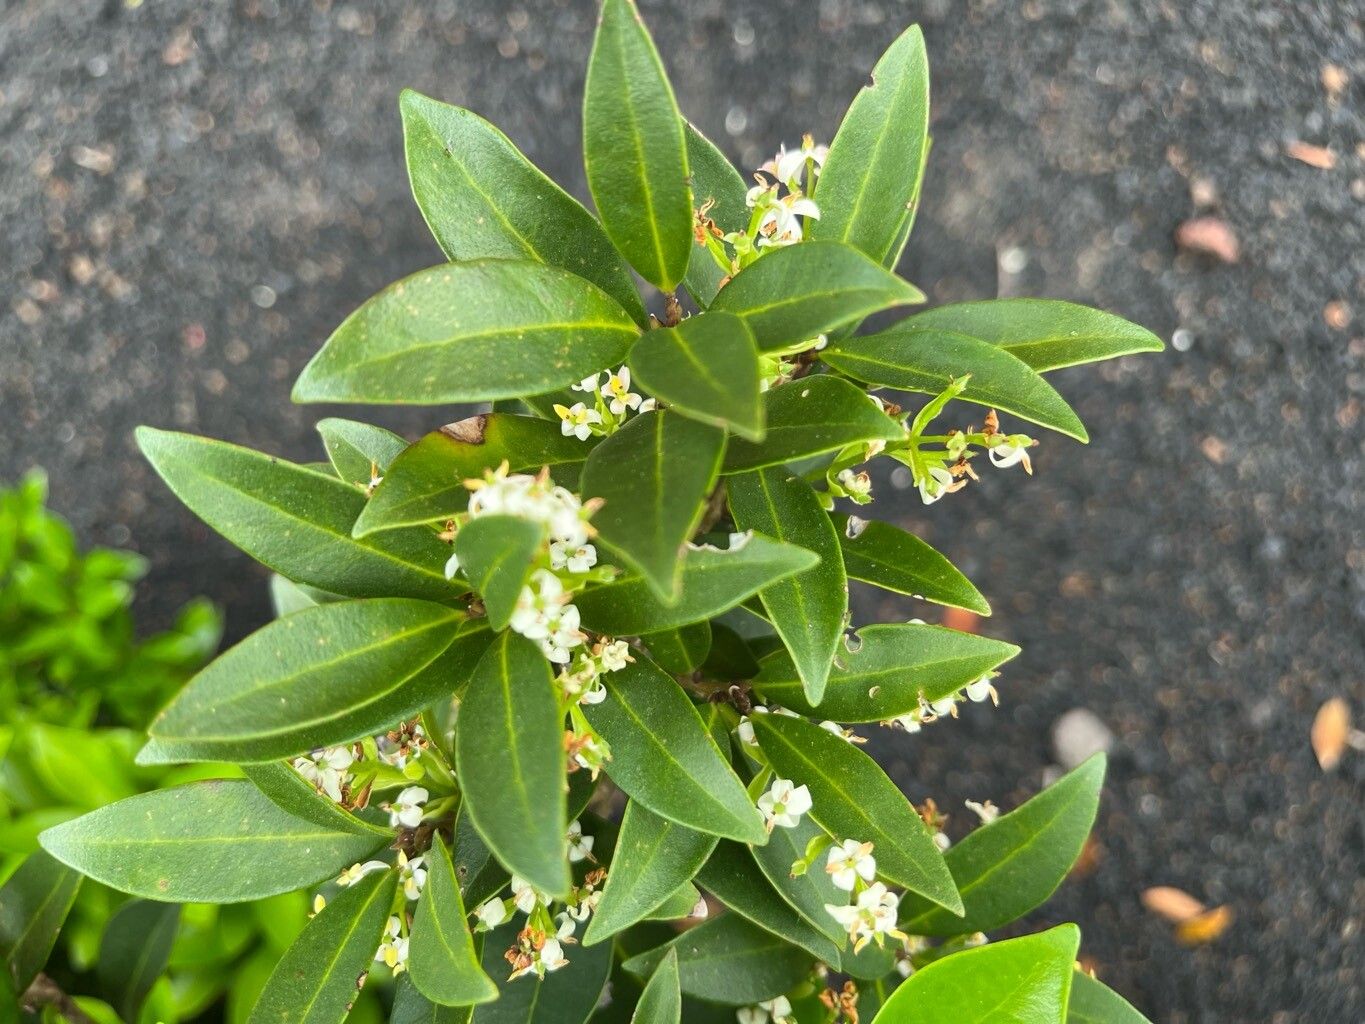
Welcome, fellow plant lovers! Today, we’re diving into the wonderful world of Picconia azorica, often called the Azorean Holly or Canary Island Holly. This stunning evergreen shrub, with its glossy, dark green leaves and occasional clusters of small, star-like flowers, brings a touch of sophisticated wildness to any garden. It’s a plant that whispers tales of windswept islands and has a real presence.
Now, you might be wondering about propagation. Is it a breeze, or will it have you tearing your hair out? For Picconia azorica, I’d say it’s more of an intermediate gardener’s project. It’s not overly fussy, but it does appreciate a little tender loving care and specific conditions. But trust me, nurturing a brand-new life from a bit of your cherished plant is incredibly rewarding.
The Best Time to Start
The sweet spot for propagating Picconia azorica is undoubtedly late spring to early summer. This is when the plant is actively growing and has plenty of energy to invest in new root development. You’re looking for semi-hardwood cuttings, meaning the current season’s growth has started to firm up but isn’t yet as woody as old growth. You can usually tell by gently bending a stem; it should be flexible but not floppy.
Supplies You’ll Need
Gathering your tools before you start makes the whole process smoother. Here’s what I always have on hand:
- Sharp, clean pruning shears or a sharp knife: To make precise cuts.
- Rooting hormone (powder or gel): While not strictly essential, it can significantly boost your success rate, especially with trickier propagations.
- Pots or seed trays: With drainage holes, of course! About 4-6 inch pots are usually a good size.
- A well-draining potting mix: I love a blend of equal parts perlite, peat moss (or coco coir), and a bit of coarse sand. This ensures good aeration and prevents waterlogging, which is crucial.
- Plastic bags or a propagator lid: To create a humid mini-greenhouse environment.
- Watering can or spray bottle: For gentle watering.
- Labels and a marker: To keep track of your precious cuttings!
Propagation Methods: Stem Cuttings
For Picconia azorica, taking stem cuttings is the most reliable method. Here’s how I do it:
- Select Your Stems: Look for healthy, vigorous stems from your mature plant. As I mentioned, aim for that semi-hardwood stage.
- Take the Cuttings: Using your clean shears, make a clean cut just below a leaf node. This is where new roots are most likely to form. Aim for cuttings that are about 4-6 inches long.
- Prepare the Cuttings: Gently remove the lower leaves, leaving just a few at the top. This reduces water loss and prevents leaves from rotting when buried in the soil. If the leaves are very large, you can even cut them in half horizontally to further minimize transpiration.
- Apply Rooting Hormone (Optional but Recommended): Dip the cut end of each cutting into your rooting hormone, tapping off any excess.
- Plant Them Up: Make a hole in your pre-moistened potting mix with a pencil or your finger. Gently insert the cut end of the cutting into the hole and firm the soil around it. You want good contact between the stem and the soil.
- Create a Humid Environment: Water the pot gently. Then, cover the pot with a clear plastic bag, securing it around the rim with a rubber band, or place it inside a propagator with the lid on. This will keep humidity high.
The “Secret Sauce” (Pro Tips)
Here are a few things I’ve learned over the years that really make a difference:
- Bottom Heat is Your Friend: If you have a heat mat made for propagation, use it! Picconia azorica cuttings benefit greatly from a little warmth at their base. It encourages root development much faster. Just place your pots on the mat.
- Air Circulation is Key: While humidity is vital, stagnant air can lead to fungal issues. Open the plastic bag or propagator lid for about 15-30 minutes each day to allow for fresh air exchange. This is a balancing act, but crucial for preventing rot.
- Don’t Be Afraid to Sterilize: If you’re taking cuttings from a plant you’re unsure about health-wise, or if you’ve had issues with rot before, giving your tools and pots a quick wipe down with rubbing alcohol can prevent problems before they start.
Aftercare & Troubleshooting
Once your cuttings are planted, keep them in a warm, bright spot out of direct sunlight. Water the soil when the surface feels dry to the touch, but avoid making it soggy. You’re looking for signs of new growth – this is typically an indication that roots are forming. It can take anywhere from 4 to 12 weeks, so patience is definitely a virtue here!
The most common issue you’ll encounter is rot. If a cutting turns black and mushy, or its leaves start to yellow and drop off excessively without the stem firming up, it’s likely succumbed to rot. This usually happens due to overwatering or poor drainage. If you see signs of rot, remove the affected cutting immediately to prevent it from spreading.
Once you see definitive signs of rooting (new leaves emerging or a gentle tug on the cutting feels resistant), it’s time to gradually acclimate it to normal conditions. Slowly open the plastic bag or propagator lid over a week or two. Once the roots have filled the pot, you can pot up your new Picconia azorica into its own slightly larger container.
A Little Something New
Propagating Picconia azorica is a journey, not a race. Be patient with your new little ones, learn from any setbacks, and celebrate every success! It’s so rewarding to watch a tiny cutting grow into a healthy, established plant. Happy propagating!
Resource:
https://identify.plantnet.org/k-world-flora/species/Picconia%20azorica%20(Tutin)%20Knobl./data