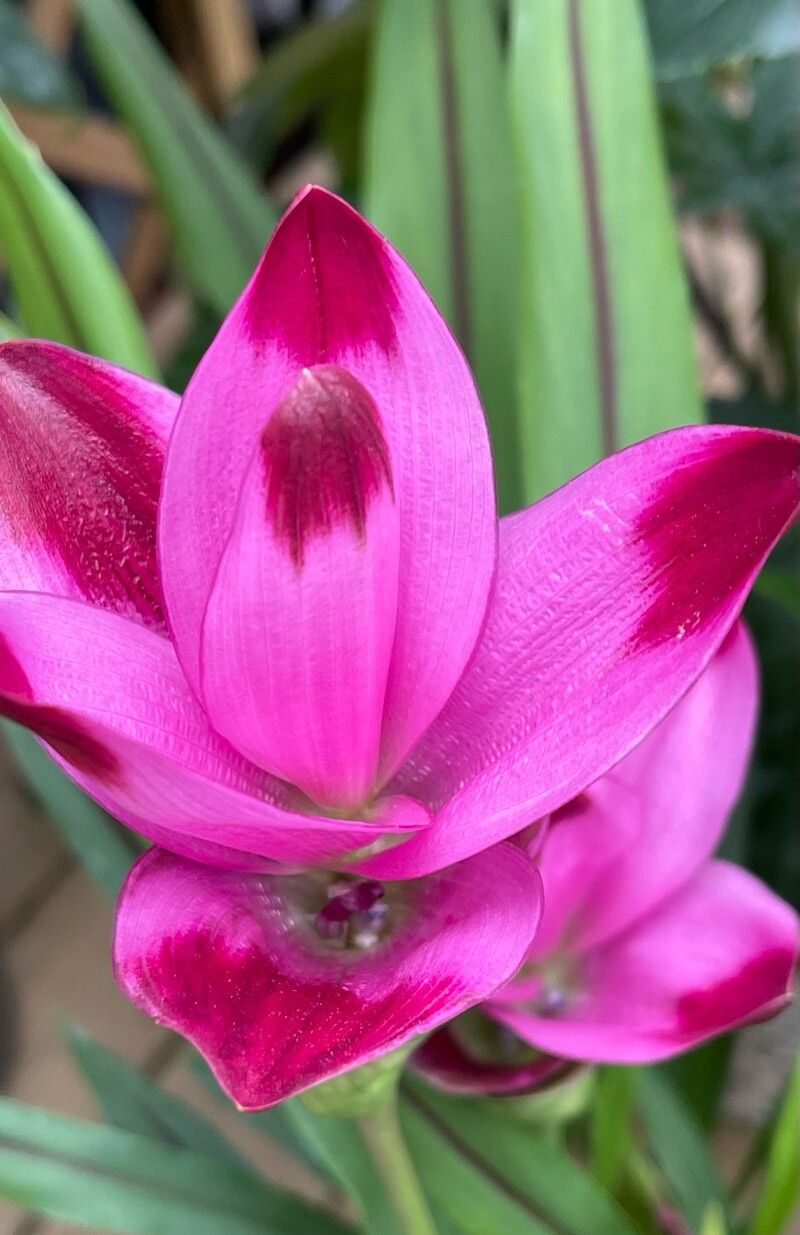
Oh, the Siam Tulip! Curcuma alismatifolia is a true showstopper, isn’t it? Those vibrant bracts, like paper flowers unfurling in shades of pink, white, and red, just bring so much joy to the garden. And the best part? You can easily fill your own garden, or share the beauty with friends, by propagating your own. It’s a wonderfully rewarding process, and while it might seem a little daunting at first, I promise, with a few pointers, you’ll be a pro in no time. Actually, I’d say it’s a pretty beginner-friendly plant to propagate once you know the tricks.
The Best Time to Start
When it comes to Curcuma alismatifolia, timing is everything. The absolute best time to get your propagation party started is during its active growing season. This typically means from late spring through to mid-summer. You want to work with healthy, vigorous plants that are already putting on a good show. Think about it – a plant that’s full of life is much more likely to send out new shoots and roots for you. Trying to propagate during its dormant period is like asking a sleepy bear to run a marathon; it just won’t go well.
Supplies You’ll Need
Gathering your tools beforehand makes the whole process smoother, so here’s what I always have on hand:
- Sharp pruning shears or a clean knife: For making clean cuts.
- Sterilizing agent: Rubbing alcohol or a bleach solution to clean your tools. Germs are the enemy here!
- Well-draining potting mix: I love a blend of peat moss, perlite, and a little bit of compost. You want something that dries out reasonably quickly but still holds some moisture.
- Small pots or trays: With drainage holes, of course!
- Rooting hormone (optional but recommended): This really gives your cuttings a boost.
- Plastic bags or a propagation dome: To create a humid environment.
- Watering can or spray bottle: For gentle watering.
- Labels and a marker: So you don’t forget what you planted where!
Propagation Methods
Curcuma alismatifolia is primarily propagated through rhizome division. It’s the most reliable and straightforward method.
Rhizome Division: The Star Player
- Wait for the right moment: You’ll want to divide your Curcuma plants when they are either just starting to emerge in spring or after they’ve finished flowering and the foliage is starting to yellow in the fall. I usually prefer the spring division as it gives the new divisions a full growing season to establish.
- Gently unearth: Carefully dig up the entire plant. Try your best not to damage the rhizomes. You’ll see they look like a thick, segmented root.
- Clean them up: Gently brush away as much of the old soil as you can. This will help you see where the rhizome is naturally divided.
- The “Secret Sauce” division: Look for natural separation points on the rhizome. These are usually where new shoots are already emerging. Use your clean pruning shears or knife to cut or break the rhizome into sections. Crucially, make sure each division has at least one healthy “eye” or growing point and a decent piece of the rhizome itself. A healthy eye looks like a small bud or a tip that is plump and firm.
- Let them callouse (a brief rest): After dividing, I like to let the severed rhizome pieces sit out for a few hours, or even overnight, in a dry, shaded spot. This allows the cut surfaces to dry and form a protective calloused layer, which helps prevent rot.
- Plant your new babies: Fill your pots with your well-draining potting mix. Plant each rhizome division about 1-2 inches deep, with the growing eye facing upwards.
- Water gently: Give them a light watering. You don’t want them waterlogged, just nicely moist.
- Create a mini-greenhouse: Place the pots in a warm spot, and cover them with a plastic bag or a propagation dome to maintain high humidity. This is key to encouraging root development.
The “Secret Sauce” (Pro Tips)
Here are a few things I’ve learned over the years that make a real difference:
- Don’t rush the division: Sometimes, rhizomes can be a bit tough to separate. If you encounter resistance, gently tease them apart with your fingers rather than forcing a cut where it doesn’t want to go. A natural break is always better.
- Bottom heat is a game-changer: If you have access to a seedling heat mat, placing your pots on it can significantly speed up root formation. Curcumas absolutely love warmth, and bottom heat mimics that cozy soil temperature they crave.
- The “don’t overwater” mantra: This is the most common pitfall. While they need moisture, they hate sitting in soggy soil, especially when they’re trying to establish roots. Err on the side of slightly too dry rather than too wet.
Aftercare & Troubleshooting
Once you see new growth emerging from the soil, that’s your cue that roots are developing! You can gradually remove the plastic covering over a few days to let the new plant acclimate. Continue to keep the soil consistently moist but not wet. As the plant grows stronger, you can begin to fertilize it with a balanced liquid feed.
Now, for the not-so-fun part: troubleshooting. The most common problem you’ll encounter is rot. If you see your rhizome division turning mushy, black, and smelly, it’s a sign of too much moisture and poor air circulation. Unfortunately, if rot sets in, it’s usually difficult to save. This is why using well-draining soil, allowing callousing, and being mindful of watering are so important. Another sign of trouble is if there’s absolutely no sign of growth after several weeks. This could mean the division wasn’t viable, the temperature is too cool, or it’s simply not getting enough light.
A Encouraging Closing
Creating new life from an existing plant is one of the most satisfying aspects of gardening. So, be patient with your Curcuma divisions. Give them warmth, good drainage, and a little bit of your loving care. Before you know it, you’ll be rewarded with beautiful new plants ready to grace your garden or become treasured gifts. Happy propagating!
Resource:
https://identify.plantnet.org/k-world-flora/species/Curcuma%20alismatifolia%20Gagnep./data