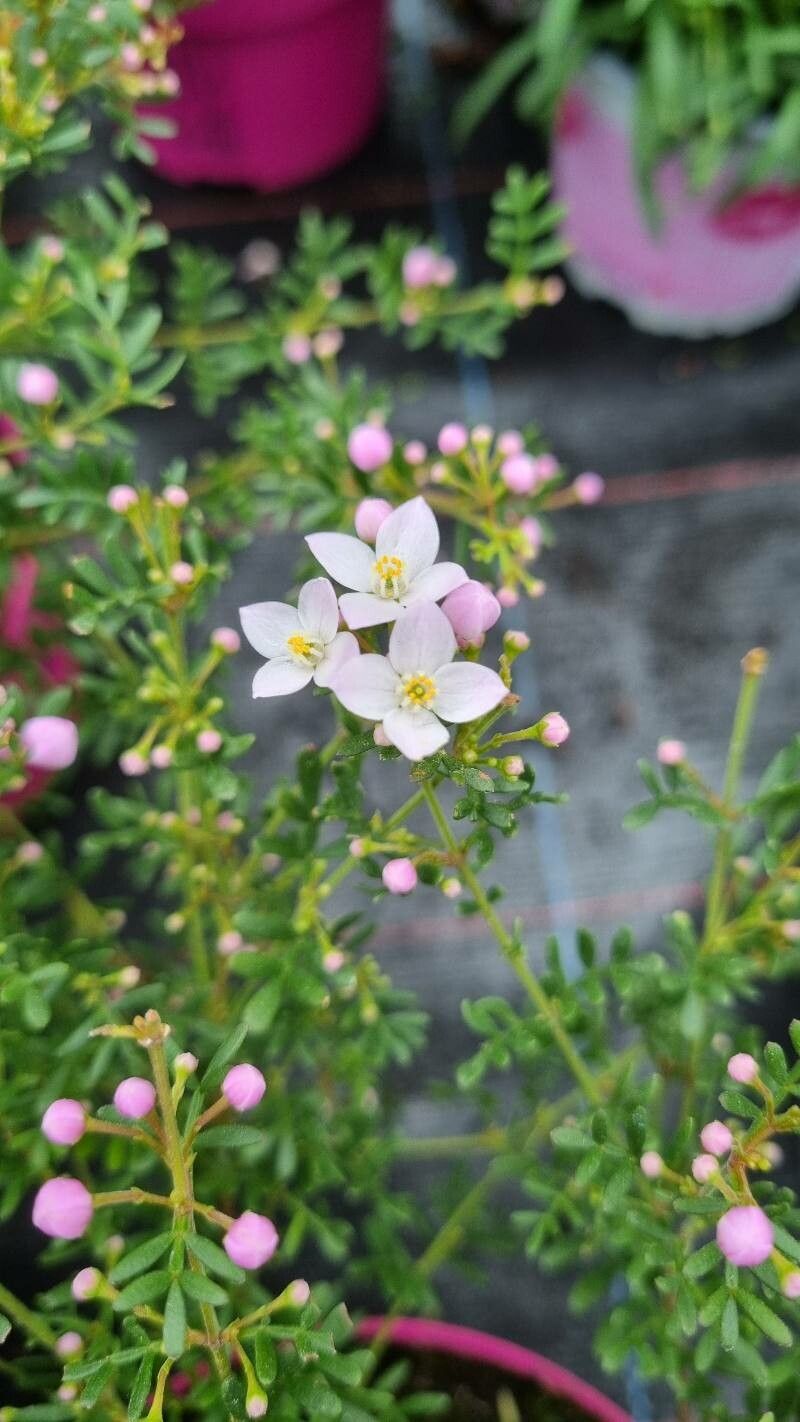
Oh, Boronia fraseri! If you’ve ever seen this beauty in bloom – those delicate, star-shaped pink flowers and that intoxicating, spicy perfume – you know exactly why I’m so excited to talk about propagating it. Let me tell you, nurturing a new Boronia from something small into a flourishing plant is one of the most rewarding experiences a gardener can have. It’s not necessarily the absolute easiest plant for a complete beginner, but with a little patience and these tips, I think you’ll find it’s more achievable than you might think.
The Best Time to Start
For Boronia fraseri, timing is everything! I’ve found the most success when I take cuttings in late spring or early summer. This is when the plant is actively growing, and the new, semi-hardwood stems have a good balance of flexibility and firmness. You’re looking for stems that have gone past their initial soft new growth but haven’t yet hardened off completely.
Supplies You’ll Need
Before we get our hands dirty, let’s gather our tools!
- Sharp pruning shears or a clean, sharp knife: For taking precise cuttings.
- Rooting hormone: I like to use a powder specifically for softwood/semi-hardwood cuttings.
- Small pots or seed trays: With good drainage holes, of course!
- Propagating mix: A blend that’s light and well-draining is crucial. I usually go for a 50/50 mix of perlite and peat moss, or sometimes I’ll add a bit of coarse sand.
- Clear plastic bags or a propagator lid: To create a humid environment.
- Watering can with a fine rose: For gentle watering.
- Optional: Bottom heat mat: This can really give your cuttings a boost.
Propagation Methods: Stem Cuttings
This is my go-to method for Boronia fraseri. It’s reliable and gives you the best chance of success.
- Select Your Cuttings: Look for healthy, non-flowering stems. You want pieces that are about 10-15 cm long. Gently remove the lower leaves, leaving just the top few pairs.
- Prepare the Cuttings: Make a clean cut just below a leaf node (where the leaves attach to the stem). This is where the roots are most likely to form.
- Apply Rooting Hormone: Dip the cut end of each cutting into your rooting hormone, tapping off any excess. This step really helps kickstart root development.
- Potting Up: Fill your small pots with your propagating mix. Make a small hole in the center of the mix with a pencil or your finger.
- Plant Your Cuttings: Gently insert the base of each cutting into the hole, ensuring the hormone-coated end is well covered by the mix. Firm the mix gently around the stem to ensure good contact. You can usually get 3-4 cuttings per pot, spaced out.
- Water Gently: Water them in thoroughly with your fine-rose watering can. You want the mix to be moist but not waterlogged.
- Create Humidity: Cover the pots with a clear plastic bag (making sure it doesn’t touch the leaves) or place them under a propagator lid. This keeps the humidity high, which is vital for cuttings that can’t yet absorb water through roots. Place them in a bright spot, but avoid direct sunlight.
The “Secret Sauce” (Pro Tips)
Here are a couple of things I’ve learned over the years that really make a difference:
- Don’t Let Leaves Touch the Water (Even Condensation): If you’re using a plastic bag, it’s easy for condensation to build up and then drip onto the leaves. This can lead to rot. Try to prop the bag up slightly or ensure good air circulation. If you see any signs of fungal growth on leaves, remove them immediately.
- The Magic of Bottom Heat: If you have a propagator or even a small heat mat, placing your pots on it can be a game-changer. This gentle warmth encourages root formation from beneath, giving your cuttings a significant head start. It mimics the conditions they’d find naturally in warmer soil.
Aftercare & Troubleshooting
Once you’ve planted your cuttings, the waiting game begins!
Keep the propagating mix consistently moist but never soggy. Check it every few days. If the leaves are starting to look a bit limp, it’s a sign they need a drink. After about 4-8 weeks, you can gently tug on a cutting. If you feel resistance, it means roots have formed! Now, you can carefully remove the plastic bag or lid and start to acclimatize them to normal room humidity by gradually increasing ventilation over a week.
The most common issue you’ll face is rot. If a cutting turns black and soft at the base, it’s usually a sign of too much moisture or poor drainage. Unfortunately, these cuttings are usually lost. Don’t be discouraged, just try again! Sometimes, you might not see any root development at all. This can happen too; some plants are just more finicky than others.
A Heartfelt Closing
Propagating Boronia fraseri is a journey, my friends. There will be successes, and there might be a few learning curves. But the joy of seeing a tiny cutting develop roots and then grow into its own beautiful plant is unparalleled. Be patient with yourself and with your little Boronias. Happy propagating, and may your garden be filled with the sweet scent of success!
Resource:
https://identify.plantnet.org/k-world-flora/species/Boronia%20fraseri%20Hook./data