Hello, fellow garden enthusiasts!
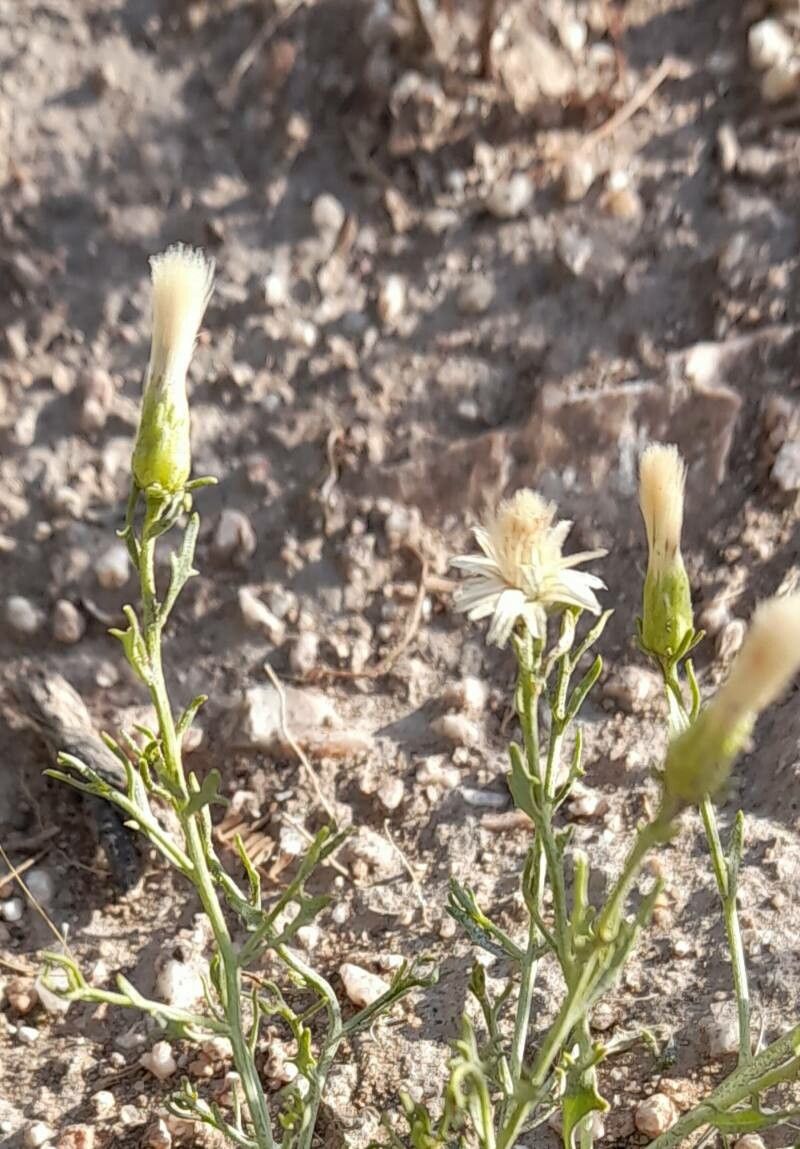
Let’s chat about a plant that’s been catching my eye lately: Baccharis melanopotamica. You might know it as something else, but this particular cultivar is a stunner. It’s got this wonderful, almost velvety foliage and a way of just softening any corner of the garden. Plus, it’s tough as nails once it’s established. Why would you want to propagate it? Well, imagine having more of this beauty to fill your borders, share with friends, or even plant in containers. It’s incredibly satisfying to watch a tiny snippet of a plant grow into a whole new, thriving specimen. Good news for beginners: this one’s pretty forgiving, so don’t be shy!
The Best Time to Start
For Baccharis melanopotamica, the sweet spot for propagation is definitely late spring to early summer. This is when the plant is actively growing, and it has plenty of energy to put into developing new roots. You’re looking for stems that are not too young and floppy, but also not too old and woody. A good rule of thumb is to find stems that are semi-hard. They’ll snap cleanly when bent, rather than just wilting.
Supplies You’ll Need
Here’s what you should gather before you get started:
- Sharp Pruning Shears or a Clean Knife: Crucial for making clean cuts.
- Rooting Hormone: While not strictly mandatory for some plants, it gives Baccharis a real boost. Look for one with an IBA (indole-3-butyric acid) base.
- Potting Mix: A well-draining mix is key. I like to use a blend of equal parts perlite, peat moss, and seed-starting mix. You can also find pre-made succulent or cactus mixes that work well.
- Small Pots or Seedling Trays: Clean containers are essential to prevent disease.
- Plastic Bags or a Propagator: To create a humid environment.
- Watering Can with a Fine Rose: For gentle watering.
- Labels and a Marker: To keep track of your cuttings!
Propagation Methods: Stem Cuttings
This is hands-down the most reliable way to get more Baccharis melanopotamica.
- Take Your Cuttings: Head out to your plant in late spring or early summer. Select healthy, semi-hard stems. Using your sharp shears, cut lengths of about 4-6 inches. Make your cuts just below a leaf node (where a leaf meets the stem).
- Prepare the Cuttings: Gently remove the lower leaves from your cuttings, leaving just 2-3 sets of leaves at the top. This helps prevent them from rotting when planted. If the remaining leaves are very large, you can even cut them in half to reduce water loss.
- Apply Rooting Hormone: Dip the cut end of each cutting into water, then into your rooting hormone powder. Tap off any excess.
- Plant Your Cuttings: Fill your small pots or trays with your prepared potting mix. Make a small hole in the center of the soil with your finger or a pencil. Insert the bottom 1-2 inches of the cutting into the hole, ensuring the nodes where you removed leaves are buried. Gently firm the soil around the cutting.
- Water Gently: Water thoroughly with your fine-rose watering can until the soil is evenly moist but not waterlogged.
- Create Humidity: Cover the pots loosely with a clear plastic bag or place them in a propagator. This traps humidity, which is vital for new cuttings. Make sure the leaves don’t touch the sides of the bag if possible.
- Find a Suitable Spot: Place your cuttings in a bright location out of direct sunlight. A windowsill that gets indirect light is perfect.
The “Secret Sauce” (Pro Tips)
Here are a few little tricks I’ve learned over the years that really make a difference:
- Bottom Heat is Your Friend: If you have a heat mat designed for seedlings, using it can significantly speed up root development. Just place your pots on the mat. The warmth encourages root growth from underneath.
- Keep Them Moist, Not Soggy: This is crucial. Stick your finger into the soil about an inch deep. If it feels dry, it’s time to water. Overwatering is a common killer of cuttings.
- A Gentle Breeze Helps: While you want humidity, completely stagnant air can encourage fungal problems. If your cuttings are in a plastic bag, occasionally lift it for a few minutes to allow for some air circulation.
Aftercare & Troubleshooting
Once you start seeing new growth on your cuttings – usually after a few weeks to a couple of months – that’s a good sign that roots are forming. You can give them a very gentle tug. If you feel resistance, they’re on their way!
Once you’ve confirmed roots, you can start to gradually introduce them to less humid conditions. Slowly air out the plastic bag over several days before removing it entirely. Continue to water them consistently, allowing the soil to dry out slightly between waterings.
What if things go wrong? The most common issue is rot. If your cuttings turn black and mushy, they’ve likely succumbed to overwatering and lack of air circulation. Don’t be discouraged; it happens to the best of us! Another sign of failure is wilting that doesn’t perk up after watering, indicating a lack of roots or extreme dehydration. Just toss those and try again!
A Little Patience Goes a Long Way
Growing new plants from cuttings is a journey, and like any good journey, it requires a bit of patience. Don’t get discouraged if your first few attempts aren’t perfect. Every gardener learns as they go! Enjoy the process, celebrate every tiny sign of success, and soon you’ll have a whole garden full of your own Baccharis melanopotamica. Happy growing!
Resource:
https://identify.plantnet.org/k-world-flora/species/Baccharis%20melanopotamica%20Speg./data