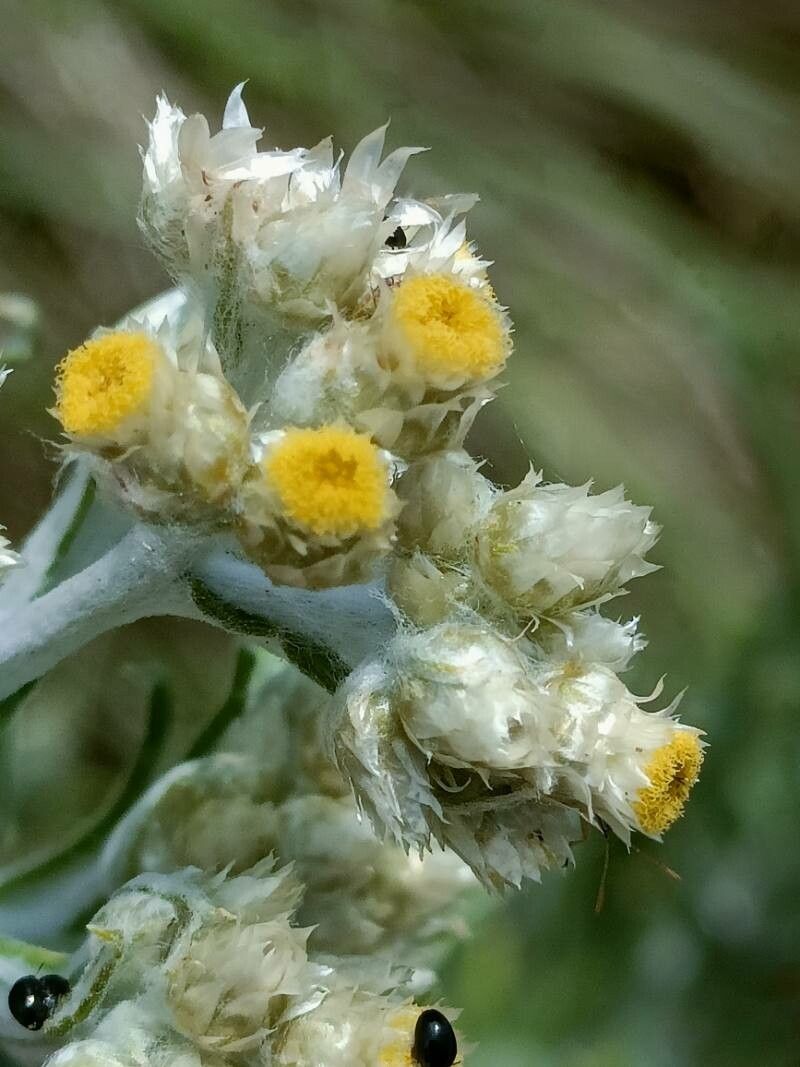
Hello fellow garden enthusiasts! If you’ve ever admired those gorgeous, silvery-grey, daisy-like flowers that seem to glow in the sunshine and emit the most delightful, curry-like scent, chances are you’ve encountered Helichrysum rugulosum, often called “Cape everlasting” or “everlasting daisy.” This South African native is a fantastic addition to any garden, bringing texture, fragrance, and blooms that last forever, quite literally when dried.
Propagating it myself has always been a joy, and I’m so excited to share how you can do it too. It’s not the most beginner-friendly plant to get off the ground with propagation, but with a little care and attention, you’ll be rewarded with a whole new patch of these beauties.
The Best Time to Start
For Helichrysum rugulosum, late spring to early summer is your golden window. This is when the plant is actively growing and has plenty of healthy, non-flowering shoots to work with. You want to catch it before it gets too woody.
Supplies You’ll Need
Here’s what you should gather before you get your hands dirty:
- Sharp pruning shears or a clean, sharp knife: For taking cuttings without crushing the stems.
- Rooting hormone powder or gel (optional but recommended): This really gives your cuttings a boost.
- Well-draining potting mix: A mix of equal parts perlite and peat moss or coco coir works wonders. You can also use a specialized seedling or cutting mix.
- Small pots or seed trays: With drainage holes, of course!
- A clear plastic bag or propagation dome: To create a humid environment.
- Watering can or spray bottle: For gentle watering.
- Labels and a marker: Trust me, you’ll thank yourself later!
Propagation Methods: Stem Cuttings are Your Best Friend
While you could try division, stem cuttings are my go-to for Helichrysum rugulosum. It’s incredibly reliable.
- Take Your Cuttings: Look for healthy, vigorous stems that are about 4-6 inches long. Gently snap or cut a piece from a non-woody, actively growing stem. Try to select shoots that don’t have any flowers or flower buds on them. If there are any, pinch them off.
- Prepare the Cuttings: Remove the lower leaves from the cutting, leaving just a few at the top. This prevents them from rotting in the soil and encourages the plant to put its energy into root development.
- Dip in Rooting Hormone: If you’re using rooting hormone, dip the cut end of the stem into the powder or gel. Tap off any excess.
- Plant Your Cuttings: Moisten your well-draining potting mix in your pots or trays. Make small holes with your finger or a pencil where you want to plant. Gently insert the cuttings, ensuring at least one leaf node (where leaves were removed) is below the soil surface. Firm the soil gently around the base.
- Create Humidity: Water the soil lightly from the base. Then, cover the pots with a clear plastic bag or propagation dome. This traps moisture and creates the humid environment cuttings need.
The “Secret Sauce” (Pro Tips)
Here are a couple of little tricks that have made all the difference for me:
- Don’t Let the Leaves Touch the Water (if water propagating): If you decide to try water propagation on a small scale before resorting to soil (which I find less successful for this particular plant, but some swear by it), make sure absolutely none of the leaves are submerged. They’ll just rot and contaminate the water.
- Think Warmth! Use Bottom Heat: Helichrysum roots much faster when its feet are warm. If you have a heat mat designed for seedlings, place your pots on it. If not, a sunny windowsill that doesn’t get scorching hot can work, but bottom heat is a real game-changer for rapid root formation.
Aftercare & Troubleshooting
Once your cuttings are planted in their humid little homes, place them in a bright location, but out of direct, harsh sunlight. This can scorch and dry out the delicate cuttings too quickly.
Check the soil moisture every few days. It should be consistently moist, but never waterlogged. If the top of the soil feels dry, mist it gently or water from the bottom if your pots allow.
You’ll know your cuttings have rooted when you see new leaf growth emerging from the top. This can take anywhere from 3 to 6 weeks, sometimes longer. Gently tugging on a cutting will also reveal resistance if roots have formed.
The most common sign of failure is wilting and browning, often due to the soil being too dry or too wet. If you see rot, which often looks like a mushy, dark stem base, sadly, that cutting is likely lost. Remove it immediately to prevent it from affecting others. Overwatering is probably the biggest culprit for rot.
A Little Patience Goes a Long Way
Propagating Helichrysum rugulosum is a rewarding endeavor. Don’t get discouraged if a few don’t make it – it happens to all of us! Keep those little cuttings in their humid environment, provide gentle light, and before you know it, you’ll have a whole new family of these wonderful, fragrant plants to enjoy. Happy gardening!
Resource:
https://identify.plantnet.org/k-world-flora/species/Helichrysum%20rugulosum%20Less./data