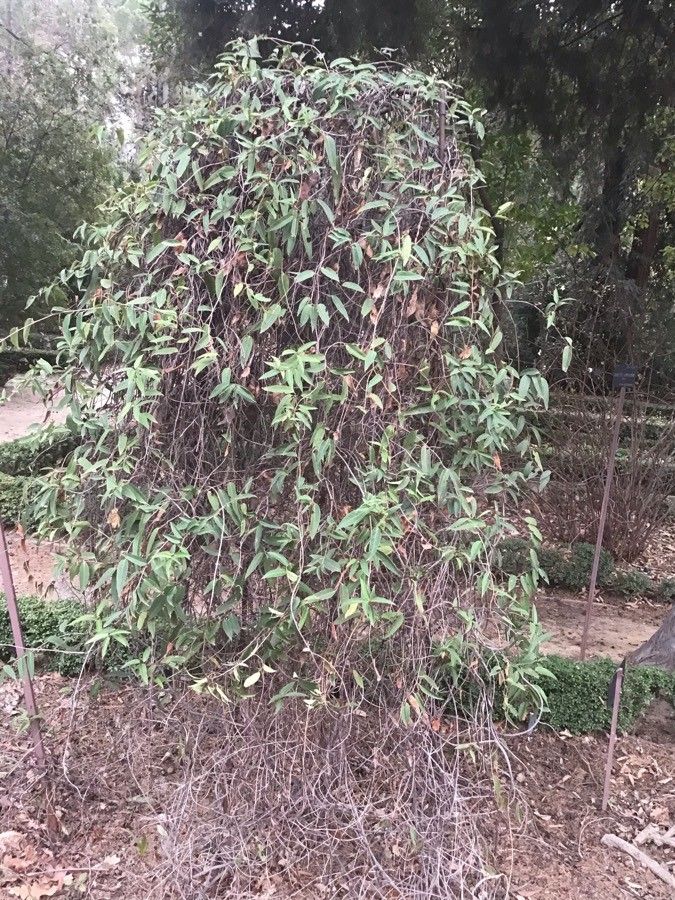
Hello fellow plant lovers! Today, we’re diving into the wonderful world of Schisandra propinqua, also known as the Coastal Schisandra. I’ve been growing and propagating these beauties for years, and let me tell you, there’s something incredibly satisfying about coaxing a brand new plant to life from a small cutting.
Schisandra propinqua offers delicate, fragrant flowers followed by lovely little berries, making it a real charmer in the garden. Plus, it’s a fantastic vine that can add vertical interest. If you’re looking to expand your collection or share the joy with friends, propagating it yourself is an excellent way to go. Now, is it a walk in the park for absolute beginners? Honestly, it’s moderately easy. It might take a little patience, but with these tips, you’ll be well on your way to success.
The Best Time to Start
For stem cuttings, which is my go-to method for Schisandra propinqua, the sweet spot is late spring to early summer. This is when the plant is actively growing, producing new, semi-hardwood stems. You want stems that have started to firm up a bit but aren’t completely woody. Think of it as “young and vigorous” – that’s what we’re after!
Supplies You’ll Need
Gathering your tools beforehand makes the whole process much smoother. Here’s what you’ll want to have on hand:
- Sharp Pruning Shears: Clean cuts are crucial to prevent disease.
- Rooting Hormone: This really gives your cuttings a boost. I prefer powder, but gel works great too.
- Potting Mix: A well-draining mix is key. I like to use a blend of peat moss or coco coir, perlite, and a little bit of compost. Some people use just perlite or vermiculite for incredible drainage.
- Small Pots or Propagation Tray: Clean pots are a must! Look for ones with drainage holes.
- Plastic Bag or Humidity Dome: To create a mini-greenhouse effect.
- Spray Bottle: For misting.
- Labels: So you don’t forget what you’ve planted!
Propagation Methods
I find stem cuttings to be the most reliable and straightforward way to propagate Schisandra propinqua. Here’s how I do it:
- Take Your Cuttings: On a bright morning, select healthy, non-flowering stems. Look for branches that are about pencil-thick and have new growth at the tip. Using your sharp shears, take cuttings that are 6-8 inches long. Make your cut just below a leaf node (where a leaf attaches to the stem).
- Prepare the Cuttings: Gently remove the lower leaves from the cutting, leaving just a couple of leaves at the top. If the remaining leaves are large, I often cut them in half horizontally to reduce water loss through transpiration.
- Apply Rooting Hormone: Dip the cut end of the stem into your rooting hormone, tapping off any excess.
- Plant Your Cuttings: Fill your clean pots or tray with your prepared potting mix. Make a small hole with your finger or a pencil. Insert the prepared cutting into the hole, ensuring the rooting hormone-coated end is nestled in the soil. Gently firm the soil around the stem.
- Water and Cover: Water the potting mix thoroughly until it drains from the bottom. Then, cover the pot or tray with a clear plastic bag or a humidity dome to maintain consistent moisture. Pop a few labels in, too!
The “Secret Sauce”
Now, for a couple of little tricks that have made a big difference for me:
- Bottom Heat is Your Friend: If you can, place your pots on a heat mat. This gentle bottom warmth encourages root development and significantly speeds up the process. It really wakes up those lazy root cells!
- Don’t Over-Water, But Keep it Humid: You want the soil to stay consistently moist but not soggy. I check mine daily. If it feels dry, a gentle misting with my spray bottle usually does the trick. The plastic bag helps keep that humidity locked in.
Aftercare & Troubleshooting
Once your cuttings are planted, find them a spot with bright, indirect light. Avoid direct sun, as it can scorch those tender new plants. Keep an eye on them! You’ll know they’re developing roots when you see new leaf growth appearing or when you gently tug on the cutting and feel resistance. This can take anywhere from 4 to 8 weeks, sometimes longer.
The biggest pitfall to watch out for is rot. If your cuttings are wilting despite the soil being moist, or if they start to look mushy and discolored, it’s usually a sign of too much moisture and not enough air circulation. If you see this, try removing the plastic bag for a bit and ensuring your soil mix is airy. Sometimes, you’ll have to let go of a cutting that just won’t root – it happens to all of us!
A Encouraging Closing
Propagating Schisandra propinqua is a rewarding journey. Don’t get discouraged if your first attempt isn’t a gallery-worthy success. Gardening is all about learning and experimenting. Be patient, observe your cuttings, and enjoy the process of watching something new grow right before your eyes. Happy propagating!
Resource:
https://identify.plantnet.org/k-world-flora/species/Schisandra%20propinqua%20(Wall.)%20Baill./data