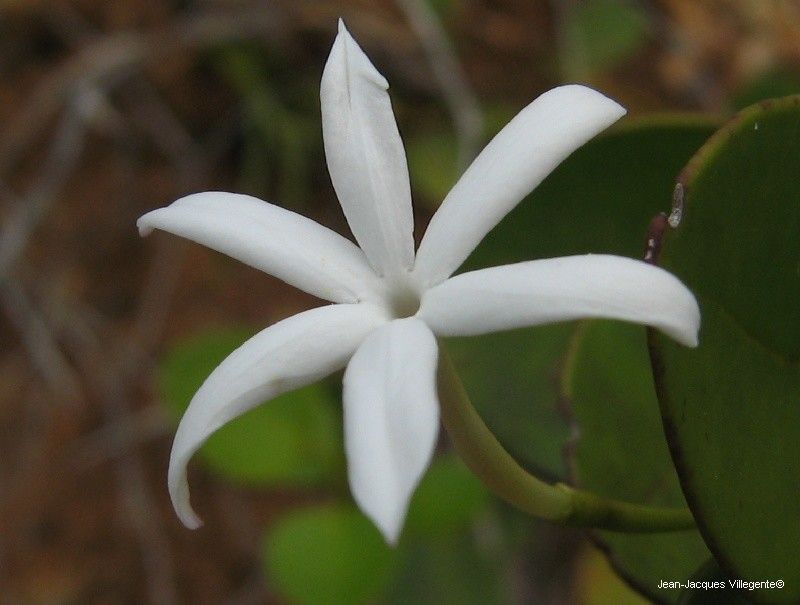
Oh, Jasminum artemisia! What a star. You know, when I first started gardening, I was immediately drawn to the delicate, star-shaped blooms and that intoxicating fragrance. It’s a plant that just screams sunshine and lazy afternoons. And the best part? You can easily fill your garden (or your friend’s gardens!) with more of these beauties by propagating them yourself. It’s a truly rewarding feeling, like nurturing tiny new lives. For someone just starting out, I’d say Jasminum artemisia is quite forgiving, making it a wonderful plant to practice your propagation skills on.
The Best Time to Start
When I’m looking to strike new jasmines, I aim for the late spring or early summer. This is when the plant is actively growing, and you’ll find plenty of nice, pliable stems that are eager to root. You’re essentially looking for semi-hardwood cuttings. These are stems that have started to firm up a bit but aren’t yet woody and old. Think about a pencil – that’s about the thickness you’re going for. Trying to root brand new, bright green growth often leads to disappointment, and overly woody stems can be stubborn.
Supplies You’ll Need
Before we get our hands dirty, let’s gather our tools. You won’t need much, but having the right things makes the process smoother:
- Sharp Pruning Shears or a Craft Knife: Clean cuts are crucial to prevent disease.
- Rooting Hormone (Optional but Recommended): This gives your cuttings a nice boost.
- Gritty, Well-Draining Potting Mix: I like a blend of equal parts perlite and peat moss or coco coir. Sand can be good too, but make sure it’s horticultural sand, not play sand.
- Small Pots or Seed Trays: Clean ones are important!
- Plastic Bags or a Propagator Lid: To create that humid environment.
- Watering Can with a Fine Rose: For gentle watering.
- Labels and a Marker: Trust me, you’ll thank yourself later.
Propagation Methods
Stem cuttings are definitely the way to go for Jasminum artemisia. It’s straightforward and generally yields great results.
- Taking the Cuttings: First, find a healthy, non-flowering stem. Using your sharp shears or knife, take cuttings that are about 4-6 inches long. Make your cut just below a leaf node (that little bump where a leaf grows from the stem).
- Preparing the Cuttings: Gently remove the leaves from the bottom half of the cutting. If any leaves are very large, you can snip them in half horizontally to reduce moisture loss without eliminating the plant’s ability to photosynthesize.
- Applying Rooting Hormone: Dip the cut end of the stem into your rooting hormone powder. Tap off any excess.
- Planting the Cuttings: Fill your small pots with your prepared gritty mix. Make a small hole with a pencil or your finger and insert the cutting, ensuring the part with the hormone is buried. Gently firm the soil around the stem.
- Creating the Humid Environment: Water the soil gently. Then, place the pot inside a clear plastic bag, sealing it loosely with a rubber band, or cover it with a propagator lid. This traps humidity, which is essential for cuttings to root. Place the pots in a bright spot, but out of direct sunlight.
The “Secret Sauce” (Pro Tips)
After years of whispering to my plants, I’ve picked up a few little tricks that seem to make all the difference:
- Bottom Heat is Your Friend: If you can, place your pots on a heat mat designed for propagation. This gently warms the soil, encouraging root development from below. It’s like giving them a cozy little heated bed to grow in!
- Don’t Let Leaves Kiss the Water: If you opt for water propagation (which can work, but I find soil cuttings are more robust), make sure absolutely no leaves are submerged. Rot sets in fast in waterlogged leaves. Only the stem should be in the water.
- A Gentle Mist is Better Than a Flood: When you open the bag to check on things or water, be sparing. A light misting around the leaves is often enough to keep them happy without waterlogging the soil and inviting fungal issues.
Aftercare & Troubleshooting
Once you see new leaf growth emerging, that’s a good sign! It usually means roots are forming. Leave them in their humid environment for another week or two, then gradually acclimatize them to drier air by opening the bag a little more each day. After that, they’re ready for a slightly larger pot and regular watering.
The most common hurdle you might face is rot. If your cuttings turn mushy, black, or just look completely deflated, it’s usually a sign of too much moisture or not enough good air circulation. It’s a bummer, but it happens. Don’t be discouraged! Just grab some fresh cuttings and try again, perhaps with a slightly grittier mix or less frequent watering.
A Encouraging Closing
Growing new plants is a journey, and like any good journey, it’s about the experience. Be patient. Some cuttings will take off quickly, others might take their sweet time. Enjoy the anticipation, the small signs of life, and the satisfaction of nurturing your own little jasmine stars. Happy propagating!
Resource:
https://identify.plantnet.org/k-world-flora/species/Jasminum%20artense%20Montrouz./data