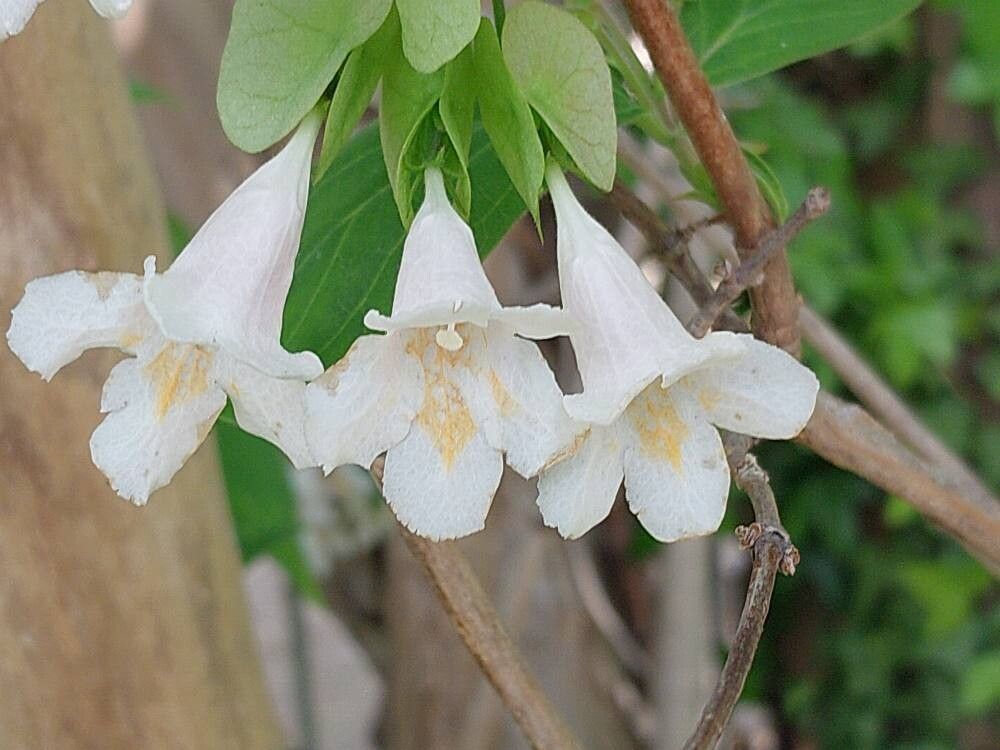
Hello, fellow garden enthusiasts! If you’ve ever marvelled at the elegant beauty of Dipelta floribunda, with its cascading clusters of charming, bell-shaped flowers in late spring and early summer, you’re not alone. I’ve been captivated by this shrub for years. It’s a wonderfully rewarding plant to grow, and the joy of creating new life from an existing one is truly addictive. Propagating Dipelta floribunda might sound a bit daunting, but trust me, it’s more accessible than you might think.
The Best Time to Start
For the highest success rates with Dipelta floribunda, timing is key. I find that late spring to early summer, just as the plant is finishing up its main flowering push, is the absolute sweet spot. This is when the stems are semi-hardened – not brand new and floppy, but not old and woody either. They have enough stored energy to put into root development.
Supplies You’ll Need
Gathering your supplies beforehand makes the whole process smooth sailing. Here’s what I always have on hand:
- Sharp pruning shears or a clean knife: For making clean cuts.
- Rooting hormone: Encourages faster and stronger root development. Gel or powder works well.
- A well-draining potting mix: I like a blend of equal parts peat moss, perlite, and compost. You can also buy a commercial propagation mix.
- Small pots or containers: Clean ones are essential to prevent disease.
- Plastic bags or a propagator: To create a humid environment.
- Labels: To remind yourself what you’ve planted!
- Watering can or misting bottle: For gentle watering.
Propagation Methods
While Dipelta floribunda can be divided, I find that stem cuttings are generally the most reliable and productive method for this shrub.
Stem Cuttings:
- Select your material: Look for healthy, non-flowering shoots from the current season’s growth. These are often called “semi-hardwood cuttings.”
- Take the cuttings: Using your sharp shears, cut stems about 4-6 inches long. Make the cut just below a leaf node (the point where a leaf attaches to the stem). This is where roots tend to form most readily.
- Prepare the cuttings: Gently remove the leaves from the bottom half of the cutting. If any leaves are very large, you can cut them in half to reduce water loss.
- Apply rooting hormone: Dip the cut end of each stem into your rooting hormone, tapping off any excess.
- Plant the cuttings: Fill your small pots with your prepared potting mix. Make a small hole in the center of each pot with a pencil or your finger. Insert the treated end of your cutting into the hole, ensuring the nodes are buried. Gently firm the soil around the cutting.
- Create humidity: Water the soil gently until it’s moist but not soggy. Then, cover each pot with a clear plastic bag, creating a mini-greenhouse. You can use stakes to keep the bag from touching the leaves. Alternatively, place them in a clear-lidded propagator.
The “Secret Sauce” (Pro Tips)
Here are a couple of tricks I’ve learned over the years that really boost success:
- Cleanliness is paramount. I can’t stress this enough! Before I start, I always wash my pots and sterilize my pruning shears. Fungal infections are the quickest way to lose your precious cuttings.
- Bottom heat is your friend. If you have a heat mat designed for seedlings, pop your pots on it. Not too hot – just a gentle warmth helps encourage those roots to get going much faster. It mimics the warmth of spring soil.
Aftercare & Troubleshooting
Once your cuttings are planted, keep them in a bright spot out of direct, harsh sunlight. The key is consistent moisture and high humidity. Check the soil moisture regularly by gently touching the surface. If it feels dry, water it. You can also lightly mist the leaves occasionally.
Be patient. It can take anywhere from 4 to 8 weeks for roots to form. You can test for rooting by gently tugging on a cutting; if there’s resistance, roots have likely developed. Once they’ve rooted, you can gradually acclimatize them to normal humidity by opening the plastic bag a little each day over a week or two.
The most common problem you’ll encounter is rot. If you see your cuttings turning black and mushy, it’s usually a sign of too much moisture and not enough air circulation. If this happens, remove the affected cutting immediately to prevent it from spreading. Ensure your soil is draining well.
A Encouraging Closing
Propagating Dipelta floribunda is a wonderfully satisfying journey. Don’t get discouraged if your first attempt isn’t perfect. Every gardener learns through observation and a bit of trial and error. Enjoy the process of nurturing these new plants, and soon you’ll have more of these beautiful bell-flowered shrubs to share or simply to admire in your own garden. Happy planting!
Resource:
https://identify.plantnet.org/k-world-flora/species/Dipelta%20floribunda%20Maxim./data