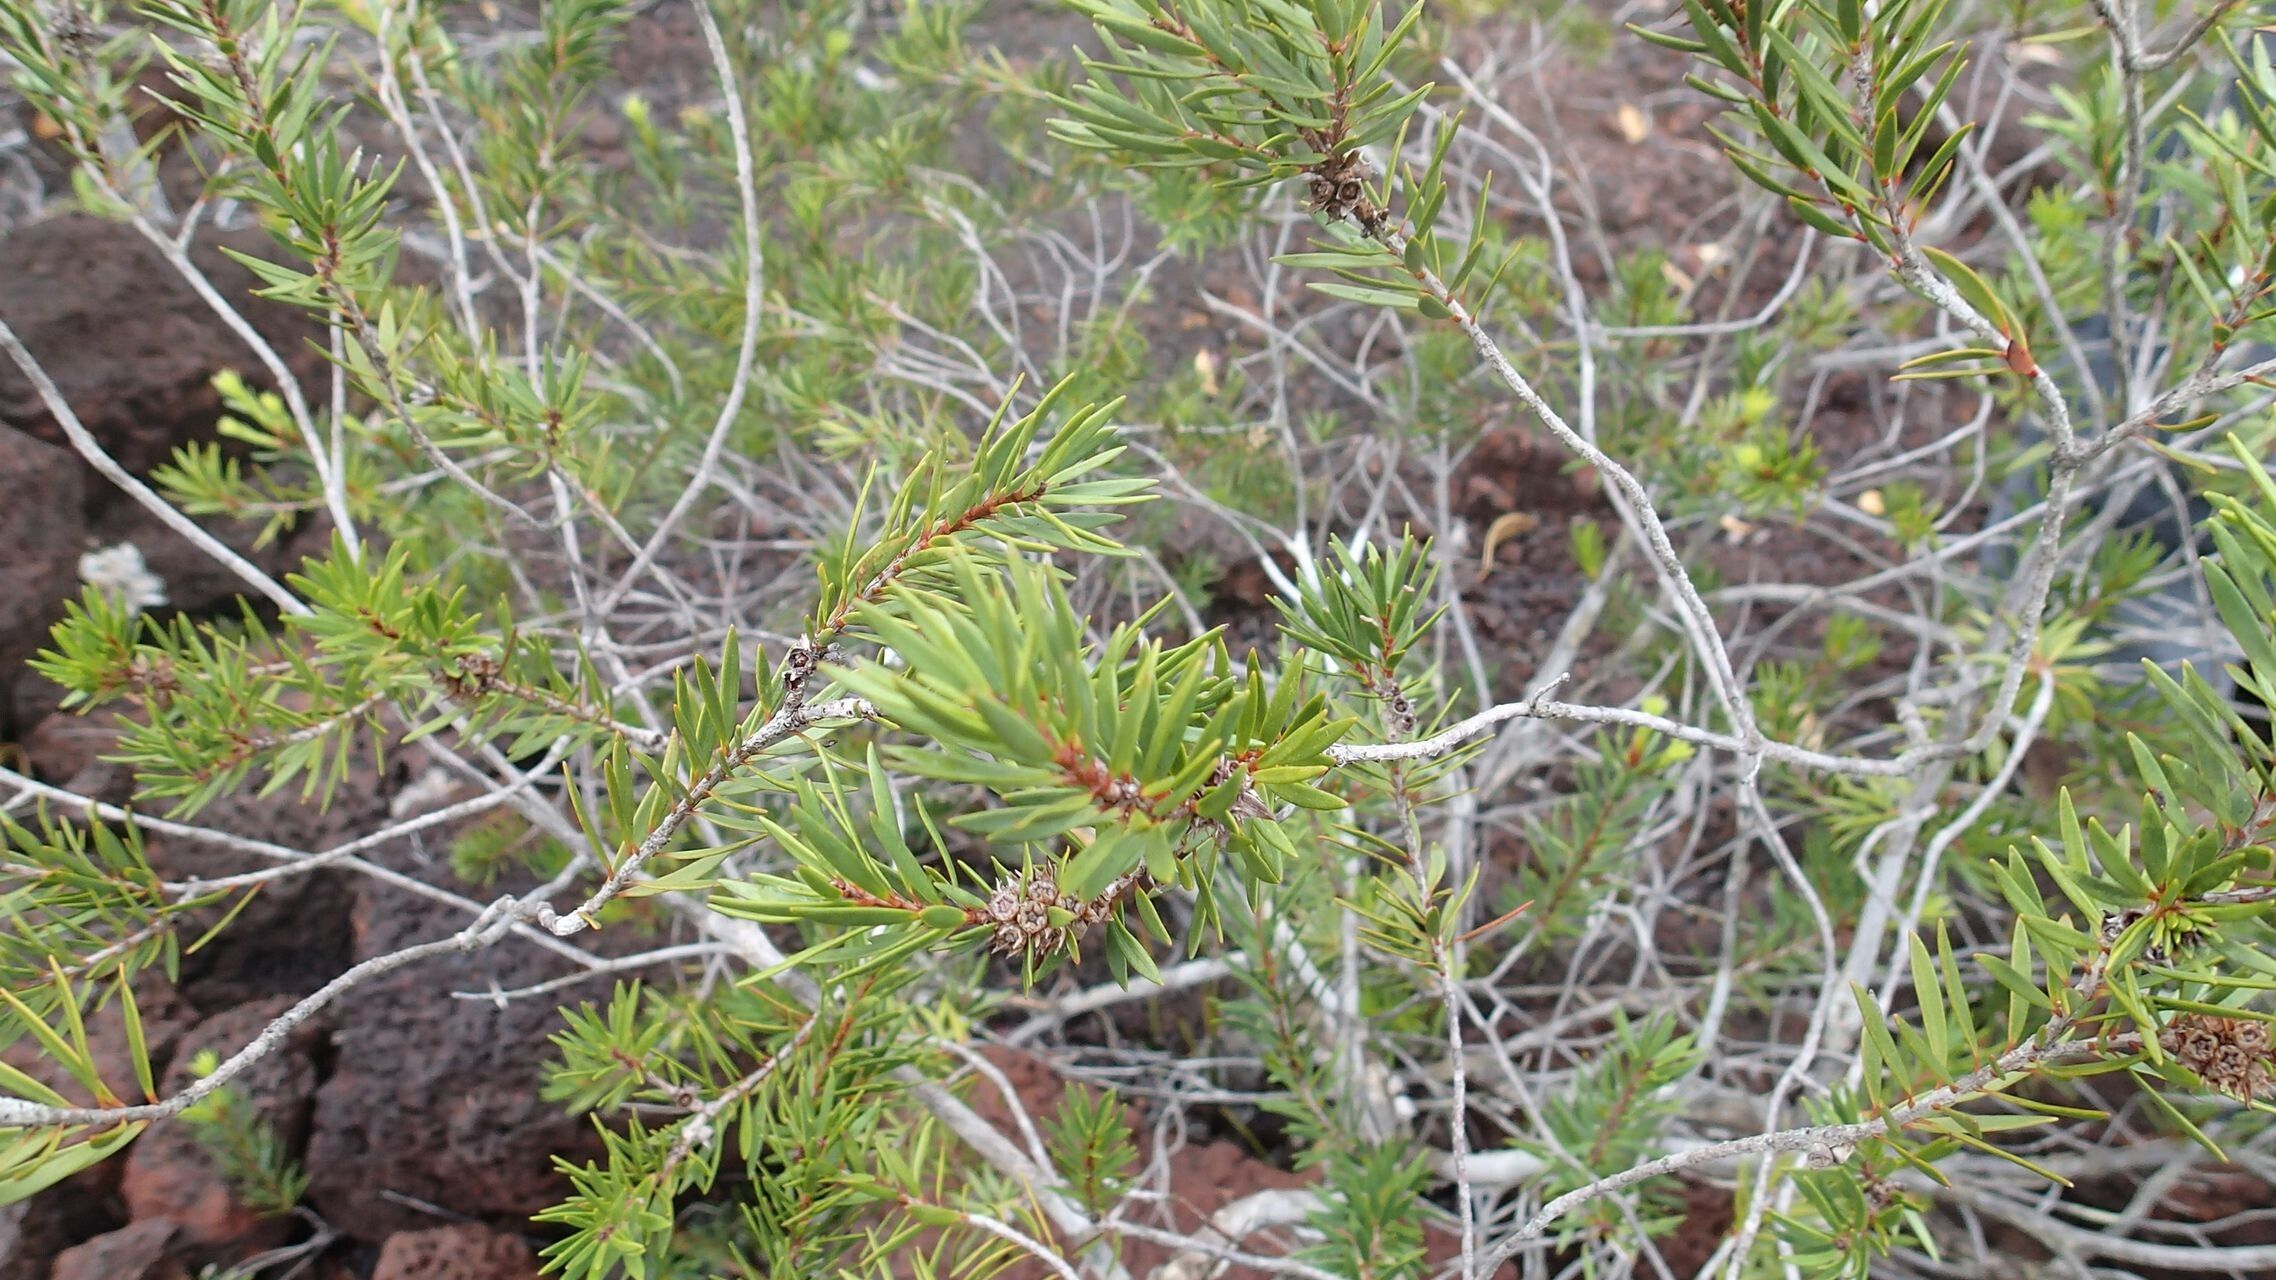
Hey there, fellow garden lovers! Today, we’re diving into the wonderful world of Melaleuca gnidioides, often called the Dwarf Honey Myrtle. Isn’t that a delightful name? These little beauties are a true treasure for any garden. They offer delicate, fluffy blooms that just scream “summer” and a lovely, fine-textured foliage that adds a touch of elegance. Plus, the satisfaction of growing your own from scratch? It’s simply unbeatable. If you’re wondering about ease for beginners, I’d say Melaleuca gnidioides is moderately easy. A few key steps, and you’ll be well on your way!
The Best Time to Start
For the best success, I always recommend starting your propagation in late spring or early summer. This is when the plant is actively growing, meaning it has plenty of energy to put into developing new roots. You’re looking for semi-hardwood cuttings. These are stems that are no longer brand new and soft, but haven’t fully hardened off into woody growth yet. They have a bit of flexibility but are firm enough to hold their shape.
Supplies You’ll Need
Here’s a little rundown of what you’ll want to have on hand before you begin:
- Sharp, clean pruning shears or a craft knife: For making clean cuts.
- Rooting hormone powder or gel: This really helps encourage root development.
- A well-draining potting mix: A good blend for us is equal parts perlite and peat moss, or you can get a commercial seed-starting or succulent mix.
- Small pots or seed trays: Clean ones, of course!
- A clear plastic bag or propagator lid: To create a humid environment.
- Watering can or spray bottle: For gentle watering.
- (Optional) Heat mat: For bottom heat, which can speed things up.
Propagation Methods
We’ll focus on the most reliable method for Melaleuca gnidioides: stem cuttings. It’s straightforward and gives fantastic results.
- Select Your Cuttings: Gently examine your mature Melaleuca gnidioides. Look for healthy, non-flowering stems that are about 4-6 inches long.
- Make the Cut: Using your clean pruning shears or craft knife, make a clean cut just below a leaf node. A leaf node is where a leaf joins the stem. This is where the magic of root development often happens.
- Prepare the Cuttings: Gently remove the leaves from the bottom half or two-thirds of the cutting. You want to expose the nodes. You can leave a few leaves at the very top to help the cutting photosynthesize, but don’t let them be too numerous or large, as they’ll lose water.
- Dip in Rooting Hormone: Lightly dip the cut end of the stem into your rooting hormone powder or gel. Tap off any excess. This step isn’t strictly mandatory, but it really gives your cuttings a boost.
- Plant Your Cuttings: Fill your clean pots or trays with your prepared potting mix. Make a small hole with your finger or a dibber. Insert the prepared cutting into the hole, ensuring the nodes where you removed the leaves are below the soil surface. Gently firm the soil around the cutting.
- Water Gently: Water the soil thoroughly but gently. You don’t want to dislodge the cuttings. A spray bottle is excellent for this initial watering.
- Create a Humid Environment: This is crucial! Cover the pots with a clear plastic bag or place them in a propagator with a lid. This traps moisture and creates the perfect humid microclimate for your cuttings. Make sure the leaves aren’t touching the plastic if possible.
The “Secret Sauce” (Pro Tips)
Here are a couple of little tricks I’ve picked up over the years that can make a big difference:
- Avoid Over-Watering: This is probably the biggest killer of cuttings. The soil should always feel moist but not soggy. If you can squeeze water out of the soil, it’s too wet. Good drainage is your best friend here.
- Bottom Heat is Your Friend: If you have the space and tools, placing your pots on a heat mat set to around 70-75°F (21-24°C) can significantly speed up root formation. It mimics the warmth of spring soil.
Aftercare & Troubleshooting
Once your cuttings are planted, keep them in a bright location that receives indirect sunlight. Avoid harsh, direct sun, which can scorch the delicate leaves. Check the moisture levels regularly and mist if the soil starts to dry out.
You’ll know your cuttings are happy when you start to see new leaf growth appearing. This is a fantastic sign that roots are forming! If you gently tug on a cutting and feel some resistance, that means roots have developed. You can then gradually acclimate them to less humid conditions by opening the plastic bag or propagator a little each day for a week or so.
The most common sign of trouble is rot. If you see your cuttings turning brown and mushy, or if you notice a foul smell from the soil, it’s likely due to over-watering and lack of air circulation. In this case, unfortunately, it’s best to discard the affected cuttings and start again, focusing on improving your watering and drainage.
A Encouraging Closing
Propagating plants is such a rewarding journey. It’s a chance to connect with nature on a deeper level and, of course, to fill your garden with more of the plants you love. Don’t get discouraged if your first attempt isn’t perfect. Gardening is all about learning and experimenting. Be patient, enjoy the process of nurturing these tiny beginnings, and you’ll soon be admiring your very own Melaleuca gnidioides! Happy propagating!
Resource:
https://identify.plantnet.org/k-world-flora/species/Melaleuca%20gnidioides%20Brongn.%20&%20Gris/data