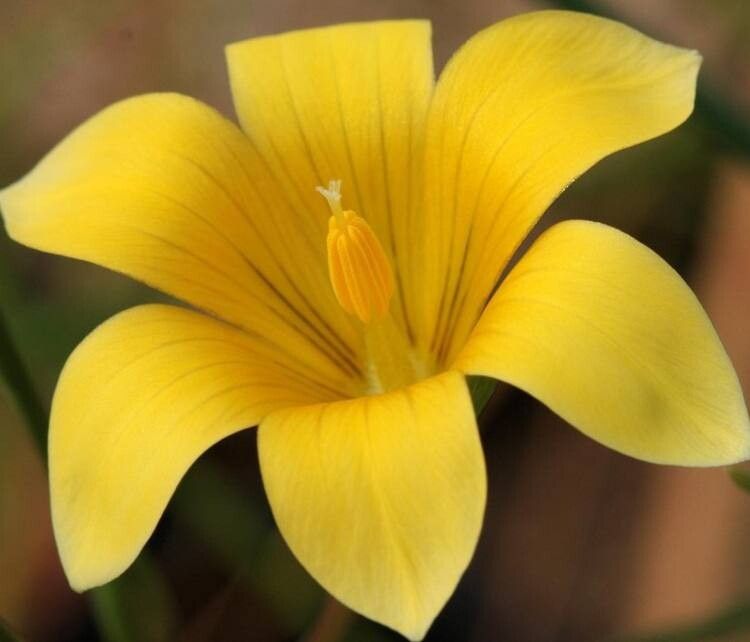
Ah, Romulea saldanhensis! If you’re looking for a little splash of unique charm in your garden, this is it. These petite beauties, often called “Little Onions” for their charming corms, offer delicate, star-shaped flowers in a range of soft hues. They have this lovely way of peeking out, bringing a real sweetness to a corner that might otherwise be overlooked. Propagating them is a wonderfully rewarding way to multiply that joy, and while they aren’t exactly a “plant it and forget it” kind of propagation, they’re certainly achievable for most home gardeners with a little care.
The Best Time to Start
For Romulea saldanhensis, the sweet spot for propagation is right after they finish blooming. Think of it as the plant catching its breath before its next big growth spurt. This usually falls in late spring to early summer. You want to catch them when they’re actively growing but not stressed by summer heat or winter dormancy.
Supplies You’ll Need
Gathering your supplies before you begin makes the whole process smoother. Here’s what I usually have on hand:
- Small terracotta pots or seedling trays: Good drainage is key!
- A well-draining potting mix: I like a blend of equal parts coarse sand, perlite, and a good quality potting soil.
- Sharp, sterile pruning shears or a sharp knife: For clean cuts.
- A small trowel or dibber: For planting your corms or cuttings.
- Watering can with a fine rose: To avoid disturbing delicate new growth.
- Rooting hormone powder (optional but helpful): Especially if you’re trying stem cuttings.
- Labels and a permanent marker: To keep track of what you’ve planted!
Propagation Methods
Romulea saldanhensis is primarily propagated from its charming corms, which are essentially underground storage organs. Think of them like miniature bulbs.
Method 1: Corm Division
This is the most straightforward and reliable method for Romulea saldanhensis.
- Gently unearth: After the foliage has died back (usually by late spring/early summer), carefully dig around the parent plant. You’re looking for the main corm and any smaller offsets that have formed around its base.
- Separate the corms: With clean hands or a small brush, gently loosen the soil and separate the smaller corms from the mother corm. Be gentle; they are quite delicate. If there are any old, dried-up husks or roots, you can carefully remove them.
- Let them air dry (optional but recommended): Some gardeners like to let the separated corms air dry for a day or two in a shaded, airy spot. This helps any small cuts heal over and reduces the risk of rot.
- Planting: Fill your small pots or trays with your well-draining mix. Make a small hole with your finger or dibber and place the corm about 1-2 cm deep, pointed end up if you can discern it.
- Water lightly: Give them a gentle watering.
Method 2: Seed (Less common for home propagation)
While you can grow Romulea from seed, it’s a much slower process and the results might not be identical to the parent plant. If you’re feeling adventurous, you’d collect the seed after flowering, sow them in a similar well-draining mix, and keep them consistently moist and cool. Expect germination to take time, and flowering might be a year or two away. For beginners, corm division is definitely the way to go.
The “Secret Sauce” (Pro Tips)
Here are a couple of things I’ve learned over the years that really seem to make a difference:
- Don’t overwater newly planted corms. While they need moisture to establish, waterlogged conditions are their worst enemy. Let the surface of the soil dry out slightly between waterings. My rule of thumb is to check the soil moisture with my fingertip – if I feel even a hint of dampness, I wait.
- Think of early dormancy as a rest period. After the flowers fade and the leaves start to yellow and die back, resist the urge to water them constantly. They’ve done their work for the season and are storing energy in those corms. A little bit of natural rainfall is usually sufficient, and if you’re in a dry spell, very sparse watering is all they need.
Aftercare & Troubleshooting
Once your corms are planted, keep them in a bright, airy spot, but out of direct, scorching sun, especially if it’s warm where you are. Water sparingly, as we discussed. You’ll know they’re happy when you start to see fresh green shoots emerge, usually within a few weeks to a couple of months, depending on the conditions.
The most common issue you’ll encounter is rot. If you see your corm turning mushy, brown, and smelly, it’s usually a sign of too much moisture. Unfortunately, if it gets to this stage, it’s often irreversible for that particular corm. It’s a tough lesson, but it just reinforces the importance of that well-draining soil and careful watering. Sometimes, a tiny little bit of mold might appear on the surface of the soil; this is usually cosmetic and can be gently scraped away, but keep an eye on it.
A Encouraging Closing
Growing and propagating Romulea saldanhensis is a delightful journey. It teaches you to observe, to be patient, and to appreciate the resilience of these small but mighty plants. Don’t be discouraged if not every corm takes off right away. Each plant is a little miracle, and the satisfaction of seeing new life emerge from what you’ve nurtured is truly one of gardening’s greatest joys. Happy propagating!
Resource:
https://identify.plantnet.org/k-world-flora/species/Romulea%20saldanhensis%20M.P.de%20Vos/data