Oh, hello there! Come on in, grab a mug. Let’s chat about bringing more of those lovely dandelion wishes into your life. Today, we’re diving into the world of Taraxacum aquitanum, or as we more commonly know them, those cheerful roadside dandelions. Now, you might be thinking, “Dandelions? Really?” But trust me, there’s a surprising charm to this resilient little plant, and propagating them is a wonderfully rewarding little project. It’s a fantastic way to fill your garden, share with friends, or even just create a patch of pure joy. And the best part? This is one of those plants that’s quite welcoming to newcomers. You don’t need years of experience to have success here.
The Best Time to Start
When it comes to getting new Taraxacum aquitanum off to a good start, spring is your best friend. As the soil warms up and the plant itself is bursting with new growth, it’s full of energy. You want to catch them when they’re actively growing, not when they’re stressed from heat or cold. Early spring, just as the first leaves unfurl after winter, or even late autumn before things get truly frosty, can also be successful.
Supplies You’ll Need
Gathering your tools makes the process so much smoother. Here’s what I usually have on hand:
- Sharp pruning shears or a clean knife: For making precise cuts.
- Small pots or seed trays: Clean ones, of course!
- A well-draining potting mix: A mix of peat moss and perlite works wonders, or even just a good quality seed starting mix.
- Watering can with a fine rose: To avoid disturbing delicate roots.
- Rooting hormone (optional, but helpful): Particularly for more stubborn cuttings.
- Labels: To remind yourself what you planted and when!
Propagation Methods
Taraxacum aquitanum is quite versatile, so we have a couple of easy-peasy ways to get more plants.
1. Division (My Favorite!)
This is probably the most straightforward method, and it’s perfect for spring growth.
- Gently excavate: Carefully dig up an established dandelion plant. Try to get as much of the root system as you can without damaging it too much.
- Clean the roots: Gently brush off excess soil so you can see the roots clearly.
- Identify divisions: Look for where the crown (the very base of the plant where leaves emerge) naturally splits into two or more sections, each with its own root.
- Separate with care: Using your hands or a clean knife, gently pull or cut the divisions apart. Make sure each piece has at least a bit of root and a few leaves.
- Pot them up: Plant each division into its own pot filled with your well-draining mix. Ensure the crown is at or just slightly above soil level.
- Water and settle: Water gently to help the soil settle around the roots.
2. Seed Starting (For the Wish-Makers)
While less of a direct “propagation” in the sense of cloning, growing from seed is how these beauties spread naturally and is incredibly satisfying.
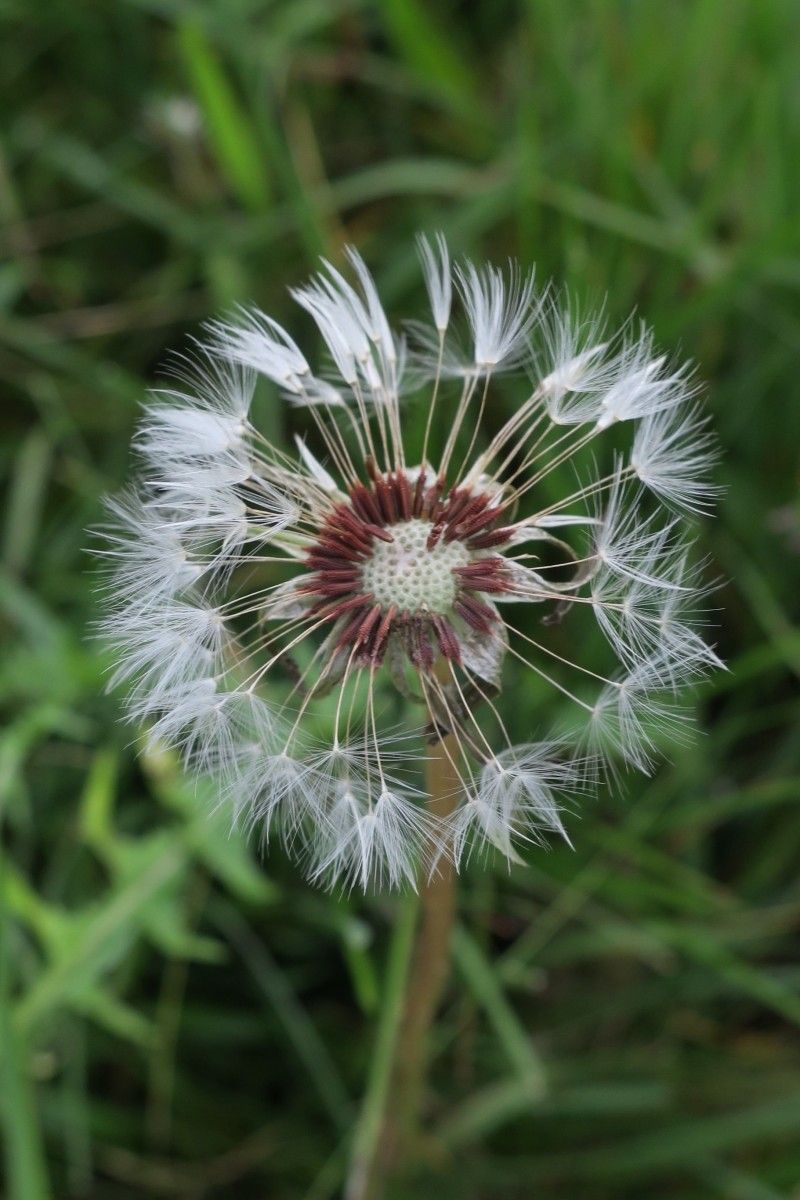
- Collect seed heads: Wait until the flowers have faded and turned into those delightful fluffy seed heads. When they’re ready, they’ll look like little balls of white fluff.
- Harvest carefully: Pluck the entire seed head or gently twist it off.
- Sow the seeds: You can sow them directly in the garden where you want them to grow, or in pots filled with your seed starting mix. Just press them lightly into the surface, no need to bury them deeply.
- Keep moist: Water gently. The seeds need consistent moisture to germinate. You can even cover your pots with a light layer of plastic wrap to help retain humidity, but make sure there are a few small holes for air.
- Watch them sprout: Germination can happen quite quickly, sometimes within a week or two, especially in warm conditions.
The “Secret Sauce” (Pro Tips)
Now, a couple of little tricks I’ve picked up over the years that might give you an extra edge:
- Don’t drown the roots: When dividing, if a root is a bit long or damaged, don’t be afraid to trim it back slightly. This encourages fresh root growth and prevents potential rot.
- A little warmth goes a long way: For divisions, if you’re starting them indoors, placing the pots on a heat mat can really speed up root development. It mimics that lovely spring soil warmth.
Aftercare & Troubleshooting
Once your divisions are potted or your seedlings have emerged, give them a little TLC. Keep them consistently moist but never waterlogged. They’ll be looking for good light – a sunny windowsill or a bright spot in the garden is perfect.
The most common issue you might encounter is rot, often caused by too much moisture. If you see leaves yellowing and looking limp, and the soil feels soggy, gently check the roots. If they’re mushy and brown, unfortunately, that division or seedling might not make it. Remove any rotted parts and allow it to dry out a bit. Sometimes, it’s just a matter of patience, though. Don’t give up too quickly!
A Little Encouragement
Embarking on this little propagation journey is a fantastic way to connect with nature and fill your space with these cheerful plants. Be patient with your new dandelions. They are remarkably resilient, and with a bit of care, you’ll soon be rewarded with your own flourishing patches. Enjoy the process, and happy gardening!
Resource:
https://identify.plantnet.org/k-world-flora/species/Taraxacum%20aquitanum%20Hofstra/data