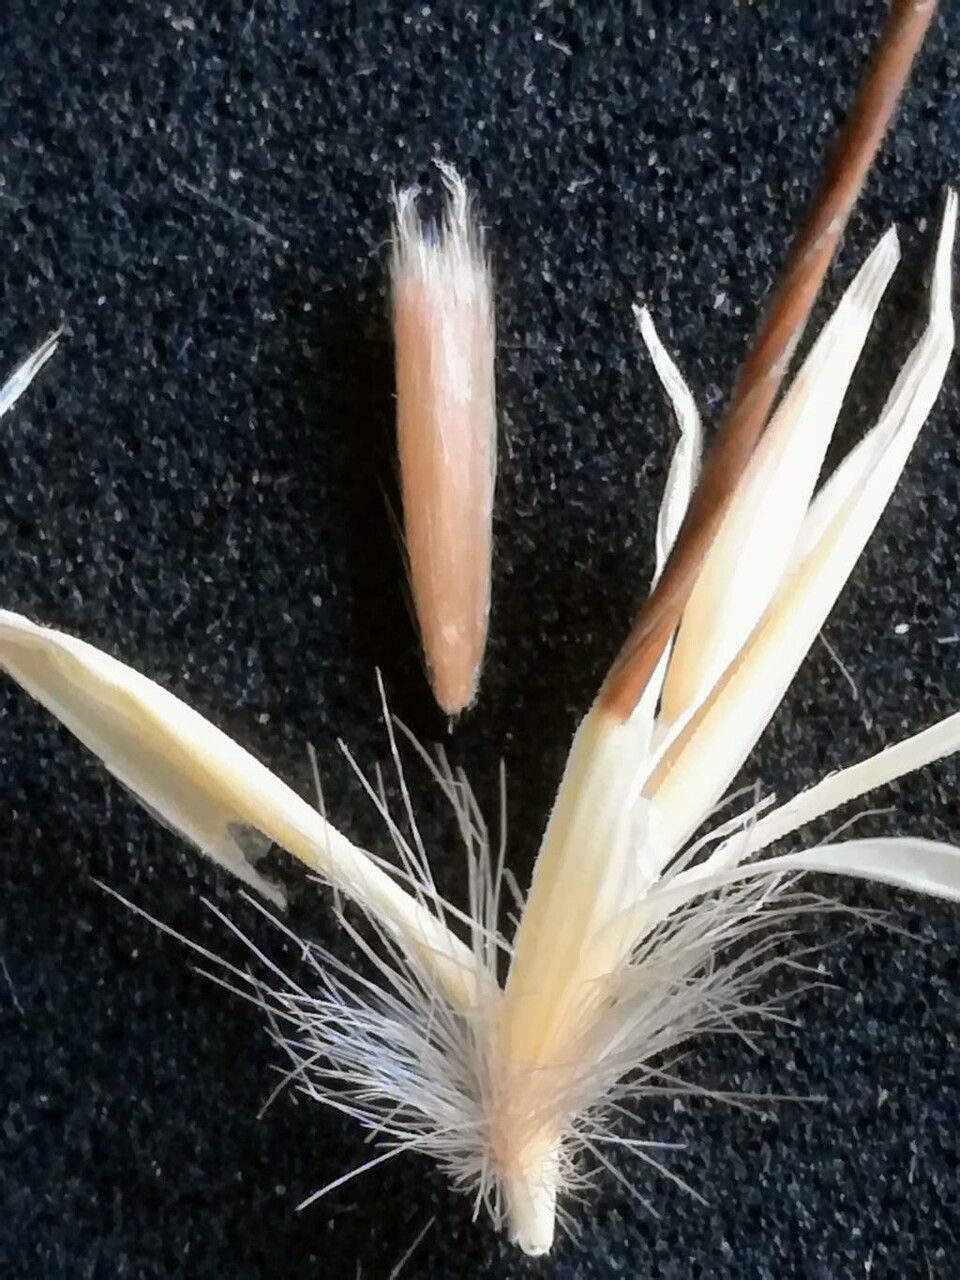
Oh, Avena barbata! If you’ve ever seen this beauty gracing a garden, you know it’s more than just a grass. It has this elegant, almost wild charm that just draws you in. I’ve been growing and experimenting with it for years, and let me tell you, propagating it is a truly rewarding endeavor. It’s surprisingly straightforward, even if you’re just dipping your toes into the world of plant propagation. You get to witness that magical spark of new life, all from a piece of your favorite plant.
The Best Time to Start
Honestly, the sweet spot for propagating Avena barbata is late spring to early summer. This is when the plant is actively growing, full of vigor. You’ll be working with fresh, healthy material, which always increases your chances of success. Think of it as catching the plant at its peak energy!
Supplies You’ll Need
Gathering your supplies beforehand makes the whole process flow so much smoother. Here’s what I usually have on hand:
- Sharp pruning shears or a clean knife: For making clean cuts.
- A well-draining potting mix: I like a blend of peat moss, perlite, and a bit of compost. For grasses, a mix with good aeration is key!
- Small pots or trays: Just big enough for your cuttings.
- Rooting hormone (optional but helpful): For that extra boost.
- A mister or spray bottle: For keeping things humid.
- Clear plastic bags or a propagator: To create a mini greenhouse effect.
Propagation Methods
We’ll focus on the most effective way to multiply your Avena barbata, which is through stem cuttings.
- Select Your Cuttings: Look for healthy, non-flowering stems. You want pieces that are at least 4-6 inches long and have a few nodes (those little bumps where leaves emerge).
- Make the Cut: Using your sharp shears or knife, make a clean, angled cut just below a node. This is where the new roots will ideally form.
- Prepare the Cutting: Gently remove the lower leaves from the cutting. You want to expose the node where you’ll be aiming for root development. If the cutting is very long, you can even trim it down to about two nodes above the soil line, but I usually leave a bit more length.
- Apply Rooting Hormone (Optional): If you’re using rooting hormone, dip the cut end into the powder or gel. Tap off any excess.
- Plant Your Cuttings: Fill your small pots with your prepared potting mix. Make a small hole with your finger or a pencil, and gently insert the cut end of your Avena barbata cutting. Firm the soil gently around the base to ensure good contact.
- Water and Cover: Water thoroughly but gently. You want the soil to be moist, not soggy. Then, cover the pot with a clear plastic bag or place it in a propagator. This traps humidity, which is crucial for the cuttings to root well.
The “Secret Sauce” (Pro Tips)
Here are a few things I’ve learned that make a real difference:
- When you take your cuttings, avoid directly crushing the stems. A clean slice is much better than a ragged tear – it reduces the risk of disease and encourages rooting.
- If you’re using the bag method, try to keep the leaves from touching the plastic. Condensation can drip onto the leaves and encourage rot. If they’re touching, you can prop the bag up with a small stake.
- I’ve found that gentle bottom heat can really speed things up. A seedling heat mat set on a low setting can provide that little bit of warmth that encourages root formation without cooking your cuttings.
Aftercare & Troubleshooting
Once your cuttings are planted, keep them in a bright location, but out of direct, harsh sunlight. The key here is consistent moisture. Mist the cuttings daily or every other day, especially if you don’t have them covered. You’ll start to see new growth appear in about 3-6 weeks, which is a good sign that roots are forming.
The most common problem you’ll encounter is rot. If your cutting turns mushy, black, or starts to fall apart, it’s likely rotted. This is usually due to overwatering or poor air circulation. If you see signs of rot, remove the affected cutting immediately to prevent it from spreading. Don’t be discouraged; sometimes propagation is a numbers game!
A Encouraging Closing
Watching those tiny roots emerge and seeing a new plant unfurl its leaves is just one of gardening’s greatest joys. Be patient with your Avena barbata cuttings. Nature has its own timeline, and the process of growth is something to be savored. Happy propagating, and enjoy the abundance your garden brings!
Resource:
https://identify.plantnet.org/k-world-flora/species/Avena%20barbata%20Pott%20ex%20Link/data