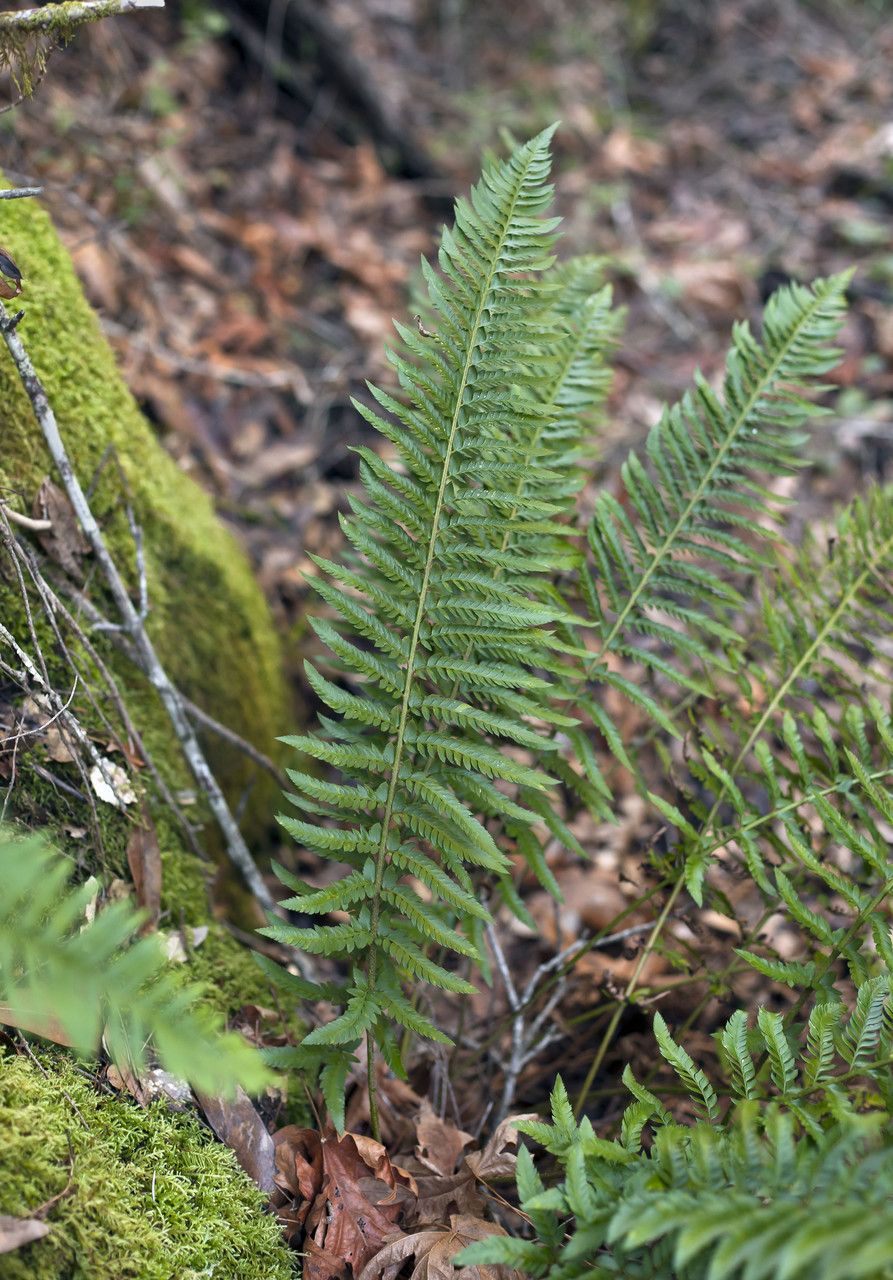
Oh, I’m just thrilled you’re interested in Polystichum californicum! This Pacific Northwest native fern has such a charm, doesn’t it? Its fronds are a lovely deep green, and there’s something so grounding about adding a woodland native to your garden. And the best part? Growing more of these beauties from your existing plants is incredibly rewarding. Don’t let those fancy botanical names intimidate you; propagating this fern is actually quite forgiving, even for those of you just dipping your toes into the world of plant propagation.
When is the Best Time to Start?
For Polystichum californicum, the absolute best time to get your hands dirty with propagation is in early spring. You want to catch the plant as it’s just starting its vigorous new growth for the season. The new fiddleheads will be unfurling, and everything is just waking up. This is when the plant has the most energy to put into developing new roots and establishing itself. Waiting until things are really buzzing with growth will give you the highest success rate.
What You’ll Need for Your Propagation Adventure
Here’s what I always have on hand when I’m propagating ferns:
- Sterile potting mix: A blend of peat moss or coco coir, perlite, and a bit of compost works wonderfully. It needs to hold moisture but also drain well.
- Sharp, clean pruning shears or a knife: A dull tool can bruise the plant and invite disease.
- Small pots or trays: Whatever you have available, just make sure they have drainage holes.
- Plastic bags or a propagation dome: To create a humid environment.
- Watering can with a fine rose: For gentle watering.
- Patience! (This is the most important tool, honestly.)
Let’s Get Propagating!
For Polystichum californicum, division is your best friend. It’s a method that takes advantage of the way this fern naturally grows.
- Gently dig up your fern. Do this in early spring. Try to disturb the root ball as little as possible.
- Examine the root system. You’ll likely see that the plant has grown outward, forming multiple crowns. These are your propagation opportunities!
- Carefully tease the plant apart. Use your fingers or a blunt tool to separate the clumps. You want to ensure each division has its own healthy roots and at least one good crown (the leafy part). If the roots are really tangled, you might need to use your clean pruning shears to make cuts, but always aim for the least invasive method first.
- Pot up your divisions. Plant each new division into its own pot filled with your prepared potting mix. Make sure the crown is sitting right at the soil surface.
- Water thoroughly. Give them a good, gentle watering to settle the soil around the roots.
The “Secret Sauce” – My Insider Tips
Here are a couple of little things I’ve learned over the years that really help:
- Think “Humid Cocoon.” After you pot up your divisions, cover them with a plastic bag or a propagation dome. This creates a mini greenhouse effect, which is crucial for ferns. They absolutely love that high humidity while they’re establishing.
- Less is More with Light (Initially). Place your newly potted divisions in a spot that gets bright, indirect light. Direct sun will scorch those tender new fronds. They don’t need intense light until they’re well-rooted and showing active growth.
Aftercare and What to Watch For
Once your fern divisions are potted up, give them a good drink and tuck them into their humid little homes.
Keep the soil consistently moist but never soggy. That’s the golden rule for ferns. Check the moisture level by sticking your finger about an inch into the soil. If it feels dry, it’s time to water gently.
You should start to see signs of new growth – tiny, unfurling fiddleheads – within a few weeks to a couple of months. This is your cue that roots are forming!
The biggest thing to watch out for is rot. If you see mushy, brown stems or leaves that look waterlogged and sad, it’s usually a sign of overwatering. Make sure your pots have good drainage, and try not to let the divisions sit in standing water. Sometimes, if rot sets in badly, all you can do is discard the affected piece and try again. Don’t get discouraged if it happens!
Happy Fern Growing!
Propagating Polystichum californicum is such a satisfying journey. It’s a chance to understand your plants a little better and to share their beauty with others, or simply to have more of your favorite fern to admire. Be patient, enjoy the process, and don’t be afraid to get your hands in the soil. Happy growing!
Resource: