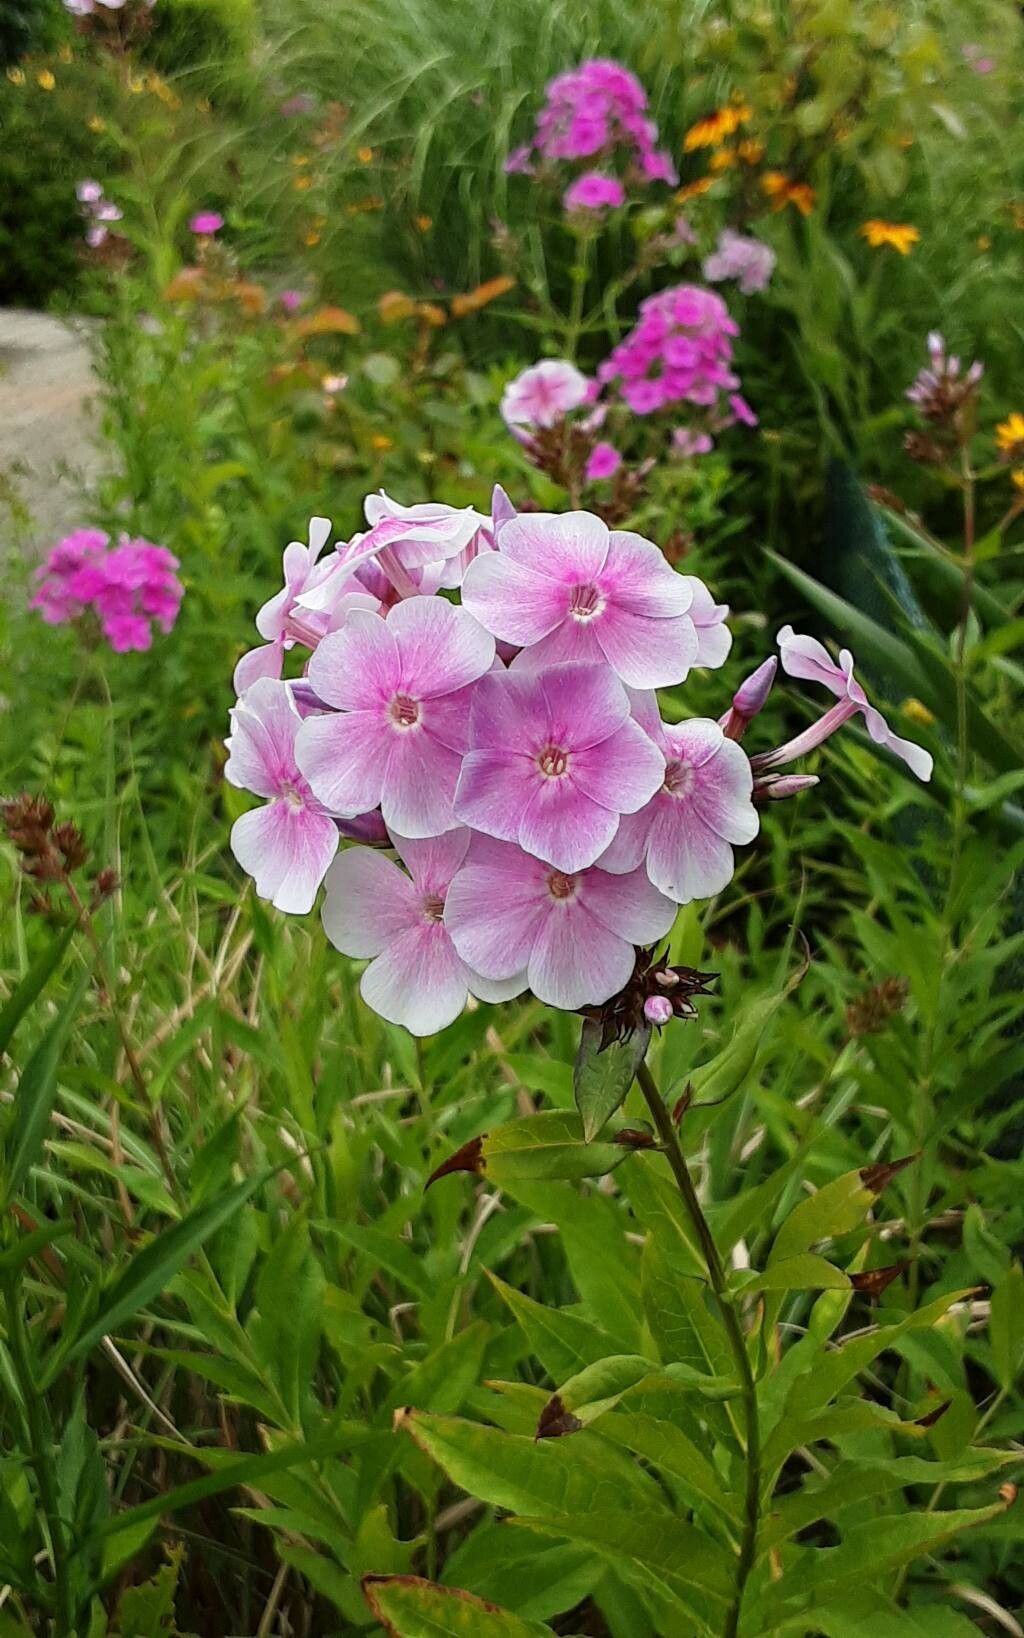
Oh, Phlox maculata! Isn’t it just a delight? That lovely upright growth and those vibrant, often fragrant, flower spikes in summer? It’s a real workhorse in the garden, bringing color and attracting all sorts of pollinators. And the best part? You can easily fill your garden with more of these beauties by propagating them yourself. If you’re new to gardening, I’d say this is a wonderfully forgiving plant to start with. You’re going to have a blast!
The Best Time to Start
For those lush, healthy new plants, I find the sweet spot for propagating Phlox maculata is late spring to early summer. This is when the plant is actively growing and has plenty of energy to put into rooting. You want to catch the stems when they’re still somewhat flexible but have started to firm up a bit – not too soft and floppy, and not woody.
Supplies You’ll Need
Here’s what you’ll want to gather:
- Sharp pruning shears or a clean, sharp knife: For making clean cuts.
- Rooting hormone (optional but recommended): It gives your cuttings a real boost.
- Small pots or seed trays: With drainage holes, of course!
- A well-draining potting mix: I love a mix of equal parts peat moss or coco coir, perlite, and a bit of compost.
- A clear plastic bag or a propagation dome: To create a mini-greenhouse effect.
- Watering can with a fine rose: For gentle watering.
- Labels or markers: To keep track of what you’ve planted!
Propagation Methods
I typically rely on two trusty methods for Phlox maculata: stem cuttings and division.
Stem Cuttings
This is my go-to for increasing my phlox collection.
- Take Your Cuttings: Look for healthy, non-flowering stems. Using your clean shears, take 4-6 inch cuttings from the tips of these stems. Make your cuts just below a leaf node (where a leaf attaches to the stem).
- Prepare the Cuttings: Gently remove the lower leaves, leaving just two to four leaves at the top. This prevents them from rotting in the soil. If your cutting has a flower bud, snip it off.
- Apply Rooting Hormone (Optional): Dip the cut end of each stem into your rooting hormone powder, tapping off any excess.
- Plant Your Cuttings: Fill your pots with your prepared potting mix. Make a small hole with your finger or a pencil and insert the cuttings, ensuring the leaf nodes are buried. Firm the soil gently around them.
- Water and Cover: Water the soil thoroughly but gently. Then, cover the pots with a clear plastic bag or a propagation dome to keep the humidity high. You can prop the bag up with stakes if needed so it doesn’t touch the leaves.
Division
This is perfect for rejuvenating a mature clump and creating new plants.
- Dig Up the Clump: In early spring, before new growth gets too vigorous, carefully dig up your established phlox clump. You can use a garden fork for this.
- Separate the Roots: Gently shake off excess soil. You’ll see that the clump is made up of many smaller sections. Gently pull or use your trowel to divide the clump into smaller sections, ensuring each section has a good amount of roots and at least one or two healthy shoots.
- Replant Immediately: Plant the divisions back into your garden or into pots filled with good soil, watering them in well.
The “Secret Sauce” (Pro Tips)
Here are a few things I’ve learned over the years that really help:
- Bottom Heat is Your Friend: If you can, place your pots with cuttings on a heat mat. This warmth from below encourages root development much faster, especially if your greenhouse or indoor space is a bit cooler.
- Watch for a Wilt-Free Sign: When your cuttings are ready to be weaned from their humidity dome, they’ll show you. The best sign is that they no longer wilt when you gently pull on them. This indicates they have their own root system to support them.
- Don’t Over-Water Early On: While humidity is key, soggy soil is the enemy of cuttings. Ensure your potting mix is consistently moist but not waterlogged. Letting the surface dry out slightly between waterings can prevent rot.
Aftercare & Troubleshooting
Once your cuttings have small roots (you might see them peeking out the drainage holes or feel increased resistance when you gently tug), it’s time for a little extra care.
Gradually acclimate them to drier air by lifting the plastic bag for increasing periods each day. Once they seem sturdy, you can remove the bag entirely. Continue to keep the soil moist and provide them with bright, indirect light.
If you notice yellowing leaves that aren’t explained by transplant shock, or mushy stems, these are often signs of root rot. This is usually caused by overwatering or poor drainage. If you spot it early, you might be able to save the cutting by letting it dry out more and ensuring good air circulation. Unfortunately, severe rot is hard to recover from. Rotting off at the soil line is also a common issue if the environment is too wet.
A Encouraging Closing
Becoming a plant parent to new Phlox maculata from scratch is such a wonderfully satisfying journey. Be patient with your little ones, trust the process, and enjoy watching them grow. Before you know it, you’ll have a whole garden bursting with these cheerful blooms! Happy propagating!
Resource:
https://identify.plantnet.org/k-world-flora/species/Phlox%20maculata%20L./data