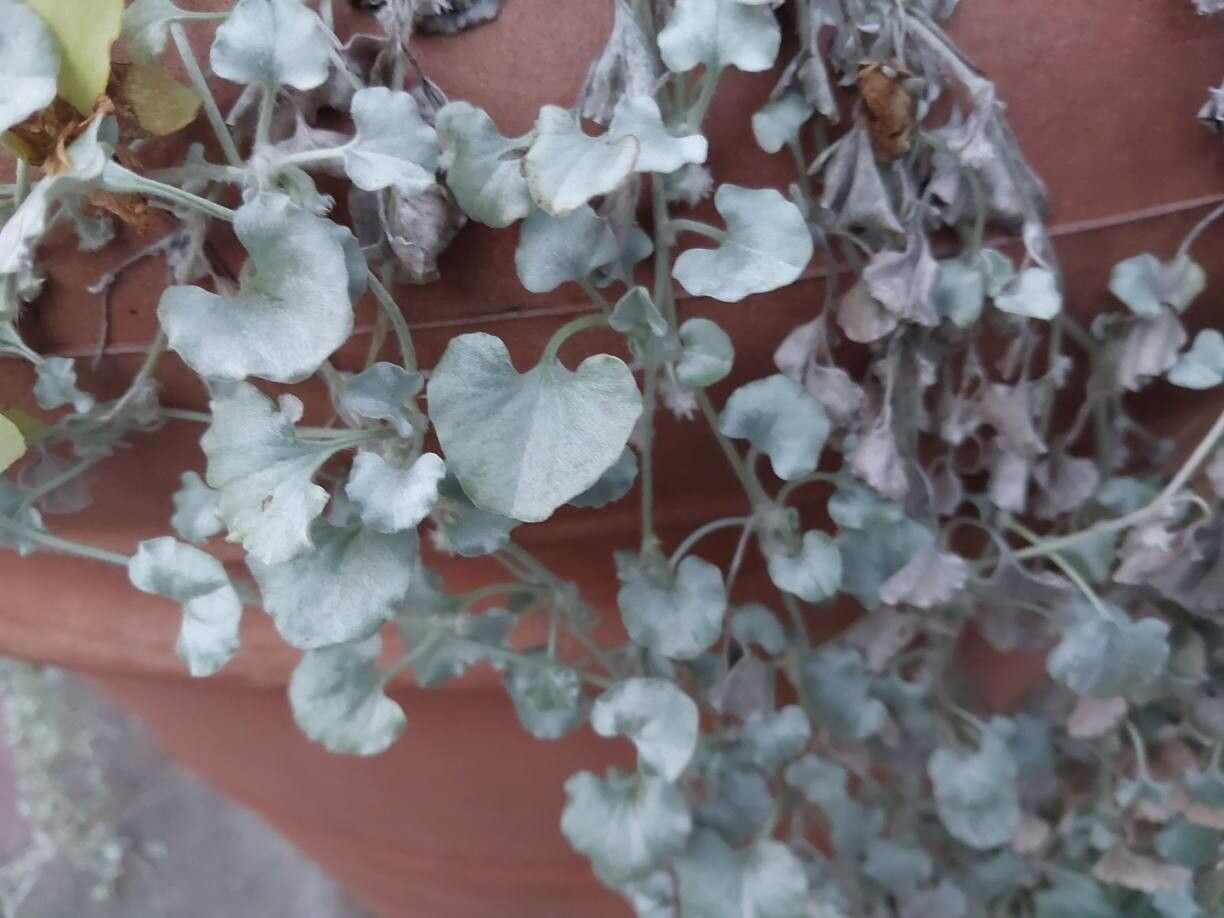
Hello fellow garden enthusiasts! If you’re anything like me, you’ve probably fallen head over heels for Dichondra argentea, that cascading wonder with its silvery leaves. It’s just delightful, isn’t it? Whether you’re looking to fill out a hanging basket, spill over the edges of a pot, or add some shimmering texture to a groundcover, this plant delivers. And the best part? It’s surprisingly easy to multiply! Getting more of this beauty is a wonderfully rewarding experience, even for those just dipping their toes into the world of propagation.
The Best Time to Start
For the most vibrant and successful propagation, late spring through early summer is your sweet spot. This is when the plant is in its most vigorous growth phase, meaning it has plenty of energy to put into developing new roots. You’ll be working with actively growing stems, which are much more likely to strike.
Supplies You’ll Need
Gathering your tools beforehand makes the whole process smoother. Here’s what I always have on hand:
- Sterilized pruning shears or sharp scissors: For clean cuts.
- Seed starting mix or a well-draining potting mix: Something light and airy is key. A 50/50 blend of peat moss and perlite works wonderfully.
- Small pots or seed trays: Clean ones, please!
- Rooting hormone (optional but recommended): A liquid or powder form will do.
- Plastic bags or a propagation dome: To create a humid environment.
- Water: For drinking and for the propagation trays.
- A spray bottle: For misting.
Propagation Methods
Let’s get our hands dirty! Dichondra argentea is a dream to propagate, and stem cuttings are my absolute favorite way to go.
Stem Cuttings
- Take your cuttings: Find a healthy, actively growing stem. Using your sterilized shears, make a clean cut just below a leaf node (where a leaf meets the stem). Aim for cuttings that are about 3-4 inches long. Remove the lower leaves, leaving only a few at the top. This prevents them from rotting when buried.
- Dip in rooting hormone (optional): If you’re using rooting hormone, dip the cut end of the stem into it. Tap off any excess.
- Plant your cuttings: Fill your small pots with your prepared potting mix. Make a small hole with your finger or a pencil. Gently insert the cut end of the stem into the hole, ensuring it’s firm in the soil.
- Water and cover: Water the soil gently until it’s moist but not soggy. This is where the magic of humidity comes in! Either cover the pots with a plastic bag (propping it up with a skewer so it doesn’t touch the leaves) or place them under a propagation dome.
- Find a bright spot: Place your pots in a location that receives bright, indirect light. Avoid direct sun, as this can scorch your precious cuttings.
Water Propagation (a fun alternative!)
If you’re curious to see those roots develop, water propagation is a lovely option.
- Prepare cuttings: Follow step 1 of the stem cutting method.
- Place in water: Put the cut ends of your cuttings into a glass or jar of clean water. Make sure the leaf nodes you removed are submerged, but try to keep the remaining leaves out of the water.
- Change water regularly: Refresh the water every few days to keep it clean and oxygenated.
- Watch them grow: You’ll start seeing little white roots emerge in a couple of weeks. Once the roots are about an inch long, you can carefully transplant them into pots with soil, following the planting instructions in the stem cutting method.
The “Secret Sauce” (Pro Tips)
Here are a couple of tricks I’ve learned over the years that really boost success:
- Don’t let the leaves touch the water or soil: This is crucial! Any foliage submerged will inevitably rot and can take your cutting down with it. Keep those leaves airy and dry.
- Bottom heat is your friend: If you have a seedling heat mat, placing your pots on it can make a world of difference. It encourages root development from below, speeding up the process and increasing your chances of success. Just a gentle warmth is all you need.
- Patience, grasshopper! Some plants root faster than others. Dichondra argentea is generally quick, but don’t despair if you don’t see progress immediately. Resist the urge to constantly pull them up to check.
Aftercare & Troubleshooting
Once you see new growth emerging from your cuttings, it’s a good sign that roots are forming! You can gently tug on a stem; if there’s resistance, you’ve got roots.
- Acclimatize slowly: If you used a plastic bag or dome, gradually start to open it up over a few days to let the new plant adjust to normal humidity.
- Water consistently: Keep the soil consistently moist but not waterlogged. A good watering once a week is usually sufficient, but check the soil moisture with your finger.
- Pot up: Once your cuttings have developed a good root system and are showing noticeable new growth, you can pot them into larger containers.
The most common issue you might encounter is rot. This usually happens if the soil is too wet or if leaves are constantly in contact with moisture. If you see stems turning mushy or black, it’s a sign of rot. Remove the affected cuttings, sterilize your tools, and try again, paying close attention to watering and air circulation.
A Little Garden Encouragement
Propagating plants is such a fulfilling way to expand your garden and share your love for plants. Don’t be discouraged if a few don’t make it – that’s all part of being a gardener! Celebrate the successes, learn from the challenges, and most importantly, enjoy the magical journey of growing new life. Happy propagating!
Resource:
https://identify.plantnet.org/k-world-flora/species/Dichondra%20argentea%20Willd./data