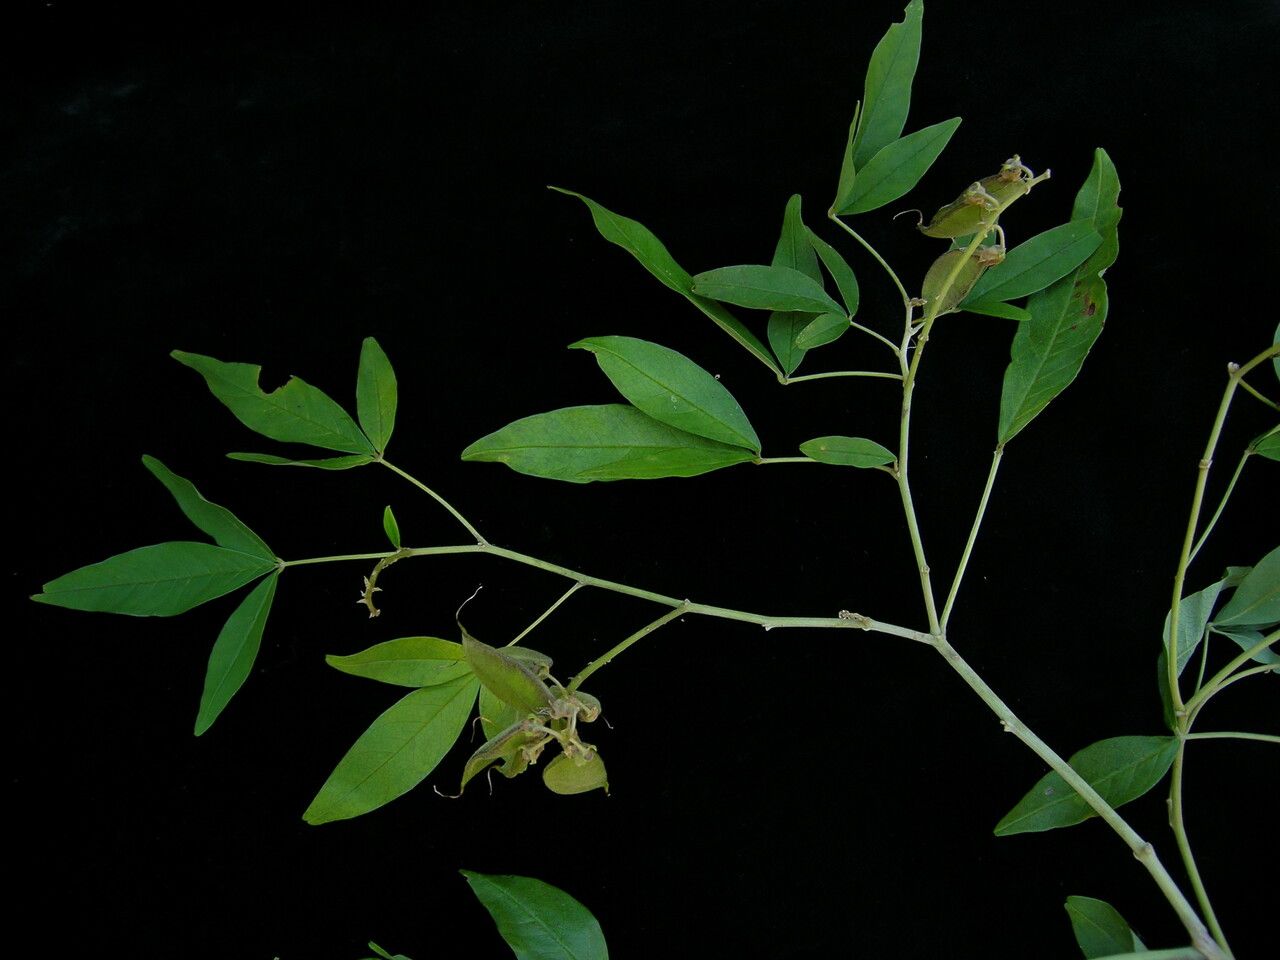
Hello fellow plant lovers! It’s so good to be here with you today, ready to chat about a plant that truly brings a smile to my face: Crotalaria cytisoides. You might know it better by its common name, Sunn Hemp, though this particular species offers a slightly more delicate charm with its lovely yellow blooms. It’s a fantastic addition to any garden, attracting pollinators and adding a burst of sunshine. Propagating it is a wonderful way to share its beauty or simply expand your own collection without a trip to the nursery. For beginners, you’ll be happy to hear that Crotalaria cytisoides is generally quite forgiving, making it a joy to work with.
The Best Time to Start
When it comes to coaxing new life from your existing plants, spring and early summer are your best friends for Crotalaria cytisoides. This is when the plant is actively growing, meaning it has all the energy it needs to push out new roots and establish itself. Aim for a period after any danger of frost has passed, when the days are getting longer and warmer.
Supplies You’ll Need
Gathering your tools beforehand makes the whole process smoother. Here’s what I like to have on hand:
- Sharp pruning shears or a clean knife: For making clean cuts.
- Well-draining potting mix: A blend of peat moss, perlite, and a bit of compost is ideal. You can also use a cactus/succulent mix.
- Rooting hormone (optional but recommended): This can give your cuttings a helpful boost.
- Small pots or seedling trays: With drainage holes, of course!
- Plastic bags or domes: To create a humid environment for cuttings.
- Watering can or spray bottle: For gentle watering.
- Labels and a marker: So you don’t forget what you planted where!
Propagation Methods
For Crotalaria cytisoides, I find stem cuttings to be the most reliable and rewarding method. Let’s walk through it.
- Take Your Cuttings: On a healthy, established plant, locate a stem that is semi-hardwood. This means it’s not brand new growth (which is too soft) and not old woody growth (which can be slow to root). Look for stems that are firm but still have some flexibility. Using your clean pruning shears or knife, take cuttings that are about 4-6 inches long. Make your cut just below a leaf node (where a leaf attaches to the stem).
- Prepare the Cuttings: Gently remove the lower leaves from the cutting, leaving just a few leaves at the top. This prevents the lower leaves from rotting in the soil. If you’re using rooting hormone, dip the cut end into the powder or gel, tapping off any excess.
- Plant Your Cuttings: Fill your small pots or trays with your prepared potting mix. Make a hole in the center of the soil with your finger or a pencil. Carefully insert the cut end of the Crotalaria cytisoides cutting into the hole, ensuring the leaf nodes you removed are below the soil surface. Gently firm the soil around the stem to provide support.
- Create a Humid Environment: Water the soil lightly so it’s evenly moist, but not waterlogged. Then, cover the pots with a clear plastic bag or a humidity dome. This traps moisture, which is crucial for cuttings to develop roots before they can take up water from the soil.
The “Secret Sauce”
After years of trial and error, I’ve picked up a few tricks that really make a difference!
- First, when using a plastic bag or dome, ensure the leaves aren’t touching the sides or the top of the plastic. If they are, they can be prone to fungal issues. You can use small stakes to prop up the bag if needed.
- If you have space, consider using bottom heat. A seedling heat mat placed underneath your pots can significantly speed up root development. It mimics the warmth of spring and can give your cuttings that extra push they need.
- And a small detail, but important: try to avoid disturbing the cuttings once they’re planted. Every time you poke around, you risk breaking delicate new root hairs. Patience is key here!
Aftercare & Troubleshooting
Once your Crotalaria cytisoides cuttings have been planted, keep them in a bright spot out of direct, harsh sunlight. The soil should remain consistently moist, like a wrung-out sponge. You’ll know your cuttings have rooted when you see new leaf growth or a gentle tug on the stem reveals resistance. This can take anywhere from 3-6 weeks.
Now, for the troubleshooting side. The most common issue you might face is rot. If your cuttings look yellowed, mushy, or are falling over, it’s often a sign of too much moisture combined with poor air circulation. Make sure your pot has good drainage, and don’t be afraid to let the very surface of the soil dry out slightly between waterings. If you see any signs of mold on the soil surface, you can try gently scraping it off or even replacing the top layer of soil.
Seeing those tiny new roots emerge is one of the most rewarding parts of gardening. Be patient with your Crotalaria cytisoides cuttings. It’s a journey, and with a little care and these tips, you’ll soon have a small army of these cheerful plants to enjoy and share. Happy propagating!
Resource:
https://identify.plantnet.org/k-world-flora/species/Crotalaria%20cytisoides%20Roxb.%20ex%20DC./data