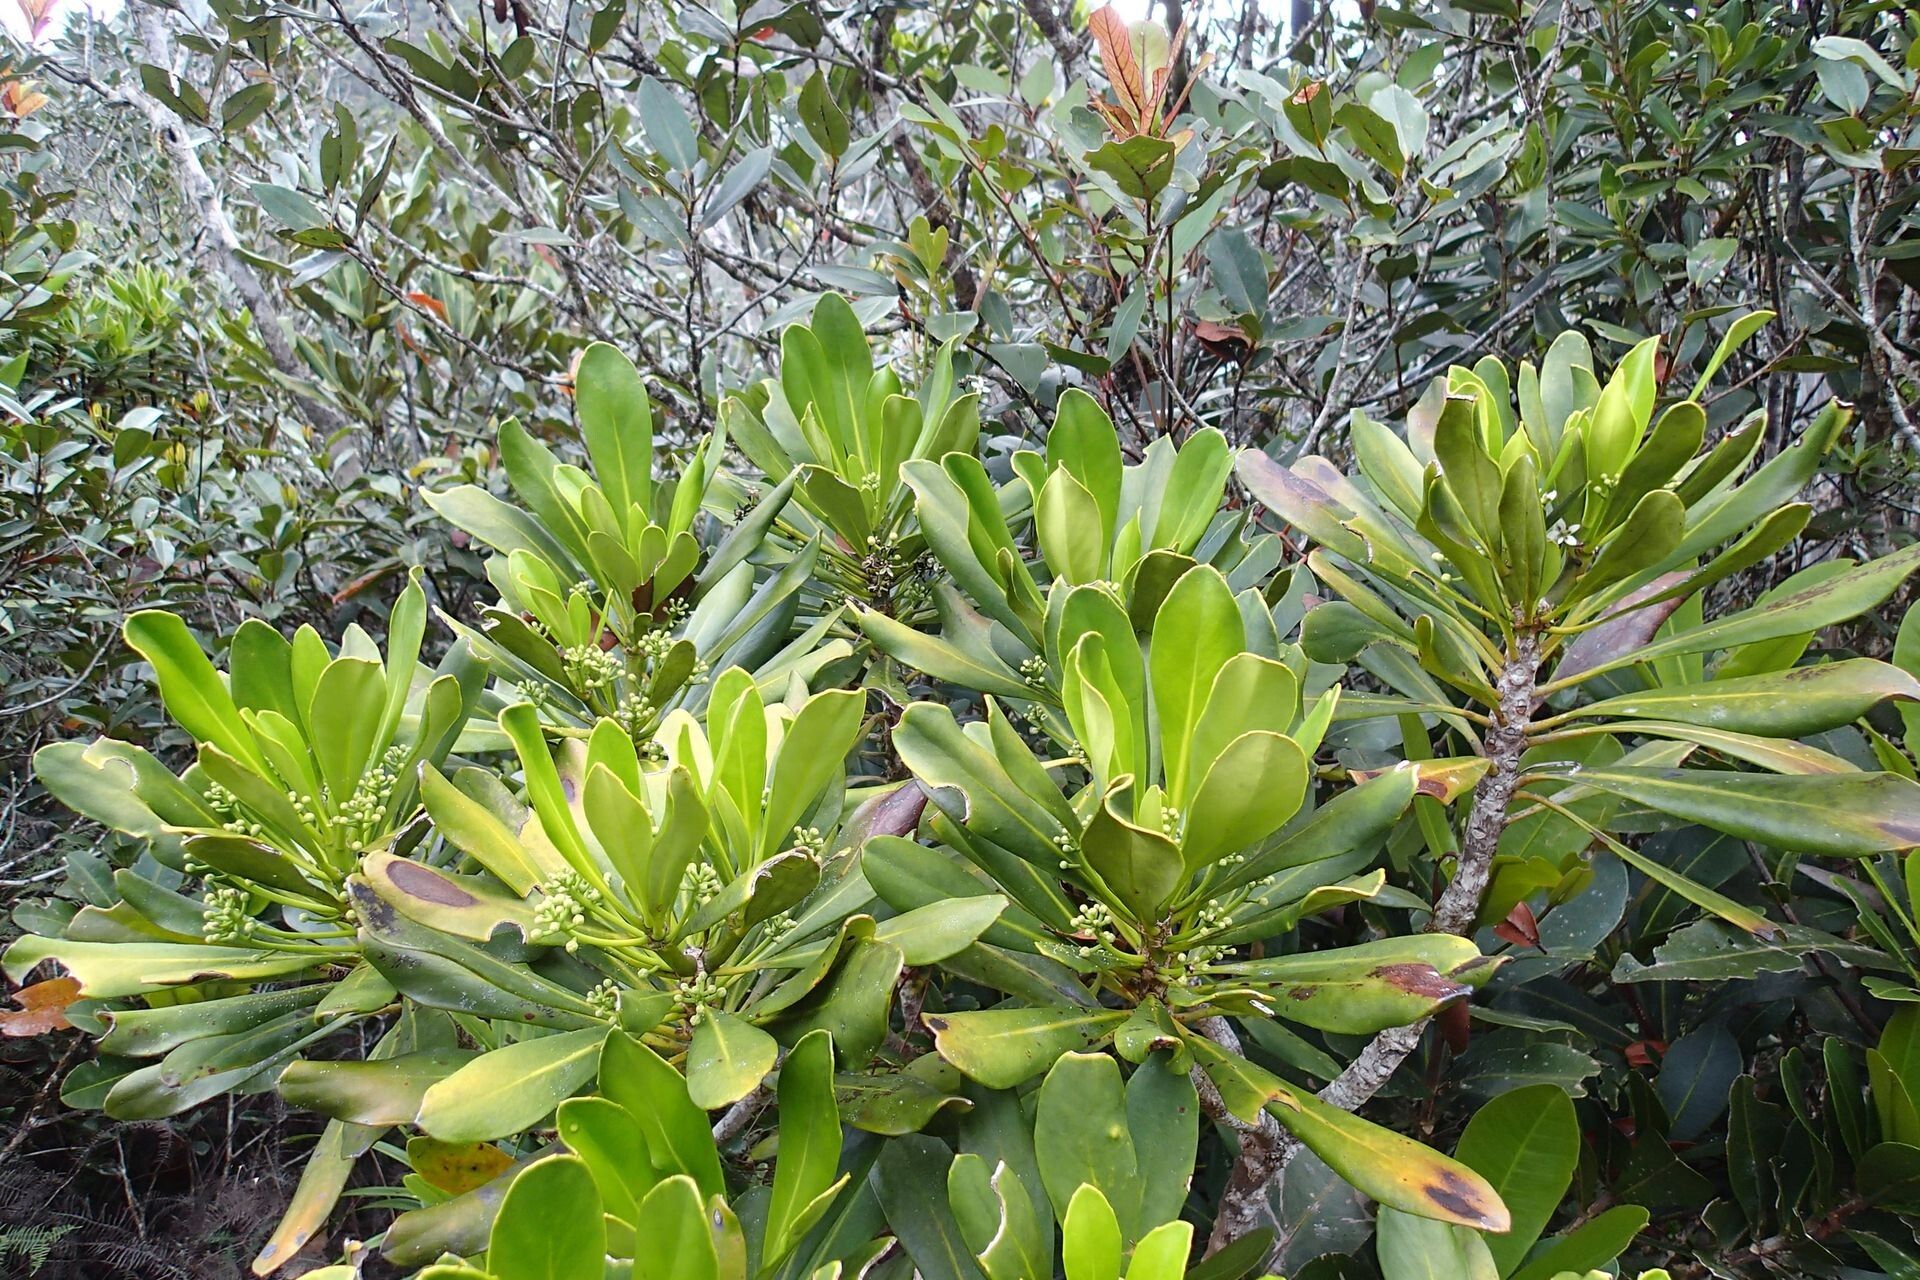
Oh, Phelline barrierei, isn’t she a beauty? I’ve always admired those glossy, architectural leaves and the way they add such a sophisticated touch to a garden. If you’re anything like me, the thought of creating more of these stunners from just one plant is incredibly appealing. And I’m here to tell you, it’s absolutely achievable! While I wouldn’t call Phelline barrierei an absolute beginner’s plant for propagation right out of the gate, with a little guidance, you’ll be creating your own little green armies in no time. The joy of watching a tiny cutting unfurl its first new leaf is something truly special.
The Best Time to Start
For Phelline barrierei, the sweet spot for propagation is definitely spring or early summer. This is when the plant is actively growing and has the most energy to put into developing new roots. You want to catch it when it’s feeling robust, not during its rest period. Look for new, healthy growth that’s firm but not overly woody.
Supplies You’ll Need
Gathering your supplies beforehand makes the whole process smoother. Here’s what I usually have on hand:
- Sharp Pruning Shears or a Clean Knife: Essential for making clean cuts.
- Rooting Hormone (Optional but Recommended): Especially helpful for encouraging faster root development.
- Well-Draining Potting Mix: A good blend would be equal parts peat moss, perlite, and coarse sand.
- Small Pots or Trays: Clean containers with drainage holes are a must.
- Watering Can with a Fine Rose: For gently watering your new propagations.
- Clear Plastic Bag or Dome: To create a humid environment.
- Labels and a Marker: To keep track of what you’ve planted and when.
Propagation Methods
Phelline barrierei is quite happy to be propagated from stem cuttings. It’s my go-to method for this plant, and I find it yields the best results.
- Take Your Cuttings: Using your clean shears or knife, select a healthy stem from your Phelline barrierei. You want to cut a section that’s about 4-6 inches long. Make your cut just below a leaf node – that little bump where the leaf attaches to the stem.
- Prepare the Cuttings: Gently remove the lower leaves from your cutting, leaving just a few at the top. This prevents them from rotting in the soil and focuses the plant’s energy on root formation. If you have leaves that are very large, you can even cut them in half to reduce water loss.
- Apply Rooting Hormone (If Using): Dip the cut end of the stem into your rooting hormone. Tap off any excess.
- Plant Your Cuttings: Fill your clean pots with your well-draining potting mix. Make a small hole in the center of the soil with your finger or a pencil. Insert the cut end of your Phelline barrierei cutting into the hole, making sure it’s nestled in securely.
- Water Gently: Water the soil thoroughly but gently. You want it moist, not waterlogged.
- Create a Humid Environment: Cover the pot with a clear plastic bag or a propagation dome. This is crucial for Phelline barrierei to retain moisture and encourage rooting. Position it so the leaves don’t touch the plastic if possible.
The “Secret Sauce” (Pro Tips)
Over the years, I’ve found a few little tricks that really make a difference:
- Don’t Be Afraid of a Good Chop: For stem cuttings, sometimes taking a slightly larger piece with a few healthy nodes will give you a stronger start. Just make sure you have the space for it to grow!
- Bottom Heat is Your Friend: If you have a propagator or a heat mat, placing your pots on it can significantly speed up root development. Phelline barrierei loves a bit of warmth from below.
- Patience is Key for Humidity: Don’t be tempted to lift that plastic bag too often. Resist the urge! Let your cuttings enjoy that steamy microclimate. Only lift it briefly to check the moisture level or mist if needed.
Aftercare & Troubleshooting
Once your Phelline barrierei cuttings have developed a good root system (you’ll know when you gently tug and feel resistance, or even see roots peeking out the drainage holes!), it’s time for a little more independence.
- Gradual Acclimation: Once roots are established, slowly acclimate your new plants to normal household humidity by gradually increasing the time the bag is off.
- Regular Watering: Continue to water when the top inch of soil feels dry.
- Bright, Indirect Light: Place them in a spot with bright, but not direct, sunlight.
Now, about those common problems. The biggest one you’ll likely encounter is rot. This usually happens if the soil stays too wet or there’s not enough airflow. If you see a cutting turning mushy and black, it’s usually a sign of rot, and unfortunately, it’s often best to discard it and try again, ensuring better drainage and airflow next time. Yellowing leaves can sometimes mean too much water or not enough light.
A Encouraging Closing
Don’t get discouraged if your first attempt isn’t perfect. Gardening is all about learning and adapting. Be patient with your little Phelline barrierei cuttings, give them the care they need, and celebrate every tiny bit of progress. Soon, you’ll have more of these beautiful plants than you know what to do with! Happy propagating!
Resource: