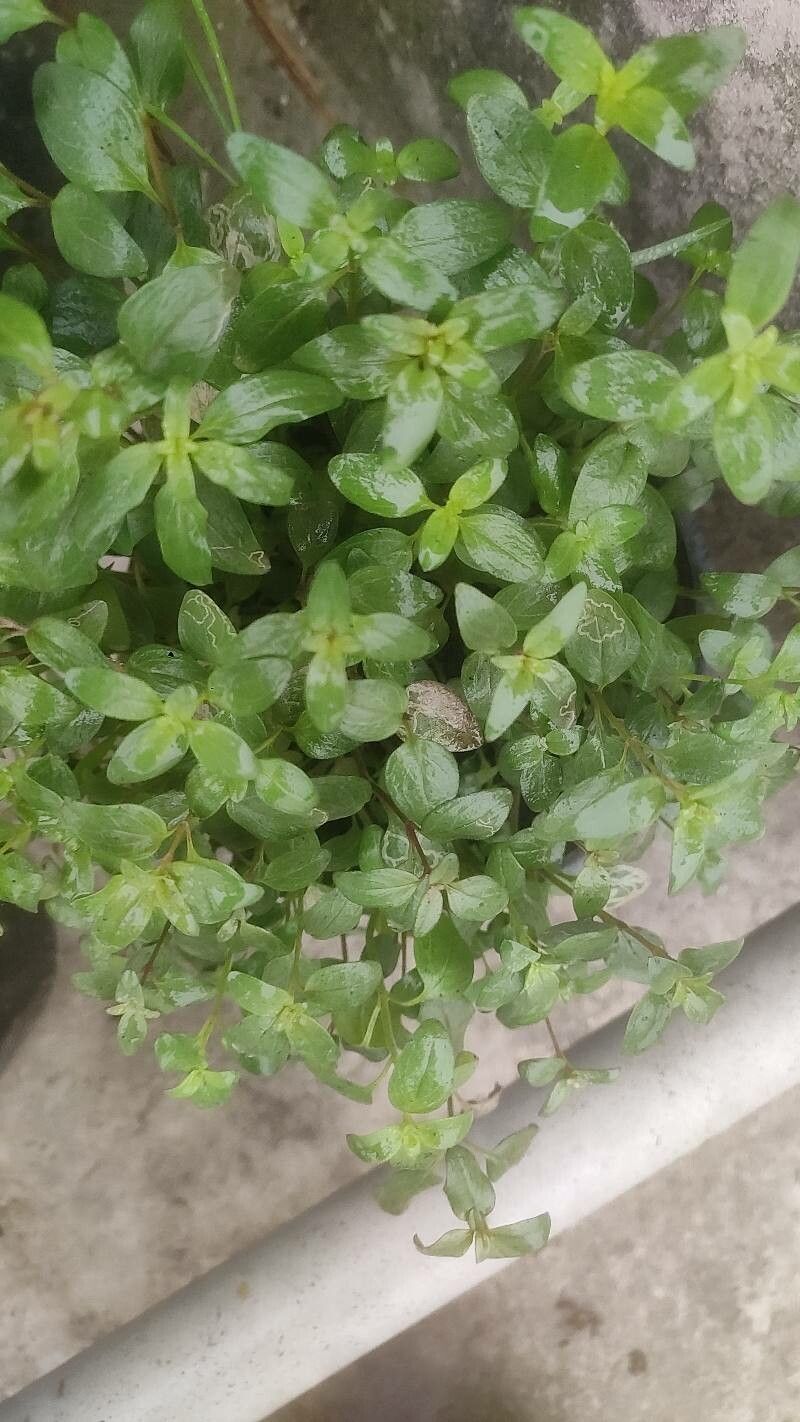
Hello fellow plant lovers! If you’re anything like me, you’ve probably fallen head over heels for the charmingly compact foliage of Staurogyne repens. This little powerhouse is a favorite for aquascaping and terrariums, creating a lush, carpet-like effect that’s simply mesmerizing. And let me tell you, propagating it yourself is one of the most satisfying gardening wins. Don’t worry if you’re new to this; Staurogyne repens is wonderfully forgiving and makes an excellent plant for beginners to try their hand at propagation.
The Best Time to Start
Honestly, with Staurogyne repens, you can have success pretty much year-round, especially if you’re keeping it indoors in a controlled environment. However, I find the spring and early summer offer the most vigor. The plant is naturally pushing out new growth, meaning your cuttings will have plenty of energy to get going. Watch for new, healthy stems to emerge – these are your prime candidates!
Supplies You’ll Need
Gathering your tools beforehand makes the whole process smooth sailing. Here’s what I usually have on hand:
- Sharp Pruning Shears or a Blade: Clean cuts are essential.
- Rooting Hormone (Optional but Recommended): A little boost never hurt!
- Clean Pots or Propagation Trays: Small ones are perfect.
- Substrate/Growing Medium: I like a mix of sphagnum moss and perlite, or a fine, nutrient-poor potting mix. For aquariums, you might use aquarium substrate.
- A Spray Bottle: For gentle misting.
- Plastic Wrap or a Clear Dome: To maintain humidity.
- Small Pebbles or Gravel (for water propagation): To keep cuttings upright.
Propagation Methods
Let’s get our hands dirty! The most common and effective way to propagate Staurogyne repens is through stem cuttings.
-
Take Your Cuttings: Find healthy, vigorous stems on your parent plant. Using your sharp shears or blade, cut a stem about 3-5 inches long. Make sure each cutting has at least 2-3 leaf nodes (where the leaves emerge from the stem). I like to take a few extra just in case!
-
Prepare the Cuttings: Gently remove the leaves from the bottom inch or so of the stem. This prevents them from rotting when they’re buried in the substrate or submerged in water.
-
Apply Rooting Hormone (Optional): If you’re using rooting hormone, dip the cut end of each stem into it. Tap off any excess.
-
Plant Your Cuttings:
- Method A: Substrate Propagation: Gently push the prepared end of each cutting into your chosen substrate. Ensure the leaf nodes you cleared are below the surface. Plant them about an inch apart.
- Method B: Water Propagation: If you’re working with a fully aquatic setup or just prefer water, you can also place the cuttings in a jar of clean water. I like to add a few small pebbles to the bottom of the jar to help keep the cuttings standing upright. Crucially, make sure no leaves are submerged in the water.
-
Create a Humid Environment: Whichever method you choose, cover your pots or jar with plastic wrap or a clear dome. This creates a mini-greenhouse, keeping humidity high, which is vital for new root development. For submerged cuttings, ensure good water circulation.
The “Secret Sauce” (Pro Tips)
Here are a few of my hard-won secrets to boost your success rates:
- Bottom Heat is Your Friend: If you live in a cooler climate or your home tends to be a bit chilly, placing your propagation tray on a seedling heat mat can dramatically speed up rooting. The gentle warmth encourages root formation from below.
- Don’t Drown Those Bottom Leaves! I’ve seen too many enthusiastic propagators lose their cuttings because those submerged leaves turned into a slimy mess. Keep every single leaf above the water line in water propagation, or ensure they’re clear of the substrate surface.
- Patience and Observation: While Staurogyne repens is quick, don’t be tempted to constantly pull up cuttings to check for roots every other day. I like to leave them undisturbed for at least 2-3 weeks. You’ll start to see tiny white root nubs emerging from the stem, or the cuttings will look perkier and more vibrant.
Aftercare & Troubleshooting
Once you see visible roots – hooray! You’re on your way.
- Transitioning: For substrate-grown cuttings, gradually acclimate them to lower humidity by opening the dome or removing the plastic wrap for increasing periods over a few days. For water-rooted cuttings, you can gently plant them into your substrate or their final aquatic home once the roots are about an inch long.
- Watering: Keep the substrate consistently moist but not waterlogged. Overwatering is the quickest way to invite rot, which is the most common sign of failure. You might see your cutting turn mushy or black. If this happens, it’s usually best to start again.
- Light: Provide bright, indirect light. Too much direct sun can scorch delicate new growth.
A Encouraging Closing
Propagating Staurogyne repens is a journey, and like any good garden project, it’s about patience and learning. Don’t get discouraged if your first attempt isn’t perfect. Every gardener has had their share of propagation fails! Observe your plants, adapt your methods, and enjoy the process of watching new life sprout from your efforts. Soon, you’ll have more of this beautiful plant than you know what to do with – perfect for sharing with fellow plant enthusiasts! Happy propagating!
Resource:
https://identify.plantnet.org/k-world-flora/species/Staurogyne%20repens%20(Nees)%20Kuntze/data