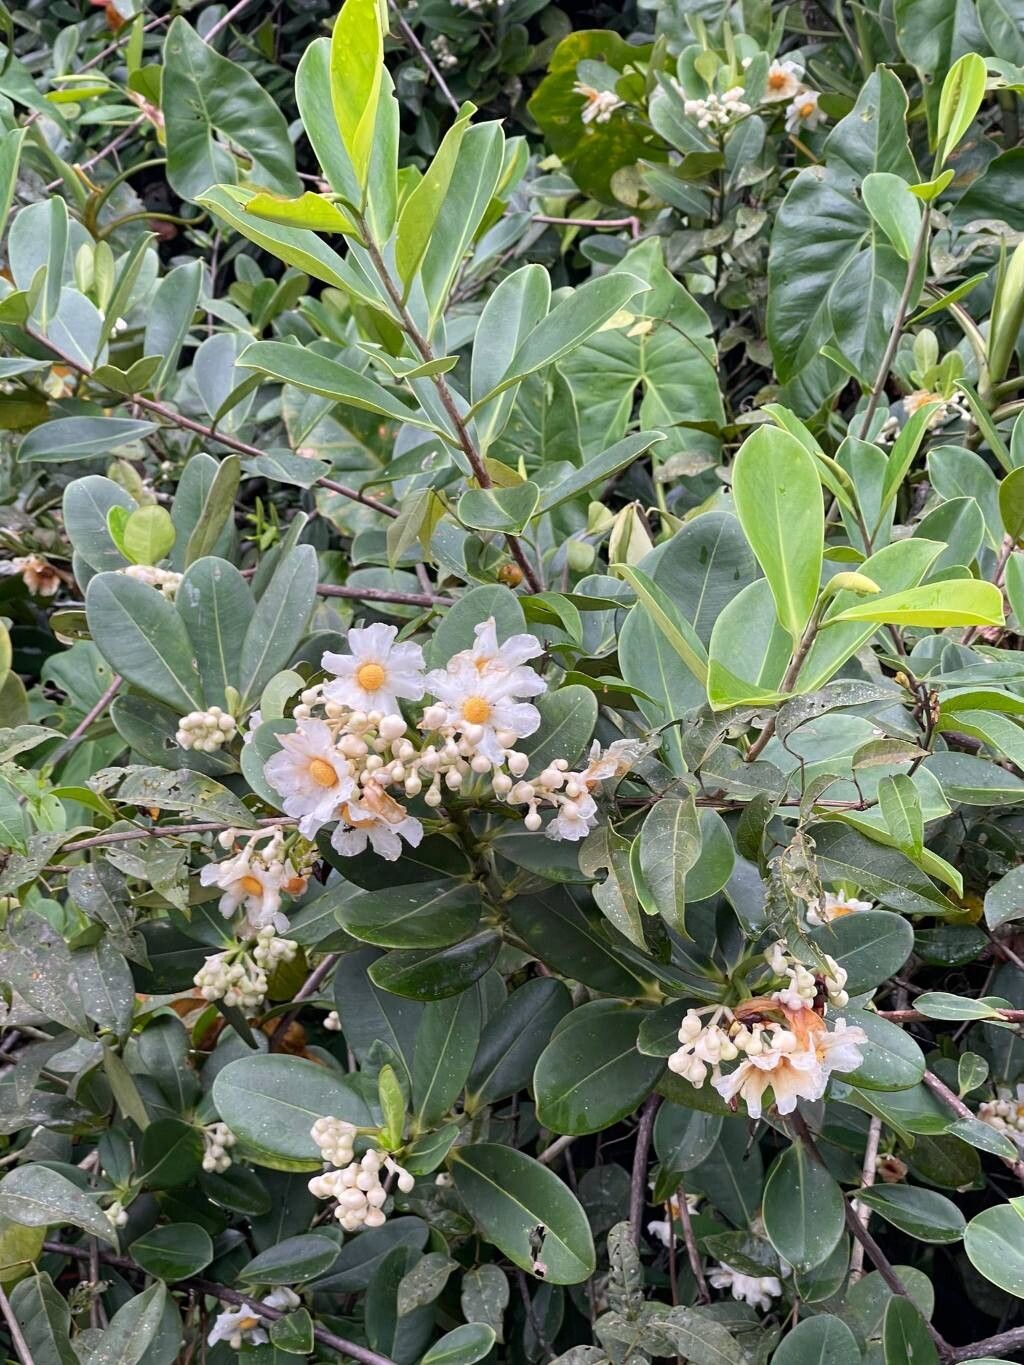
Hello, fellow plant enthusiasts! Today, we’re diving into the wonderful world of Clusia cuneata, often affectionately called the Balsam Apple or Pitch Apple. If you’re a fan of its glossy, paddle-shaped leaves and its ability to add a touch of the tropics to your home, you’re in for a treat. Propagating these beauties is surprisingly straightforward, and I find it incredibly rewarding to see a tiny cutting transform into a thriving plant. Even if you’re a beginner, don’t be intimidated – Clusia cuneata is quite forgiving!
The Best Time to Start
For the highest success rate with Clusia cuneata propagation, spring and early summer are your golden windows. This is when the plant is actively growing, meaning it has the energy reserves to put into developing roots. You’ll also find that cuttings taken during this period tend to root faster. Look for healthy, non-flowering stems.
Supplies You’ll Need
Gathering your supplies beforehand makes the whole process much smoother. Here’s what you’ll want to have on hand:
- Sharp Pruning Shears or a Knife: Cleanliness is key to preventing disease.
- Rooting Hormone (Optional but Recommended): This gives your cuttings a little boost.
- Well-Draining Potting Mix: A blend of perlite, peat moss, and a bit of regular potting soil works wonders. You can also use a cactus or succulent mix.
- Small Pots or Trays: For your cuttings to root in. Make sure they have drainage holes!
- Water (for water propagation): Fresh, clean water is essential.
- Clear Plastic Bag or Humidity Dome: To create a mini-greenhouse effect.
- Gloves (Optional): Some people find Clusia sap a bit sticky.
Propagation Methods
Clusia cuneata is wonderfully versatile, and I’ve had great success with a couple of different methods.
1. Stem Cuttings: This is my go-to for Clusia.
- First, select a healthy stem that is about 4-6 inches long.
- Using your sterilized shears or knife, make a clean cut just below a leaf node. A leaf node is where a leaf attaches to the stem; this is where roots will emerge.
- Gently remove the lower leaves from the cutting, leaving just a few at the top. This prevents them from rotting in the soil.
- If you’re using rooting hormone, dip the cut end into it, tapping off any excess.
- Insert the cutting into your prepared potting mix. Make sure at least one or two leaf nodes are buried beneath the surface.
- Water the soil gently to settle it around the cutting.
- Cover the pot with a clear plastic bag to maintain humidity. You can prop it up with a stick so it doesn’t touch the leaves.
- Place the pot in a bright spot, but out of direct sunlight, where temperatures are consistently warm.
2. Water Propagation: This method is visually satisfying!
- Take your stem cuttings as described above, removing the lower leaves.
- Place the cuttings in a clear glass or jar filled with fresh water.
- Crucially, ensure that no leaves are submerged in the water. They will rot quickly and can kill your cutting.
- Change the water every few days to keep it fresh.
- Place the jar in a bright location, away from direct sun.
- You’ll be able to watch as tiny white roots begin to form after a few weeks.
The “Secret Sauce” (Pro Tips)
Here are a few things I’ve learned over the years that can really make a difference:
- Don’t be afraid to wound the stem end. Gently scrape a thin layer of the outer bark off the bottom inch of the stem before applying rooting hormone. This exposes more of the cambium layer, which encourages root development.
- Bottom heat is your friend. If you have a heat mat designed for plant propagation, placing your pots on it will significantly speed up the rooting process. Clusia loves warmth!
- Patience is paramount with cuttings. Sometimes it takes longer than you expect. If you’re not seeing roots after a month, don’t give up just yet. Gently tugging on a cutting can give you a sense of resistance if roots are forming.
Aftercare & Troubleshooting
Once you see new leaf growth or feel good resistance when gently tugging, it’s a sign your cutting has rooted!
If you propagated in water, carefully transplant the rooted cutting into your well-draining potting mix. Water it thoroughly.
If you propagated in soil and see new leaves, congratulations! Gradually acclimate your new plant to normal humidity by removing the plastic bag for longer periods over a week or so. Continue to water when the top inch of soil feels dry.
The most common problem you’ll encounter is rot. If your stem turns black and mushy, or if the leaves are wilting and limp despite adequate moisture, rot has likely set in. This is often due to overwatering or poor drainage. Unfortunately, a rotted cutting is usually a lost cause. Prevention – good drainage and not overwatering – is key. If your cutting just seems to be sitting there without any change, it might just be taking its time. Keep it in a warm, bright spot and resist the urge to fuss too much.
A Warm Farewell
Propagating Clusia cuneata is a rewarding journey. It’s a fantastic way to expand your collection or share your favorite plants with friends. Remember to be patient, observe your cuttings, and enjoy the process of watching new life emerge. Happy growing!
Resource:
https://identify.plantnet.org/k-world-flora/species/Clusia%20cuneata%20Benth./data