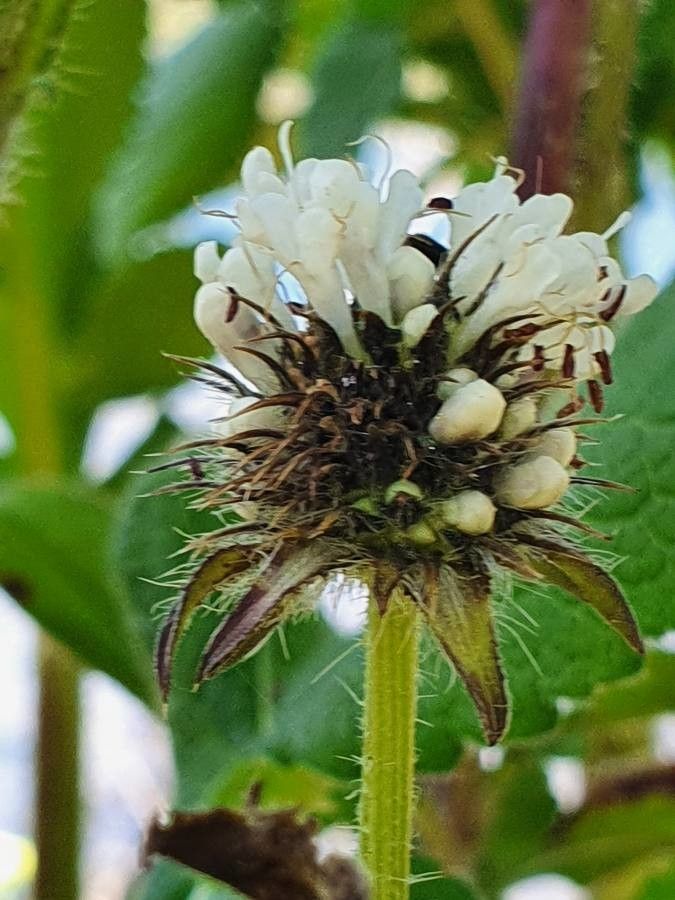
Well hello there, fellow plant lovers! I’ve got something really special to share with you today – how to coax more of those gorgeous, architectural beauties, Dipsacus pinnatifidus, into your garden. You know, the ones with those magnificent, thistle-like flower heads that attract all sorts of buzzing and flitting visitors? They’re simply stunning, aren’t they? Watching them grow and then bloom is one of gardening’s greatest joys.
Now, if you’re just starting out with propagation, I’ll be honest, Dipsacus pinnatifidus might not be the absolute easiest plant to begin with. But with a little patience and these tips, I truly believe you can be successful. And oh, the satisfaction when you see those tiny roots emerge! It’s incredibly rewarding to grow your garden from scratch, one happy little plant at a time.
The Best Time to Start
Generally, the late spring to early summer is your sweet spot for propagating Dipsacus pinnatifidus. This is when the plant is actively growing and has plenty of energy to put into making new roots. You’re looking for new, tender shoots that haven’t gotten too woody yet. Think of it as getting them when they’re young and spry!
Supplies You’ll Need
To give yourself the best chance of success, gather these essentials:
- Sharp Pruning Shears or a Craft Knife: Cleanliness is key here!
- Rooting Hormone: This is optional but can give a nice boost. I like the powder form.
- Propagating Medium: A well-draining mix is crucial. I usually use a blend of 50% perlite and 50% peat moss or coco coir. Some gardeners swear by straight perlite, and that works wonderfully too.
- Small Pots or Seed Trays: Ensure they have drainage holes.
- Plastic Bags or a Clear Propagating Dome: To create a humid environment.
- Watering Can with a Fine Rose: For gentle watering.
- Small Labels and a Marker: So you don’t forget what you’ve planted where!
Propagation Methods
While Dipsacus pinnatifidus can be grown from seed, stem cuttings are a fantastic way to get a head start and ensure you get a plant identical to your parent specimen.
Stem Cuttings:
- Take Your Cuttings: Using your clean shears or knife, select a healthy, non-flowering stem from your Dipsacus pinnatifidus. Cut a piece about 4-6 inches long, making your cut just below a leaf node (where a leaf meets the stem). Remove any lower leaves, leaving just two or three at the top.
- Prepare the Cutting: If you’re using rooting hormone, dip the cut end of the stem into the powder, tapping off any excess.
- Plant Your Cuttings: Moisten your propagating mix lightly. Make a small hole in the mix with a pencil or your finger, and gently insert the cutting, ensuring the leaf nodes are below the surface. Firm the mix gently around the stem.
- Create Humidity: Water the mix lightly from below if possible, to avoid disturbing the cutting. Then, cover the pot with a plastic bag or place it under a propagating dome. Make sure the leaves don’t touch the plastic – you can use stakes if needed.
- Place in a Warm Spot: Find a bright spot with indirect light. Avoid direct sun, which can scorch the delicate cuttings.
The “Secret Sauce” (Pro Tips)
Now, for those little tricks that can make all the difference:
- The “Heel” Trick: Sometimes, I like to take cuttings that include a tiny sliver of the main stem, almost like a little “heel.” This can encourage faster rooting.
- Bottom Heat is Your Friend: If you have a propagation mat, using it is a game-changer! Consistent warmth from below encourages root development like nothing else. It mimics happy soil temperatures.
Aftercare & Troubleshooting
Once your cuttings are planted, keep the soil consistently moist but not waterlogged. Check regularly for signs of wilting. In about 3-6 weeks, you should start to see new growth appearing, which is a good sign that roots are forming. You can gently tug on a cutting; if there’s resistance, roots have likely taken hold!
The most common problem you’ll encounter is rot. This usually happens if the soil is too wet or if there’s not enough air circulation. If you see a cutting going black and mushy, it’s best to discard it to prevent the rot from spreading. Don’t get discouraged, though! It’s a learning process.
A Encouraging Closing
Propagating plants is a journey, and with the beautiful Dipsacus pinnatifidus, it’s a very rewarding one. Be patient with yourself and your new green babies. Celebrate every little sprout and every new root. Happy propagating, and may your gardens bloom!
Resource: