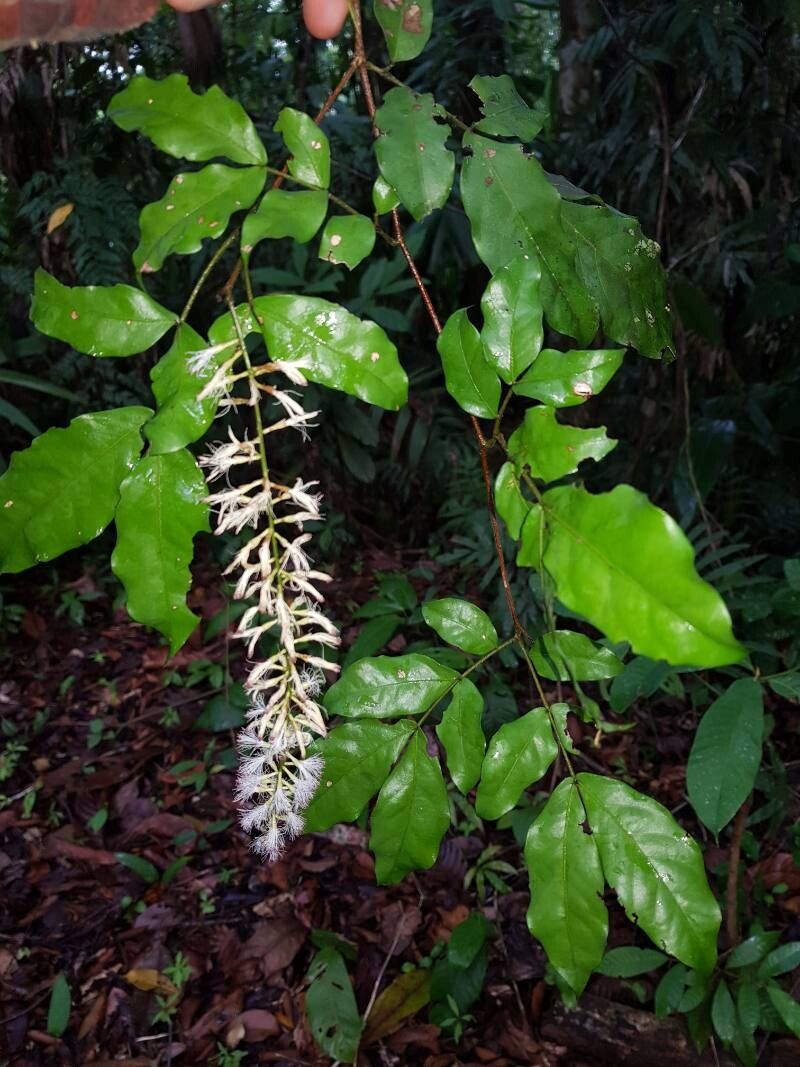
Oh, hello there, fellow plant lover! It’s so lovely to have you join me for a chat about one of my absolute favorite plants: Zygia rubiginosa. If you’ve ever seen this beauty, you’ll understand its charm. Its delicate, fern-like foliage and those stunning, powder-puff flowers are just a dream to behold. And the best part? Bringing more of this magic into your garden or home through propagation is surprisingly rewarding. Don’t let the fancy name scare you; while it has a few nuances, I’d say Zygia rubiginosa is a wonderfully achievable project for most gardeners, even those just starting their green journey.
The Best Time to Start
For Zygia rubiginosa, the sweet spot for propagation is definitely when the plant is actively growing. This usually means late spring through summer. You’ll want to take cuttings from stems that are firm but not old and woody. Think of it as capturing the plant at its most vigorous – that’s when it’s most ready to put its energy into making new roots.
Supplies You’ll Need
To give your Zygia rubiginosa cuttings the best start, here’s what I recommend having on hand:
- A sharp, clean pruning shear or a sharp knife – sterile is key!
- A well-draining potting mix. I like a blend of perlite, peat moss, and a bit of compost. You can also buy specific seed-starting or cutting mixes.
- Rooting hormone (optional, but it certainly gives things a helpful boost).
- A small pot or rooting tray with drainage holes.
- A plastic bag or a clear propagator lid to create a humid environment.
- Water.
Propagation Methods
While you might be able to find success with a few different techniques, I’ve found stem cuttings to be the most reliable and straightforward method for Zygia rubiginosa.
Here’s how I do it:
- Select Your Cutting: Look for a healthy, non-flowering stem that’s about 4-6 inches long. You want it to be semi-hardwood – firm to the touch, but still a little bit pliable.
- Make the Cut: Using your clean shear or knife, make a clean cut just below a leaf node (that’s where a leaf attaches to the stem). This is where the magic happens for root development.
- Prepare the Cutting: Gently remove the lower leaves, leaving just a few at the top. This prevents them from rotting when buried. If the remaining leaves are very large, I often cut them in half to reduce water loss.
- Dip in Rooting Hormone (Optional): If you’re using rooting hormone, dip the cut end of your stem into the powder or gel. Tap off any excess.
- Plant Your Cutting: Fill your small pot with your prepared potting mix. Make a small hole with your finger or a pencil, and gently insert the cutting, ensuring the leaf nodes are below the soil surface. Firm the soil gently around the base.
- Create a Humid Environment: Water the soil lightly. Then, cover the pot with a plastic bag or place it in a propagator. This traps humidity, which is crucial for cuttings that can’t yet absorb water from their roots. You can prop the bag up with a skewer or two so it doesn’t touch the leaves.
The “Secret Sauce” (Pro Tips)
Now, here are a few little tricks I’ve picked up over the years that often make all the difference:
- Bottom Heat is Your Friend: If you have a heat mat designed for seedlings or cuttings, placing your pot on it can significantly speed up rooting. The warmth encourages root development from below.
- Don’t Overwater: While humidity is key, soggy soil is the kiss of death for cuttings. Let the top layer of soil dry out slightly between waterings. Check by gently poking your finger in – if it feels dry an inch down, it’s time for a light drink.
- Patience, Grasshopper! Seriously, this is the biggest tip. Zygia rubiginosa can be a bit slower to root than some other plants. Don’t be tempted to tug on your cutting to check for roots. Wait at least 4-6 weeks, and even then, a gentle tug will tell you if it’s held firmly in place.
Aftercare & Troubleshooting
Once you see new growth appearing or feel a bit of resistance when you gently tug, congratulations! Your cutting has likely rooted. It’s time to gradually acclimate it to less humid conditions. For a few days, lift the plastic bag for an hour or two, then gradually increase the time. Once it’s fully independent of its mini-greenhouse, you can treat it like a small Zygia rubiginosa plant. Continue to water when the top inch of soil is dry, and use a balanced liquid fertilizer at half strength during the growing season.
The most common issue you’ll encounter is rot. If your cutting turns black and mushy, or if the leaves start to yellow and fall off prematurely without any new growth, it’s usually due to too much moisture or poor air circulation. If you catch it early, you might be able to salvage it by trimming away the rotted bits and repotting in fresh, drier mix, but often, it’s a sign that not enough roots formed.
A Encouraging Closing
Propagating plants is a journey of observation and sometimes, a little bit of trial and error. Don’t be discouraged if your first attempt isn’t a runaway success. Zygia rubiginosa is a beautiful reward for your efforts, and the satisfaction of nurturing a new plant from a tiny cutting is truly special. Be patient, enjoy the process, and before you know it, you’ll have a whole little contingent of these lovely plants to enjoy! Happy gardening!
Resource:
https://identify.plantnet.org/k-world-flora/species/Zygia%20rubiginosa%20L.Rico%20&%20Q.Jiménez/data