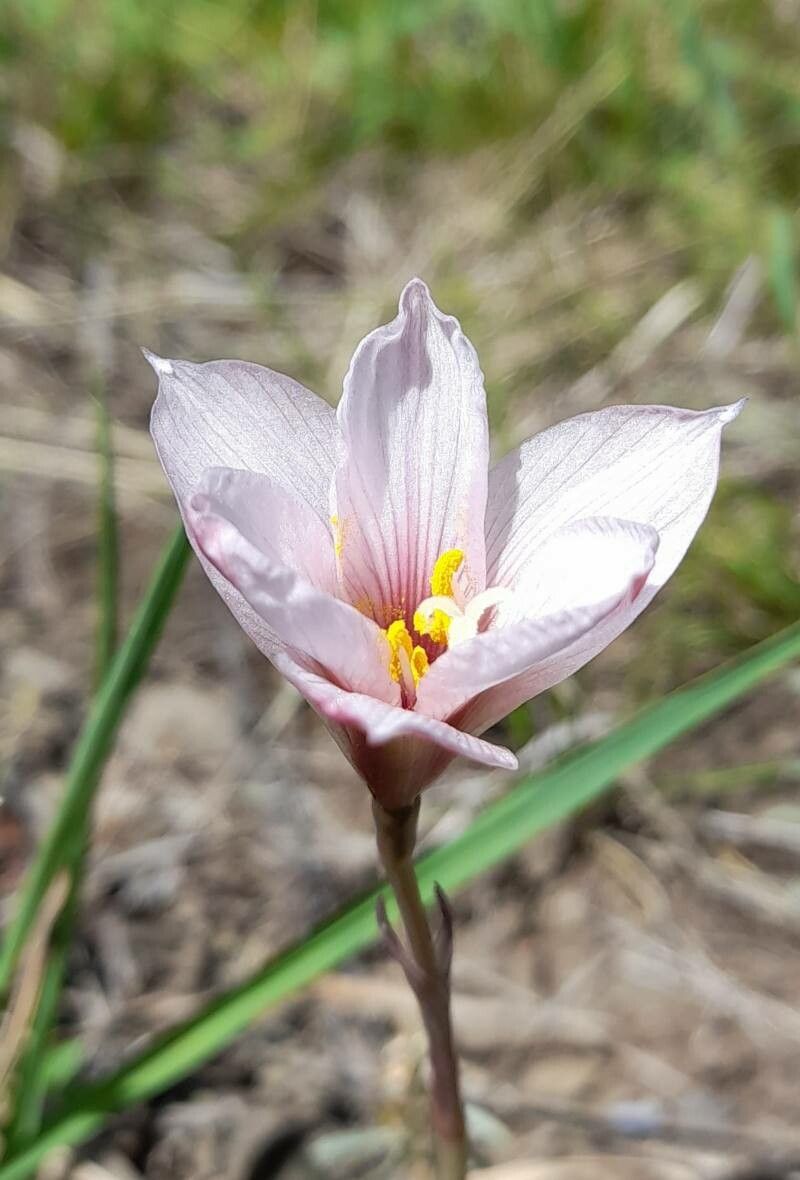
Hello green thumbs! I’m so excited to chat with you today about one of my favorite little bloomers: Zephyranthes gracilifolia, commonly known as the Fairy Lily or Rain Lily. If you haven’t met them before, imagine delicate, trumpet-shaped flowers that pop up seemingly out of nowhere, often after a good rain. They’re absolute charmers, adding a surprising burst of color to the garden with minimal fuss.
The real joy? Propagating these beauties is surprisingly straightforward! It’s incredibly rewarding to watch a tiny bulb or a small division transform into a whole new plant, ready to grace your garden or share with friends. For beginners, this is definitely a plant where you can gain confidence quickly.
The Best Time to Start
The absolute sweet spot for propagating Zephyranthes gracilifolia is late winter through early spring, just as the plant is waking up from its dormancy and before it kicks into serious growth and flowering mode. You can also successfully divide them in late summer or early fall after they’ve finished blooming. Basically, you want to catch them when they’re active but not stressed.
Supplies You’ll Need
Gathering your tools is half the fun! For propagating these little wonders, you’ll want:
- A sharp pruning shear or knife (sterilize it with alcohol first!).
- Well-draining potting mix. I love a blend of potting soil, perlite, and a bit of sand – think of a mix that drains as fast as a sieve.
- Small pots or seed trays with drainage holes.
- A watering can with a gentle rose head.
- Optional: Rooting hormone (though often not strictly necessary for these bulbs).
- Optional: A label and marker to keep track of what you’ve planted and when.
Propagation Methods
Zephyranthes gracilifolia are primarily propagated by division. They naturally form clumps of bulbs, making it easy to split them apart.
Division:
- Digging Up: Gently dig up the parent plant ensuring you get the entire root system. If it’s in a pot, carefully tip it out.
- Cleaning: Gently brush away excess soil from the bulbs so you can see them clearly.
- Separating: You’ll see smaller bulbs clustered around the main one. Carefully twist or gently pull these offsets apart. If they are stuck, use your sterilized pruning shear or knife to cleanly cut them from the mother bulb. Make sure each offset has at least one small bulb and a bit of root.
- Planting: Fill your small pots with your well-draining soil mix. Make a small hole in the center and place your new bulb division in it. You want the top of the bulb to be just at or slightly above the soil surface.
- Watering: Give them a gentle watering to settle the soil.
- Placement: Place the pots in a bright spot but avoid direct, scorching sun initially. A greenhouse, a bright windowsill, or a sheltered spot outdoors would be perfect.
The “Secret Sauce”
Here are a couple of tricks I’ve learned over the years that really help:
- When dividing, don’t be afraid to handle the bulbs firmly but with care. They are surprisingly robust!
- After planting, I like to mist the surface of the soil lightly every few days rather than drenching them. This encourages them to send out those first delicate roots without getting waterlogged.
- If it’s still a bit cool where you are, keeping them in a warm spot (around 65-75°F) will really speed up root development.
Aftercare & Troubleshooting
Once your divisions are planted, the key is consistent, gentle care.
- Watering: Water when
Resource: