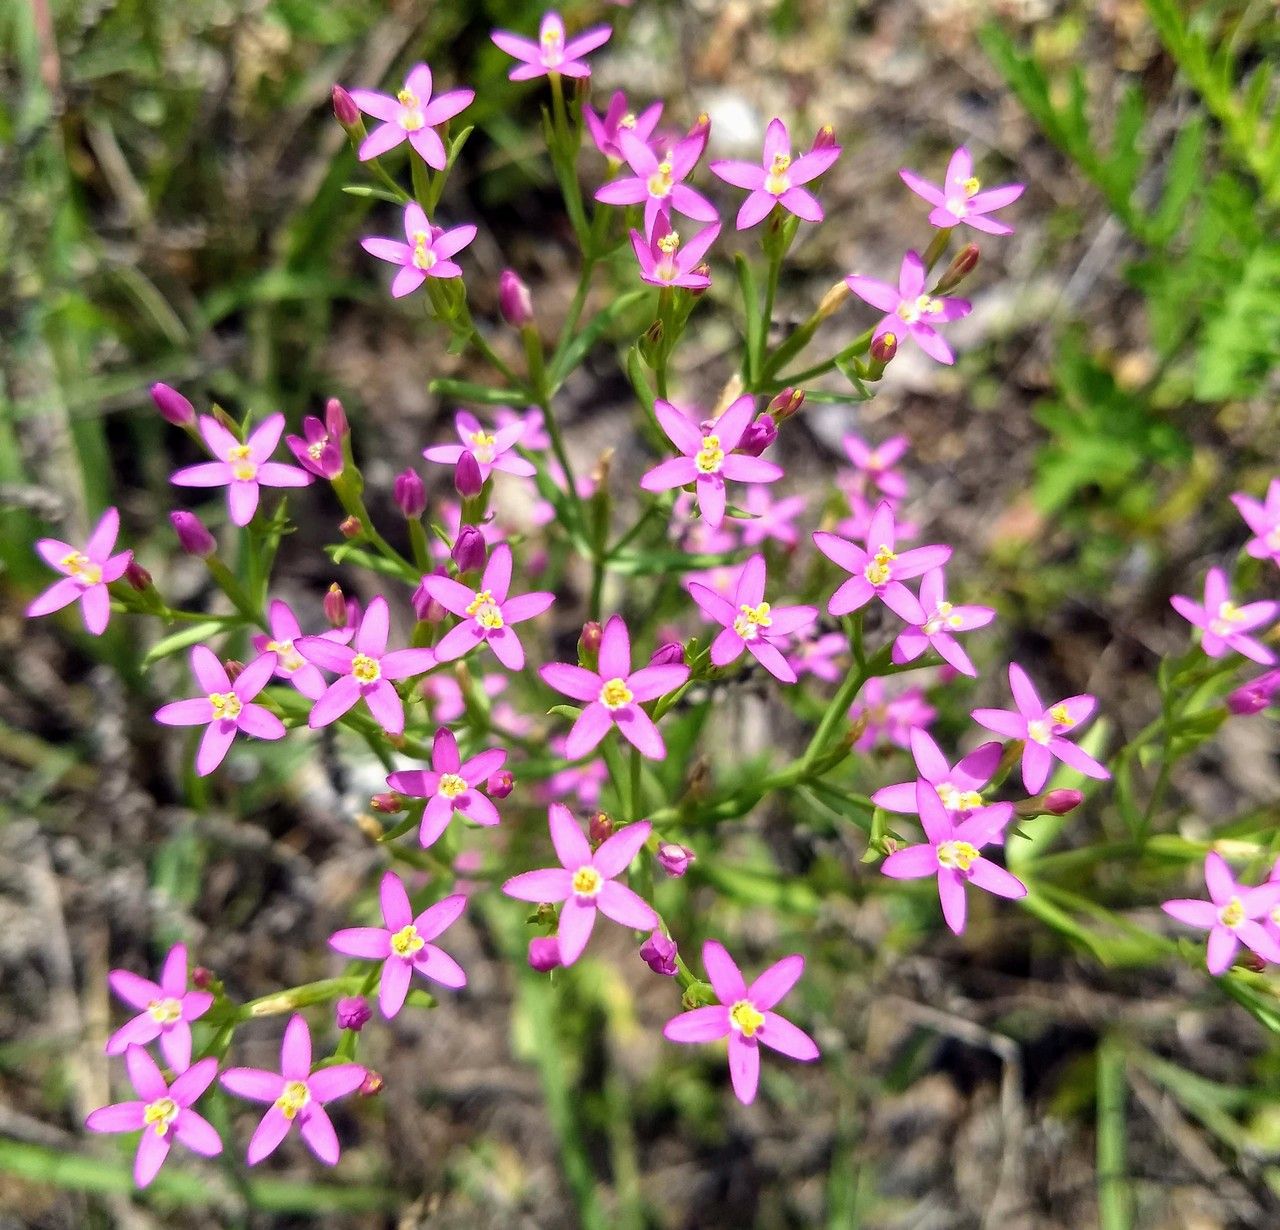
Hello there, fellow garden enthusiast! I’m so excited to chat with you today about a real gem that’s been a joy in my garden for years: Zeltnera texensis. It’s that lovely native wildflower, sometimes called Texas Honewort, with its delicate, bell-shaped flowers that just keep blooming. If you’re looking to expand your collection or share the beauty, propagating this charmer is incredibly satisfying. And the good news? It’s quite forgiving, even for beginners!
The Best Time to Start
My favorite time to get started with Zeltnera texensis is in the late spring or early summer. This is when the plant is actively growing and has plenty of energy to put into developing new roots. You can also try in the late summer, but aim for warmer days to give those little cuttings a good start.
Supplies You’ll Need
Here’s what you’ll want to have on hand for a smooth propagation session:
- Sharp pruning shears or a clean knife: For making clean cuts on your mother plant.
- Rooting hormone (optional but helpful): A powder or gel to encourage root development.
- Well-draining potting mix: A good blend for succulents or cacti works wonders, or you can mix your own with equal parts potting soil, perlite, and coarse sand.
- Small pots or seed trays: About 3-4 inches are perfect for starting out. Make sure they have drainage holes!
- Plastic bags or a clear propagation dome: To create a humid environment.
- Watering can with a fine spray nozzle: To keep things moist without being waterlogged.
- Labels and a permanent marker: To keep track of what you’ve propagated!
Propagation Methods
Zeltnera texensis is pretty adaptable, but my go-to method is stem cuttings. It’s reliable and gives you a great success rate.
Stem Cuttings:
- Find a healthy stem: Look for a new, non-flowering shoot from your established plant. You want a piece that’s about 4-6 inches long.
- Make the cut: Using your clean shears or knife, make a clean cut just below a leaf node. This is where roots are most likely to form. Gently remove the lower leaves, leaving just a few at the tip.
- Apply rooting hormone (optional): If you’re using it, dip the cut end into the rooting hormone, tapping off any excess.
- Plant the cutting: Fill your small pots with your well-draining mix. Make a hole in the center with your finger or a pencil and gently insert the cut end of the stem. Firm the soil gently around it.
- Water lightly: Give your cutting a gentle watering to settle the soil.
- Create humidity: Place a plastic bag over the pot, securing it with a rubber band, or cover your trays with a propagation dome. This traps moisture.
The “Secret Sauce” (Pro Tips)
Over the years, I’ve learned a few tricks that make a big difference:
- Don’t go overboard with the rooting hormone: More isn’t always better. Just a light dusting on the cut end is sufficient. Too much can sometimes hinder root growth.
- Let the cutting “callus” for a bit: Before you pot up your stem cuttings, let them sit out in a dry, shady spot for a day or two. This allows the cut end to dry and form a protective layer, which can help prevent rot.
- The magic of bottom heat (if you have it): While not essential, placing your pots on a gentle seedling heat mat can really speed up root formation. It mimics the warmth of spring and encourages those roots to get going.
Aftercare & Troubleshooting
Once your cuttings are tucked in, here’s how to care for them:
- Keep it humid and bright: Place your pots in a bright spot, but out of direct, harsh sunlight. The light is important for photosynthesis, but direct sun can scorch those tender new leaves.
- Water sparingly: You want the soil to stay consistently moist but not waterlogged. Check the moisture level by gently pressing the soil with your finger. If it feels dry, give it a light misting.
- Watch for roots: After a few weeks, you should start to see signs of new growth. Gently tugging on the cutting – if there’s resistance, you’ve got roots! You can also peek underneath the pot to see if roots are poking through.
- Troubleshooting rot: The most common issue is rot, usually caused by too much moisture. If you see your cutting turning black or mushy, it’s likely rot. Remove it immediately. Discard the affected cutting and ensure the remaining ones are in well-draining soil and not getting too wet.
A Little Patience Goes a Long Way
Propagating plants is a wonderful way to connect with nature and expand your green haven. Be patient with your little Zeltnera texensis cuttings. Some will take off quickly, while others might take their sweet time. Enjoy the process of nurturing them from a tiny piece into a thriving plant. Happy propagating!
Resource: