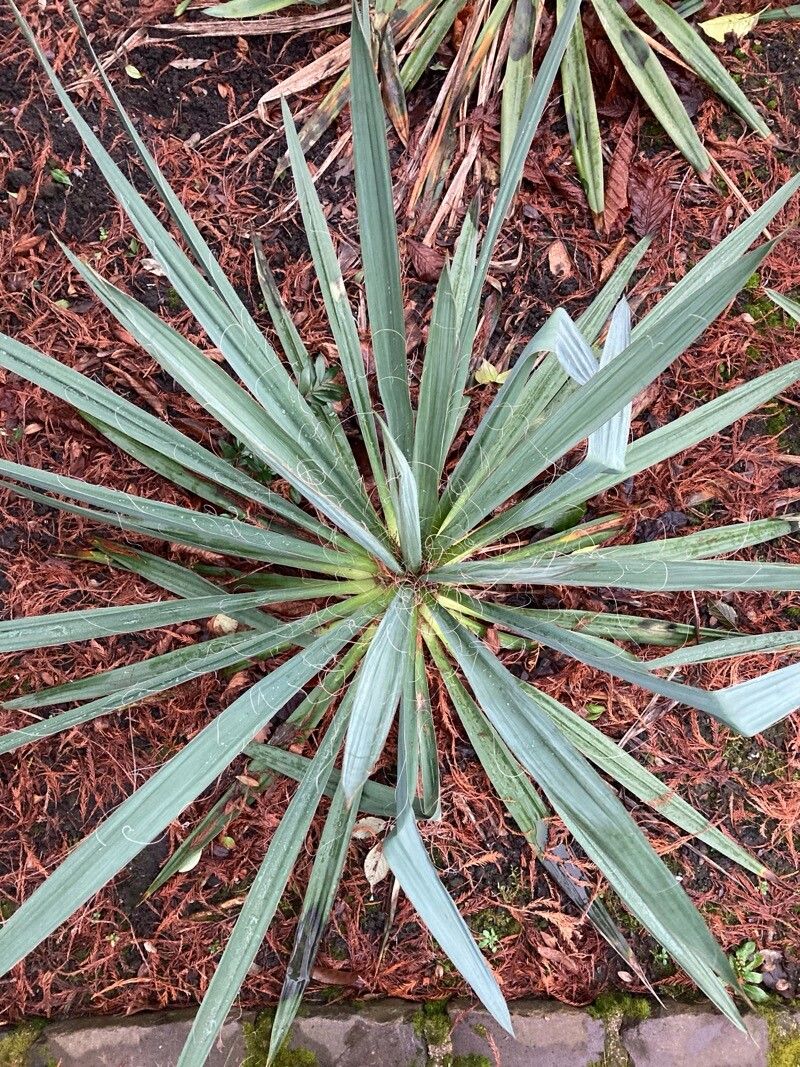
Hello, fellow plant lovers! I’m so excited to chat with you today about one of my garden favorites: Yucca filamentosa, also known as Adam’s Needle. This plant is an absolute trooper, isn’t it? With its striking, sword-like leaves and elegant flower spikes that reach for the sky, it brings a touch of the desert to any landscape. And guess what? Propagating them is not only totally doable, it’s incredibly rewarding. You get to fill your garden with more of these beauties, or even share them with friends. For beginners, I’d say Yucca filamentosa is a wonderfully forgiving plant to get started with. You’ll be hooked!
The Best Time to Start
When it comes to giving your Yucca filamentosa the best shot at new life, spring is absolutely the golden season. Think of it as waking up the garden after its winter nap. Starting in late spring or early summer, when the plant is actively growing and temperatures are warming up, gives your cuttings plenty of time to develop strong roots before the cooler weather arrives.
Supplies You’ll Need
Before we get our hands dirty, let’s gather our tools. A well-prepared gardener is a successful gardener!
- Sharp, clean pruning shears or a knife: For making neat cuts.
- Rooting hormone (optional but helpful): This encourages faster root development.
- Well-draining potting mix: A cactus and succulent mix or a blend of potting soil with perlite and sand is perfect.
- Small pots or containers: With drainage holes, of course!
- Gloves: Yuccas can have a mild sap that might irritate some skin.
- Watering can or spray bottle: For gentle hydration.
Propagation Methods
Let’s walk through a couple of my go-to methods for increasing your Yucca filamentosa family.
Division (My Personal Favorite!)
This is often the easiest and most successful way to propagate Yucca filamentosa, especially since they naturally produce “pups” or offshoots around the base.
- Wait for the right moment: You’ll see smaller plants emerging from the soil near the base of your established yucca. Wait until these pups are at least a few inches tall and have their own developing leaves.
- Dig around the pup: Gently loosen the soil around the base of the pup with your hands or a trowel.
- Separate the pup: Wiggle the pup gently. You’re looking for where it’s connected to the mother plant. With a bit of luck, it will have its own roots already forming. If not, use your clean pruning shears or knife to carefully cut the connection, making sure to get a bit of the root if possible.
- Plant the pup: Pot the separated pup into its own container filled with your well-draining potting mix. Water it lightly.
Stem Cuttings
This method is great if your yucca has grown a bit tall and leggy, or if you’re looking to propagate from healthier sections of the main plant.
- Select a healthy stem: Choose a section of the plant that looks vigorous and is free from any signs of disease or damage. It should be at least 6-8 inches long.
- Make the cut: Using your sharp, clean shears, make a clean cut through the stem. Remove any lower leaves that would be below the soil line.
- Let it callus: This is an important step! Place the cutting in a dry, well-ventilated spot for 2-7 days. You want the cut end to dry out and form a callus. This really helps prevent rot when you plant it.
- Plant the cutting: Once callused, dip the cut end into rooting hormone (if using). Then, insert the cut end into your prepared potting mix, burying about an inch or two of the stem. Water gently.
The “Secret Sauce” (Pro Tips)
Here are a couple of things I’ve learned over the years that can really give your propagation efforts a boost.
- Don’t overwater your cuttings! This is probably the biggest mistake people make. Yucca cuttings, especially stem cuttings, are very prone to rot if the soil stays too wet. Allow the soil to dry out partially between waterings. Think “thorough watering, then let it dry.”
- A little warmth goes a long way. If you’re propagating in early spring or if your home tends to be on the cooler side, consider placing your pots on a heat mat. This gentle bottom heat mimics natural ground temperatures and can significantly speed up root development. It’s like giving your cuttings a cozy incubator!
Aftercare & Troubleshooting
Once you’ve planted your cuttings or divisions, it’s time for a little TLC. Keep the soil lightly moist but not soggy. If you’re using stem cuttings, you might not see much action for a few weeks, which is perfectly normal. Gently tugging on a cutting after about 4-6 weeks will tell you if roots have formed – if there’s resistance, you’ve got roots!
The most common problem you’ll run into is rot. If your cutting turns mushy or develops black, soft spots, it’s likely due to too much moisture. Unfortunately, rot is usually fatal, so it’s best to discard the affected cutting to prevent it from spreading.
A Little Patience, A Lot of Reward
Propagating Yucca filamentosa is such a satisfying process. It requires a bit of patience, but watching those roots form and seeing your new plants take hold is a true gardener’s joy. Don’t be discouraged if your first attempt isn’t perfect – gardening is all about learning and trying again. Enjoy the journey, and happy planting!
Resource:
https://identify.plantnet.org/k-world-flora/species/Yucca%20filamentosa%20L./data