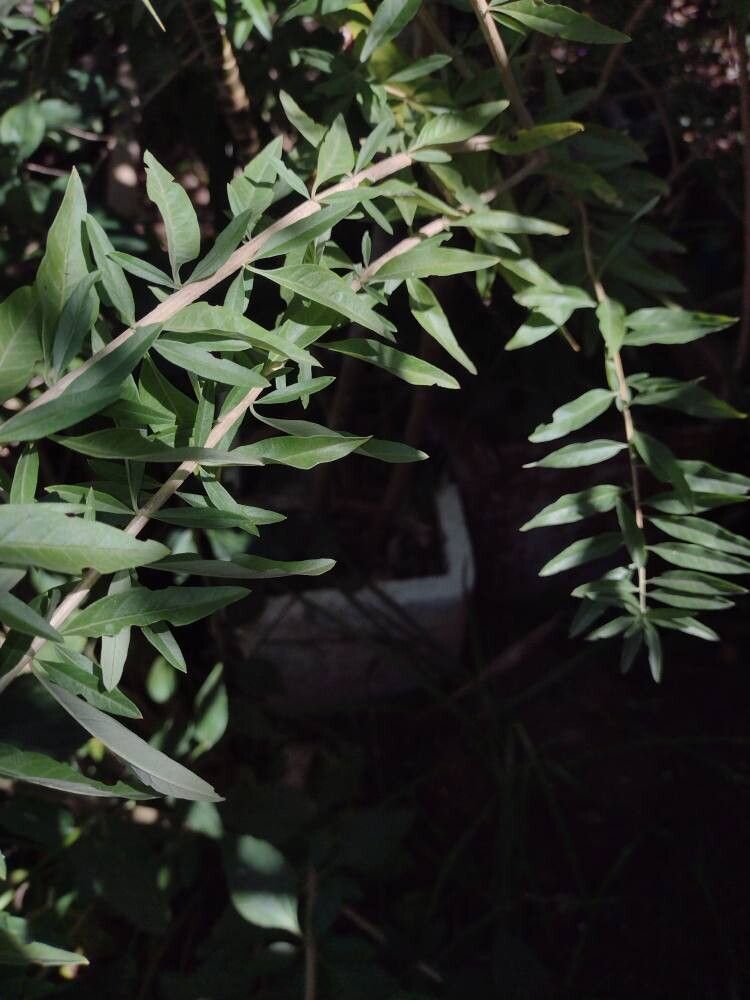
Hey there, fellow plant lovers! I’m so excited to chat with you today about a plant that’s really captured my heart over the years: Volkameria heterophylla, also known as Christmas cheer or sometimes just “Volky” among my gardening buddies. This beauty is an absolute stunner with its vibrant pink blossoms that just make you feel happy. And the best part? Growing more of them yourself is incredibly rewarding!
If you’re new to the plant propagation game, you’re in luck. Volkameria heterophylla is a wonderfully forgiving plant to work with. I’d say it’s a great choice for beginners looking to dip their toes into the exciting world of growing new plants from little bits of their favorites.
The Best Time to Start
Honestly, I’ve had success with Volkameria heterophylla propagation pretty much year-round, but for the absolute best results, I really lean towards late spring or early summer. This is when the plant is in its most vigorous growth phase. The stems are firm and succulent, full of life and ready to sprout roots. Think of it as the plant being at its peak energy – the perfect time to convince it to share that energy with a new baby!
Supplies You’ll Need
Before we get our hands dirty, let’s make sure we have everything at the ready. It makes the whole process so much smoother!
- Sharp Pruning Shears or a Clean Knife: For making nice, clean cuts.
- Rooting Hormone (Optional but Recommended): This is like a little boost for your cuttings, helping them form roots faster and more reliably.
- Seed Starting Mix or a Well-Draining Potting Mix: I like a blend of peat moss, perlite, and a little bit of compost. You want something airy that won’t hold too much moisture.
- Small Pots or Seedling Trays with Drainage Holes: For your cuttings to grow in.
- Clear Plastic Bag or a Propagation Dome: To create a mini greenhouse effect.
- Watering Can with a Fine Rose: For gentle watering.
Propagation Methods: Let’s Get Growing!
There are a couple of ways to go about this, but my absolute go-to for Volkameria heterophylla is stem cuttings. It’s straightforward and usually gives fantastic results.
Stem Cuttings
- Take Your Cuttings: With your sharp pruning shears, select healthy, non-flowering stems from your established Volkameria. Look for stems that are about 4-6 inches long. Make a clean cut just below a leaf node (where a leaf grows out of the stem). This is where the magic happens – roots like to emerge from these spots.
- Prepare the Cuttings: Gently remove the lower leaves from the cutting, leaving just the top 2-3 leaves. This prevents them from rotting in the soil. If your cuttings are a bit “floppy,” you can even trim the remaining leaves in half to reduce water loss.
- Dip in Rooting Hormone: If you’re using rooting hormone, dip the cut end of the stem into the powder or gel. Tap off any excess. This really gives them a fighting chance.
- Plant Your Cuttings: Fill your small pots or trays with your well-draining potting mix. Make a little hole with your finger or a pencil, and gently insert the prepared cutting. Firm the soil gently around the stem to ensure good contact.
- Water Gently: Water thoroughly but gently, making sure the soil is moist but not waterlogged.
- Create a Humid Environment: Cover the pots loosely with a clear plastic bag or pop them under a propagation dome. This traps humidity, which is crucial for cuttings to root before they can take up water from the soil. Make sure the leaves don’t touch the plastic if you can help it!
The “Secret Sauce” (Pro Tips)
Now, here are a few little tricks I’ve learned over the years that really make a difference:
- Bottom Heat is Your Friend: If you can swing it, a propagation mat placed underneath your pots makes a world of difference. Bottom heat encourages root formation from below and can significantly speed up the process. I always find my cuttings root faster and more vigorously when they have a gentle warmth beneath them.
- Don’t Overwater, Ever! This is probably the biggest killer of cuttings. It’s tempting to keep them super moist, but soggy soil leads to rot. Let the top inch of soil dry out slightly between waterings. You’ll get a feel for it.
- Patience is a Virtue (and a Necessity): Some of my cuttings have rooted in as little as two weeks, while others have taken up to six. Don’t get discouraged if you don’t see immediate results. Keep them in their humid environment and check periodically.
Aftercare & Troubleshooting
Once you start to see those adorable little roots peeking out from the drainage holes, or you feel some gentle resistance when you very carefully tug on the cutting, you know you’re on your way!
At this point, you can gradually acclimate your new plant to normal room humidity. Start by removing the plastic bag for a few hours each day, slowly increasing the time until you can remove it permanently. Keep the soil consistently moist but not soggy. Once they have a good root system, you can pot them up into slightly larger containers with fresh potting mix.
The most common problem you’ll encounter is rot. If you see the stem turning mushy and black, it’s likely due to overwatering and poor air circulation. If this happens, try to salvage any healthy parts of the stem and start again, being much more mindful of watering and humidity. Yellowing leaves can sometimes indicate it’s too dry or perhaps not enough light, but with Volkameria heterophylla, rot is usually the bigger villain.
Happy Growing!
Isn’t that exciting? Taking a piece of your favorite plant and coaxing it into a whole new life is one of the most satisfying experiences in gardening. Don’t be afraid to experiment, and most importantly, enjoy the process. There’s a special kind of joy in watching a tiny cutting unfurl its first new leaves. Happy propagating!
Resource:
https://identify.plantnet.org/k-world-flora/species/Volkameria%20heterophylla%20Poir./data