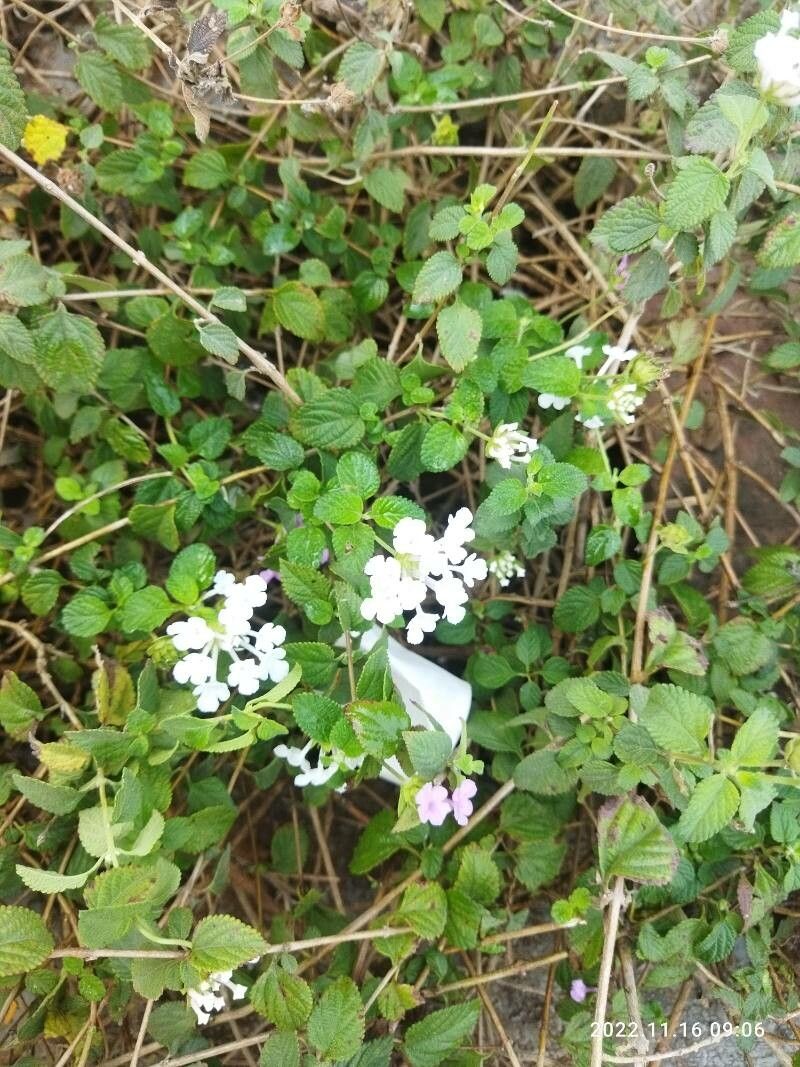
Hello fellow garden lovers! Today, we’re diving into the wonderful world of propagating Lantana undulata. I’ve spent two decades getting my hands dirty, and one of my absolute joys is multiplying my favorite plants. Lantanas, with their vibrant, ever-changing blooms and their ability to attract pollinators, are a fantastic choice for any garden. Plus, growing new ones from your existing beauties? It’s incredibly rewarding, and I’m happy to tell you that the undulata variety is quite forgiving, making it a wonderful project for even the newest of gardeners.
The Best Time to Start
When it comes to getting the most bang for your buck with propagation, late spring to early summer is your sweet spot for Lantana undulata. This is when the plant is actively growing, energized by the warmer days and longer sunlight hours. You’ll find it easier to get healthy, vigorous cuttings that have a good chance of rooting quickly.
Supplies You’ll Need
Before we get our hands dirty, let’s gather our tools:
- Sharp Pruning Shears or a Clean Knife: Essential for making clean cuts.
- Rooting Hormone (Optional but Recommended): This can give your cuttings a helpful boost. Look for a powder or gel specifically for stem cuttings.
- Well-Draining Potting Mix: A mix of potting soil and perlite or coarse sand works beautifully. You want it to dry out between waterings.
- Small Pots or Seedling Trays: Clean containers with drainage holes are crucial.
- Plastic Bag or Humidity Dome: To create a humid environment for your cuttings.
- Mister Bottle: For gently watering your cuttings.
- Labels and Pen: To keep track of what you’ve planted and when.
Propagation Methods
Let’s talk about how to get those new Lantana babies started!
Stem Cuttings: My Go-To Method
This is honestly the easiest and most reliable way to propagate Lantana undulata.
- Select Your Cuttings: Look for healthy, non-flowering stems that are about 4-6 inches long. You’ll want to take them from current season’s growth.
- Make the Cut: Using your sharp shears, make a clean cut just below a leaf node (where the leaf attaches to the stem). This is where the magic happens, as roots tend to form most readily from these points. Remove any leaves from the bottom half of the cutting.
- Prepare the Cuttings: If you’re using rooting hormone, dip the cut end into it, tapping off any excess.
- Plant Your Cuttings: Fill your small pots with your well-draining mix. Make a small hole in the center with your finger or a pencil, and gently insert the cutting. Firm the soil gently around the base.
- Water Gently: Use your mister bottle to lightly water the soil. You want it moist, not waterlogged.
- Create a Humid Environment: Cover the pots with a plastic bag (making sure the leaves don’t touch the plastic!) or use a humidity dome. This is key to preventing the cuttings from drying out before they can develop roots.
Water Propagation (A Fun Alternative!)
While I usually prefer soil, water propagation can be a visual delight.
- Take Your Cuttings: Follow steps 1 and 2 from the stem cutting method. Remove all leaves except for the top few.
- Place in Water: Put the cuttings in a clean jar or glass filled with water. Make sure no leaves are submerged, as this can lead to rot.
- Find a Bright Spot: Place the jar in a bright location, but out of direct, harsh sunlight.
- Change the Water: Change the water every few days to keep it fresh and prevent bacterial growth.
- Watch for Roots: You should start to see tiny roots appearing in a few weeks. Once the roots are about an inch long, you can carefully transplant them into your potting mix following step 4 of the stem cutting method.
The “Secret Sauce” (Pro Tips)
Here are a few little tricks I’ve picked up over the years that make a big difference:
- Bottom Heat is Your Friend: If you have a seedling heat mat, place your pots on it. Lantana cuttings love a little warmth from below. It significantly speeds up root development.
- Don’t Be Afraid to Prune: Sometimes, a cutting might start to look a bit sad. If the leaves start to yellow or droop significantly, gently pinch off the dying leaves. This encourages the plant to focus its energy on root production rather than trying to sustain underdeveloped foliage.
- Sterilize Everything: Before you start, make sure your pruners, knives, and pots are clean. This is a simple step that can prevent the transfer of any diseases or fungal issues to your new plants.
Aftercare & Troubleshooting
Once you see new growth or a gentle tug on the cutting reveals resistance (a sign of roots!), it’s time for a little adjustment.
- Gradual Acclimation: If you used a plastic bag or humidity dome, gradually introduce your new plants to drier air over a few days. Start by lifting the cover for an hour each day, then two, and so on.
- Watering: Continue to water when the top inch of soil feels dry. They still need consistent moisture, but avoid soggy soil, which can lead to root rot.
- Light: Once established, they can handle more light, but avoid intense direct sun for the very first few weeks.
The most common issue you might encounter is rot. This usually happens if the soil is too wet or the humidity is too high for too long. If you see mushy stems or blackening, it’s often a sign that the cutting isn’t going to make it. Don’t get discouraged! Garden, like life, is a process of trial and error. Compost the failed cutting and try again.
A Little Encouragement
Propagating Lantana undulata is such a rewarding experience. It allows you to share the beauty of your garden with friends, fill in gaps, or simply enjoy the satisfaction of nurturing new life. Be patient with yourself and your new little plants. Sometimes it takes a bit of time, and that’s perfectly okay. Enjoy the journey, and soon you’ll have a whole garden full of your own vibrant Lantanas! Happy propagating!
Resource:
https://identify.plantnet.org/k-world-flora/species/Lantana%20undulata%20Schrank/data