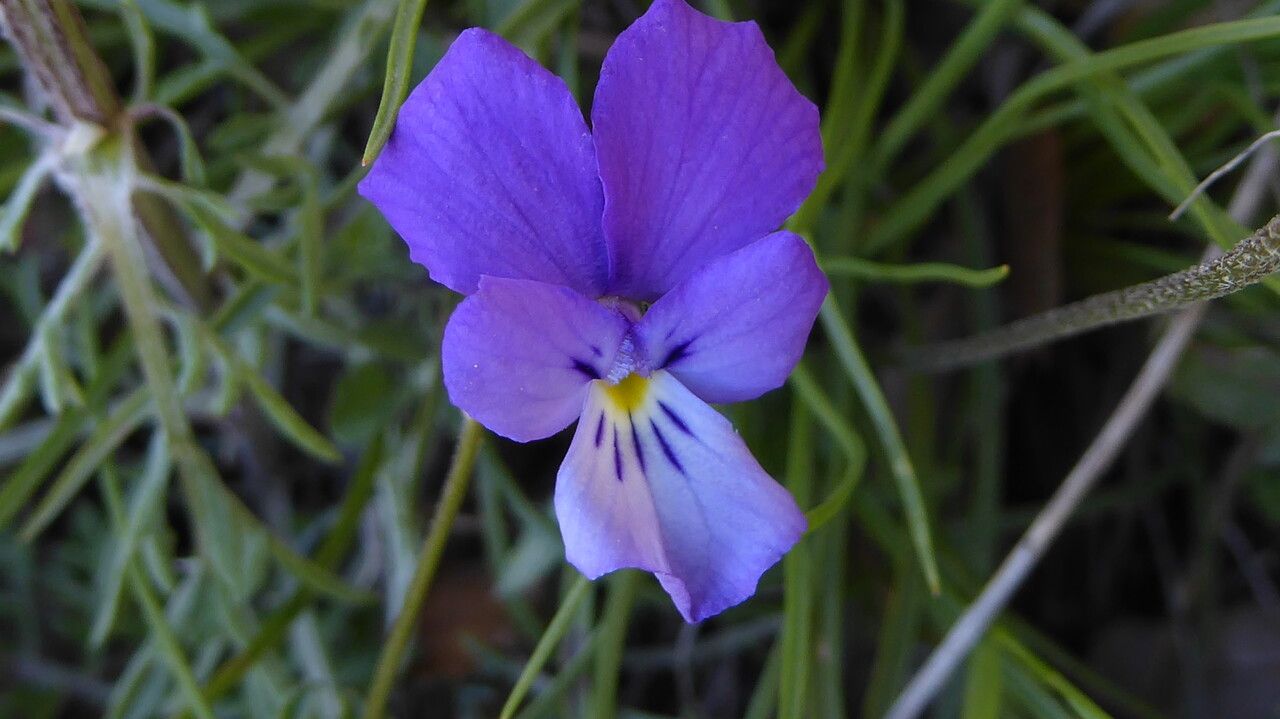
Oh, Viola bubanii! If you haven’t fallen for this little charmer yet, you’re in for a treat. Its delicate, cheerful blooms are like sunshine for the soul, and propagating them brings an extra layer of satisfaction. It’s like giving the gift of more beauty, and honestly, who doesn’t love more beauty? For beginners, I’d say Viola bubanii is moderately easy. It’s not as fuss-free as, say, a pothos, but with a little attention, you’ll be swimming in these lovely violas in no time.
The Best Time to Start
My favorite time to get my hands dirty with Viola bubanii propagation is in late spring or early summer. This is when the plant is actively growing and has plenty of energy to put into developing new roots. You’ll likely be pruning it back a bit anyway after its main flowering flush, so it’s a natural time to snip off some healthy stems.
Supplies You’ll Need
Gathering your tools before you begin makes the whole process smoother. Here’s what I usually have on hand:
- A sharp, clean pair of secateurs or a sharp knife. Cleanliness is key to preventing nasty infections.
- A good quality seed-starting mix or a mix of equal parts peat moss and perlite. This provides good drainage and aeration, which is crucial.
- Small pots or trays with drainage holes.
- Rooting hormone (optional, but can give an extra boost). I usually use a powdered one.
- A spray bottle filled with water.
- A plastic bag or clear plastic dome for creating a humid environment.
- Labels to keep track of your propagated plants!
Propagation Methods
For Viola bubanii, my go-to method is stem cuttings. It’s effective and relatively straightforward.
Here’s how I do it:
- Select Your Cuttings: Look for healthy, non-flowering stems from your parent plant. You want stems that are actively growing but not too woody. Aim for pieces that are about 4-6 inches long.
- Make the Cut: Using your clean secateurs or knife, make a clean cut just below a leaf node. A leaf node is where a leaf emerges from the stem. This is where the magic happens, and roots are most likely to form.
- Prepare the Cutting: Gently remove the lower leaves from the cutting, leaving just 2-3 sets of leaves at the top. If the remaining leaves are very large, you can even cut them in half horizontally to reduce water loss through transpiration.
- Apply Rooting Hormone (Optional): If you’re using rooting hormone, lightly dip the cut end of the stem into the powder. Tap off any excess so you don’t have clumps.
- Plant Your Cuttings: Fill your small pots or trays with your prepared soilless mix. Make a small hole with your finger or a pencil, and gently insert the cut end of the viola cutting. Firm the soil gently around the stem to ensure good contact.
- Water Gently: Water the soil lightly with your spray bottle. You want the soil to be moist but not waterlogged.
- Create Humidity: This is where the plastic bag or dome comes in. Cover the pot with the plastic bag, securing it around the rim with a rubber band or tape, or place the clear dome over the tray. This creates a mini-greenhouse effect, keeping the humidity high, which is essential for cuttings to root.
The “Secret Sauce” (Pro Tips)
You know, after all these years, a few little tricks just make a world of difference.
- My absolute favorite tip for stem cuttings is to use bottom heat. A gentle heat mat placed underneath your propagation tray can significantly speed up root development. It mimics the warmth of spring soil and I swear, my viola cuttings root twice as fast when they have that cozy warmth.
- When you’re watering your cuttings, always aim for the soil, not the leaves. Excess moisture sitting on the foliage, especially in that humid environment you’ve created, can encourage fungal diseases. A gentle mist for the leaves is fine, but for watering, target the base of the plant.
Aftercare & Troubleshooting
Once your cuttings have started to root – usually after 3-6 weeks, you’ll see tiny roots peeking out from the drainage holes or new growth appearing at the top – it’s time to give them a little more room.
- Acclimatize: Gradually remove the plastic bag or dome over a few days. Start by taking it off for a couple of hours a day, then longer periods, allowing the new plants to adjust to the ambient humidity.
- Potting Up: Once they’re strong enough, you can transplant your rooted cuttings into slightly larger pots with a good quality potting mix. Water them thoroughly after transplanting.
- Watch for Rot: The most common issue you’ll encounter is rot. This usually happens if the soil is kept too wet or if there isn’t enough air circulation. If you see stems turning mushy and black, it’s a sign of rot. At that point, it’s usually best to discard the affected cuttings and re-evaluate your watering and humidity levels for the remaining ones.
Don’t be discouraged if not every cutting takes. Gardening is a journey of learning, and every little experiment brings you closer to understanding your plants. Be patient, enjoy the process of nurturing these new little lives, and soon you’ll have a beautiful collection of Viola bubanii to share with the world! Happy gardening!
Resource:
https://identify.plantnet.org/k-world-flora/species/Viola%20bubanii%20Timb.-Lagr./data