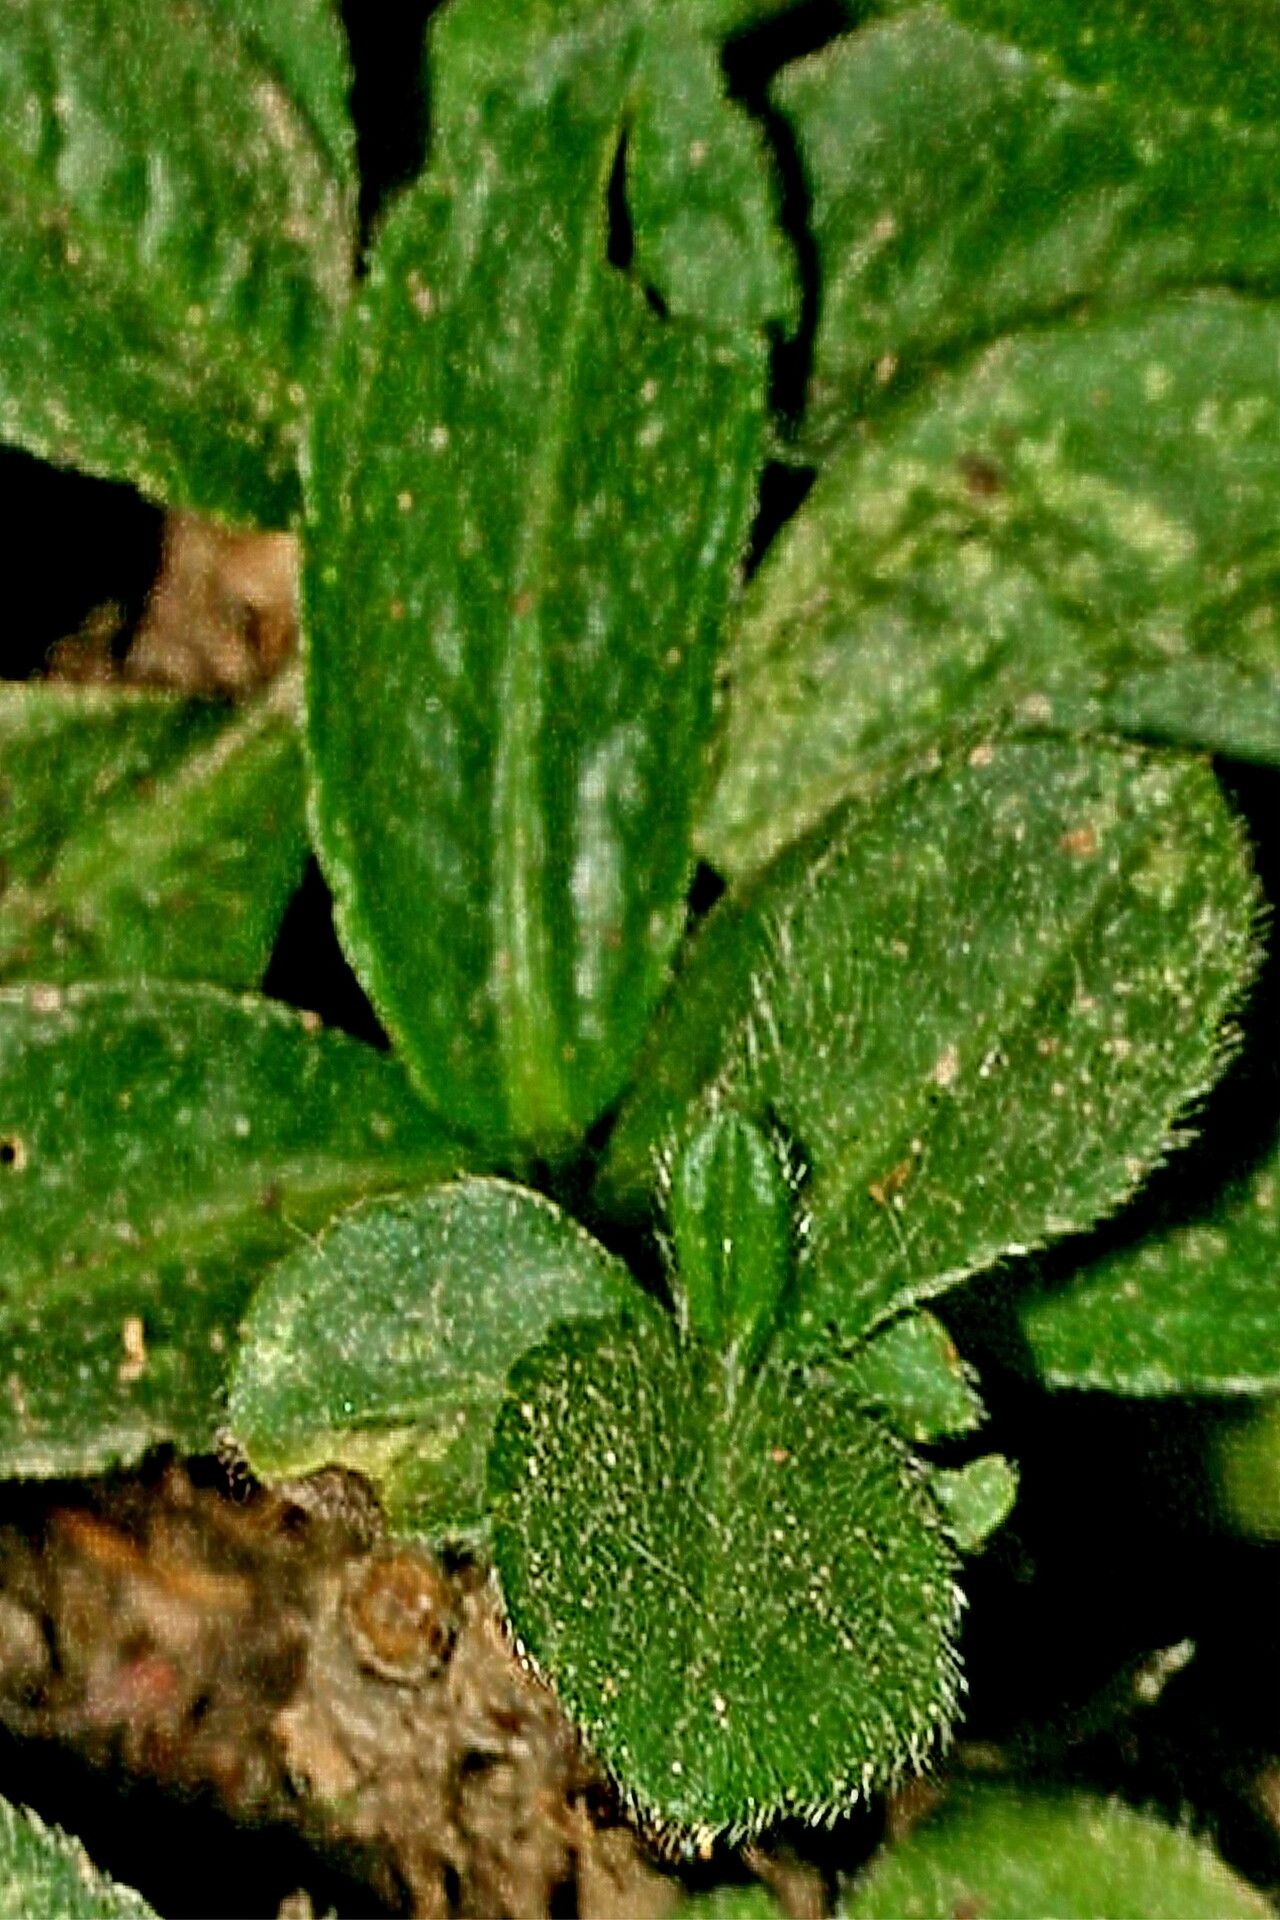
Hello there, fellow plant lovers! It’s so good to have you join me today. We’re going to talk about a truly unique and charming plant: Pseudelephantopus spiralis. Its quirky, spiral-shaped flower stalks are such a talking point, and honestly, it just brings a smile to my face every time I see it.
There’s something incredibly satisfying about coaxing new life from an existing plant. It’s like having a little bit of garden magic right at your fingertips. And don’t worry if you’re new to this; while Pseudelephantopus spiralis can be a touch particular, with a little guidance, it’s totally doable for beginners. Let’s get our hands dirty!
The Best Time to Start
For Pseudelephantopus spiralis, spring is your best bet, without a doubt. You want to catch the plant when it’s really waking up and bursting with energy after its cooler period. Around late spring to early summer, when the days are getting longer and warmer, is when I find I have the highest success rates. You’re essentially giving your new babies a whole growing season to establish themselves.
Supplies You’ll Need
Let’s get our little propagation station ready! Here’s what you’ll want to have on hand:
- Sharp, clean pruning shears or a sharp knife: For making those crucial, clean cuts.
- Well-draining potting mix: I usually go for a mix of peat moss, perlite, and a little bit of compost. You can also find specific succulent or cactus mixes that work wonderfully.
- Small pots or propagation trays: Clean ones are key to preventing disease.
- Rooting hormone (optional but recommended): This can give your cuttings a helpful boost.
- Watering can or spray bottle: For gentle watering.
- Clear plastic bags or a propagator lid: To create a humid environment for your cuttings.
Propagation Methods
Pseudelephantopus spiralis is quite amenable to stem cuttings, which is how I usually go about it.
Stem Cuttings:
- Select Your Stems: Look for healthy, vibrant stems that are not flowering or old and woody. I aim for stems that are about 4-6 inches long.
- Make the Cut: Using your sharp, clean shears, make a swift cut just below a leaf node. A leaf node is a point on the stem where leaves grow.
- Prepare the Cutting: Gently remove the lower leaves from the stem, leaving just a couple of leaves at the very top. This helps the plant focus its energy on rooting. If the leaves are quite large, you can even cut them in half horizontally to reduce moisture loss.
- Apply Rooting Hormone (Optional): Dip the cut end of the stem into your rooting hormone powder or gel. Tap off any excess.
- Plant Your Cuttings: Fill your small pots with your well-draining potting mix. Make a small hole with your finger or a pencil and gently insert the cut end of the stem. Firm the soil around it.
- Water Gently: Water the soil thoroughly but avoid waterlogging. You want it moist, not soggy.
- Create Humidity: Cover the pot with a clear plastic bag (make sure the leaves don’t touch the sides!) or place it inside a propagator with a lid. This is crucial for keeping the humidity levels high, which is what cuttings need to thrive before they develop roots.
The “Secret Sauce” (Pro Tips)
Alright, a couple of little tricks I’ve learned over the years that can really make a difference:
- Give Them Some Warmth: Pseudelephantopus spiralis absolutely loves gentle bottom heat. Placing your pots on a heated propagation mat can significantly speed up the rooting process. It mimics the natural warmth of the soil in its native environment.
- Patience is a Virtue, and Air Circulation is Too: Once you have your cuttings covered, resist the urge to peek constantly! However, it’s also important to air them out daily for a few minutes to prevent fungal issues. This little bit of fresh air can go a long way.
- Watch the Water, Not Just the Soil: When you water, make sure you’re not leaving any standing water in the pot or tray. Too much moisture is the quickest way to welcome rot, and we definitely don’t want that!
Aftercare & Troubleshooting
Once you start seeing new leaf growth or feel a slight resistance when you gently tug on the cutting (a sign of roots!), it’s time to transition. Gradually remove the plastic bag or propagator lid over a few days to acclimate your new plant to normal humidity. Now, you can water it a little more like you would any other potted plant, allowing the soil to dry slightly between waterings.
The most common problem you might encounter is rot at the base of the cutting. This usually happens from overwatering or if the humidity is too high for too long without adequate airflow. If you see a cutting turning mushy and dark, unfortunately, it’s best to discard it to prevent the rot from spreading. Don’t be discouraged if a few don’t make it; that’s just part of the learning curve!
A Encouraging Closing
So there you have it! Propagating Pseudelephantopus spiralis might seem like a meticulous process, but seeing those tiny roots emerge and a new plant unfurl is incredibly rewarding. Be patient with yourself and the plants. Enjoy the journey, and soon you’ll have a whole collection of these wonderfully unique specimens to share and admire. Happy gardening!
Resource: