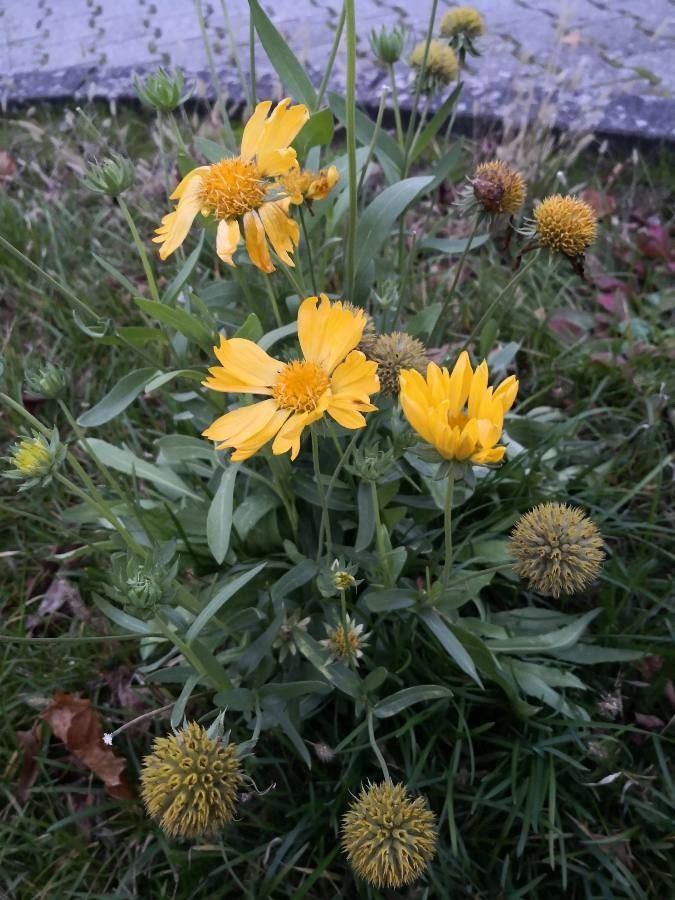
Oh, hello there! Pull up a chair and let’s chat about one of my favorite sun-lovers: Verbesina helianthoides, often called prairie sunflower or golden crownbeard. If you’re like me, you absolutely adore those cheerful, daisy-like yellow flowers that seem to capture the essence of late summer. They’re magnets for pollinators, too! And the best part? Propping them is a truly rewarding experience. It’s not overly fussy, making it a great plant for those just dipping their toes into propagation. You’ll feel such a thrill watching a tiny cutting transform into a full-fledged plant.
The Best Time to Start
For Verbesina helianthoides, the sweet spot for propagation is definitely late spring to early summer. This is when the plant is actively growing and has plenty of energy to put into developing new roots. If you’re looking at division, early spring just as growth begins is also a fantastic time to gently tease apart those clumps.
Supplies You’ll Need
Gathering your supplies makes the whole process so much smoother. Here’s what I always have on hand:
- Sharp pruning shears or a clean knife: For taking cuttings. Sterilize them if you’ve been working with other plants!
- Rooting hormone powder (optional but helpful): Gives those cuttings an extra boost.
- A well-draining potting mix: I usually go for a mix of perlite, peat moss, and a bit of compost. You want it to hold some moisture but drain freely.
- Small pots or seed trays: Clean ones, please!
- A watering can with a fine rose: To water gently.
- Plastic bags or a propagation dome: To create a humid environment for cuttings.
- Labels: Trust me, you’ll thank yourself later!
Propagation Methods
There are a couple of ways to coax new Verbesina helianthoides plants into existence.
Stem Cuttings
This is my go-to method for a reason!
- Take Your Cuttings: In late spring or early summer, locate healthy, non-flowering stems. Using your sterilized shears or knife, take cuttings that are about 4-6 inches long. Make sure each cutting has at least two sets of leaves. Cut just below a leaf node (where the leaves attach to the stem).
- Prepare the Cuttings: Gently remove the lower leaves from the cutting, leaving just the top set or two. This prevents them from rotting in the soil or water.
- Apply Rooting Hormone (Optional): Dip the cut end of the stem into your rooting hormone powder, tapping off any excess.
- Planting: Fill your small pots with your pre-moistened, well-draining potting mix. Make a small hole with your finger or a pencil.
- Insert Cuttings: Gently insert the cut end of each stem into the hole, ensuring the remaining leaves aren’t buried. Firm the soil gently around the base.
- Create Humidity: Water the soil lightly. Then, cover the pots with a plastic bag or place them under a propagation dome. Make sure the leaves aren’t touching the plastic if you’re using a bag.
- Placement: Place the pots in a bright spot that doesn’t get direct, hot sun. A sunny windowsill is often perfect.
Division
This is best done in early spring as new growth emerges or in the fall after flowering.
- Dig Up the Plant: Gently dig around the base of your mature Verbesina helianthoides plant, exposing the root ball.
- Separate Divisions: Using your hands or a clean trowel, gently pull apart or cut sections of the plant. Each division should have a good amount of roots and at least one or two healthy shoots.
- Replant: Immediately replant the divisions in their new locations or in pots filled with good soil. Water them well.
The “Secret Sauce” (Pro Tips)
Here are a few little tricks I’ve picked up along the way that really make a difference:
- I find bottom heat can significantly speed up root development for stem cuttings. A simple seedling heat mat placed under the pots works wonders, especially if your house is on the cooler side.
- When taking stem cuttings, I often look for stems that are “softwood” or “semi-hardwood.” This means they’re bendy but not so green they snap easily. They have that perfect balance for rooting.
- For water propagation (though I prefer soil for Verbesina), if you do choose to root cuttings in water, make sure absolutely no leaves are submerged. Even one leaf touching the water can lead to rot. Change the water every few days to keep it fresh.
Aftercare & Troubleshooting
Once you start seeing new growth or a bit of resistance when you gently tug on a cutting, congratulations – you have roots!
- Acclimatization: Gradually remove the plastic bag or dome over a few days to allow the new plants to get used to the drier air.
- Watering: Keep the soil consistently moist but not soggy. You should be able to feel a little moisture when you poke your finger in about an inch.
- Transplanting: Once your new plants have a good root system and are a few inches tall, you can transplant them into larger pots or their permanent garden spots. Continue to water them well after transplanting.
The biggest enemy you’ll face is rot. If your cuttings turn mushy or black, it’s usually a sign of too much moisture and not enough air circulation. If you see this, pull the affected cutting, clean your pot, and use fresh, drier soil for any remaining ones.
Happy Growing!
Don’t fret if your first few attempts aren’t perfect. Gardening is a journey of learning and experimenting. Be patient with your new plants, and enjoy the process of bringing more of these sunny beauties into your garden. You’ve got this!
Resource:
https://identify.plantnet.org/k-world-flora/species/Verbesina%20helianthoides%20Michx./data