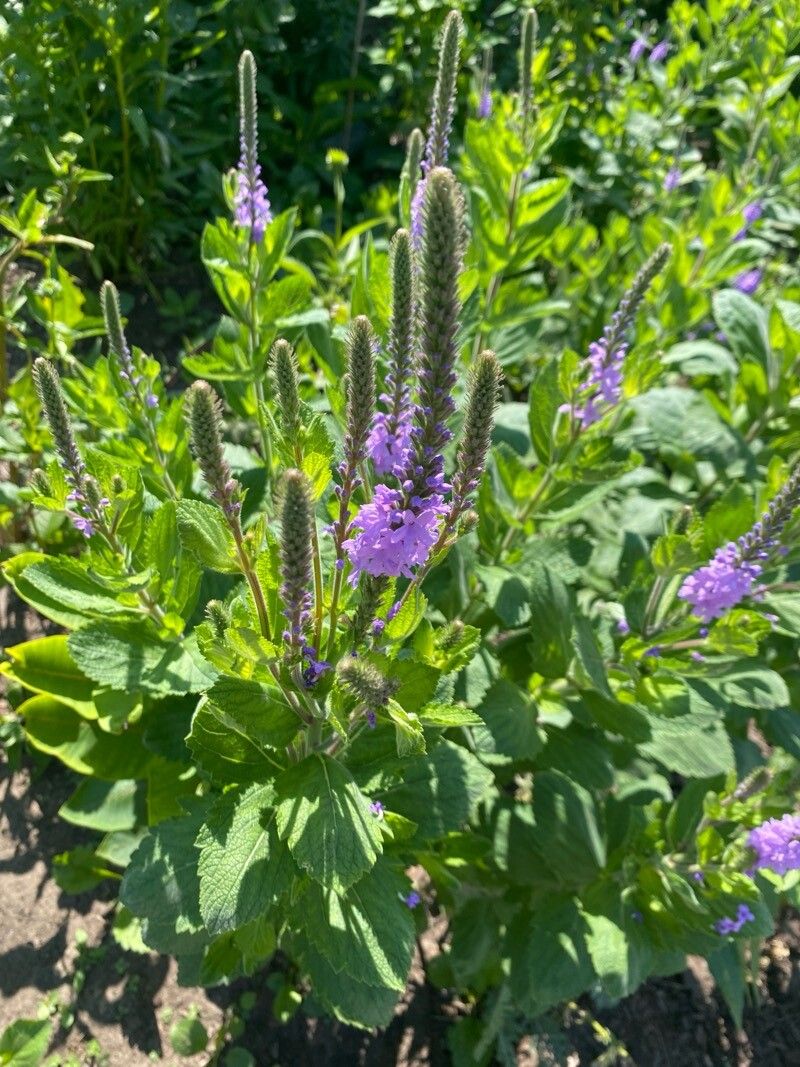
Hello, fellow garden lovers! I’m so excited to chat with you today about a plant that’s really captured my heart: Verbena stricta, often called Hoary Vervain or Tall Verbena. This native beauty is a pollinator magnet, boasting lovely spikes of purple flowers that bring so much life to the garden.
And the best part? Propagating it is wonderfully rewarding. You get to extend that beauty, share it with friends, or simply fill more of your own garden with its charm. For beginners, I’d say Verbena stricta is a pretty intermediate plant to propagate. It’s not as fuss-free as some, but with a little attention, you’ll be successful.
The Best Time to Start
For the highest success rate with Verbena stricta, I always recommend taking cuttings in late spring or early summer. This is when the plant is in active growth, and the stem tips are usually soft and pliable. You want to work with new, healthy growth, not woody old stems.
Supplies You’ll Need
Here’s what I usually gather before I begin:
- Sharp pruning shears or a clean knife: For taking clean cuts.
- Rooting hormone: This is a great helper, especially for trickier propagations. I prefer a powder form.
- Potting mix: A well-draining mix is crucial. I often use a blend of equal parts seed-starting mix and perlite to ensure good aeration. You can also use a cacti/succulent mix.
- Small pots or seed trays: With drainage holes, of course!
- Plastic bags or a propagator lid: To maintain humidity.
- Watering can or spray bottle: For gentle watering.
Propagation Methods
There are a couple of ways to go about this, but my go-to for Verbena stricta is stem cuttings.
- Select Your Cuttings: Look for healthy, non-flowering shoots. Aim for pieces that are about 4-6 inches long. Pinch off any leaves from the bottom half of the stem.
- Make the Cut: Using your sharp shears or knife, make a clean cut just below a leaf node (where a leaf attaches to the stem). This is where the magic happens!
- Apply Rooting Hormone: Dip the cut end of the stem into your rooting hormone, coating about an inch of the stem. Tap off any excess.
- Plant Your Cuttings: Fill your small pots with the prepared, moistened potting mix. Make a little hole with your finger or a pencil and gently insert the cutting. Firm the soil around the stem so it’s stable.
- Create a Humid Environment: Water the soil gently. Then, cover the pot with a clear plastic bag or a propagator lid. This traps moisture and mimics the humid environment cuttings need. You can also use wooden skewers to keep the bag from touching the leaves.
The “Secret Sauce” (Pro Tips)
After many years of trying, I’ve learned a few tricks that really boost my success rate.
- Bottom Heat is Your Friend: For Verbena stricta, I’ve found that a little gentle bottom heat makes a big difference. A heating mat designed for seedlings can really speed up root development. Just a warm soil temperature, not scorching hot, is perfect.
- “Wound” the Stem (Carefully!): This is a little trick I learned from an old-school grower. After dipping your cutting in rooting hormone, you can very gently scrape a thin sliver of bark from one side of the cut end (about a quarter-inch long). This encourages more vigorous rooting. Be super delicate here – you don’t want to damage the stem too much.
- Don’t Overwater! It sounds counterintuitive when the cuttings need moisture, but soggy soil is the enemy. It can lead to rot before roots even have a chance to form. I aim for consistently moist, not waterlogged, soil.
Aftercare & Troubleshooting
Once your cuttings are potted up and covered, place them in a bright location, but out of direct, harsh sunlight. Keep an eye on the moisture – if the soil looks dry, give them a gentle drink.
You’ll know roots are forming when you see new growth appearing or when you gently tug on a cutting and feel some resistance. This usually takes 3-6 weeks, sometimes a bit longer.
The most common problem is rot. If you see your cuttings turning black and mushy, it’s usually a sign of too much moisture or not enough air circulation. If this happens, remove the affected cuttings immediately. Make sure your soil is draining well and try to ensure a bit more air flow if you’re using a sealed propagator.
When your new plants have a good set of roots, you can gradually acclimate them to normal conditions. This means taking the plastic bag off for a few hours each day, slowly increasing the time until they are fully weaned. Then, you can transplant them into slightly larger pots or directly into their garden beds when the danger of frost has passed.
A Little Patience, A Lot of Reward
Propagating Verbena stricta, like any plant, is a journey. There might be a few tries before you get it down perfectly. But there’s such deep satisfaction in seeing those tiny roots emerge and then watching your new plant thrive. So, be patient with yourselves, enjoy the process of nurturing these little green hopefuls, and soon you’ll have a garden bursting with beautiful verbena! Happy propagating!
Resource:
https://identify.plantnet.org/k-world-flora/species/Verbena%20stricta%20Vent./data