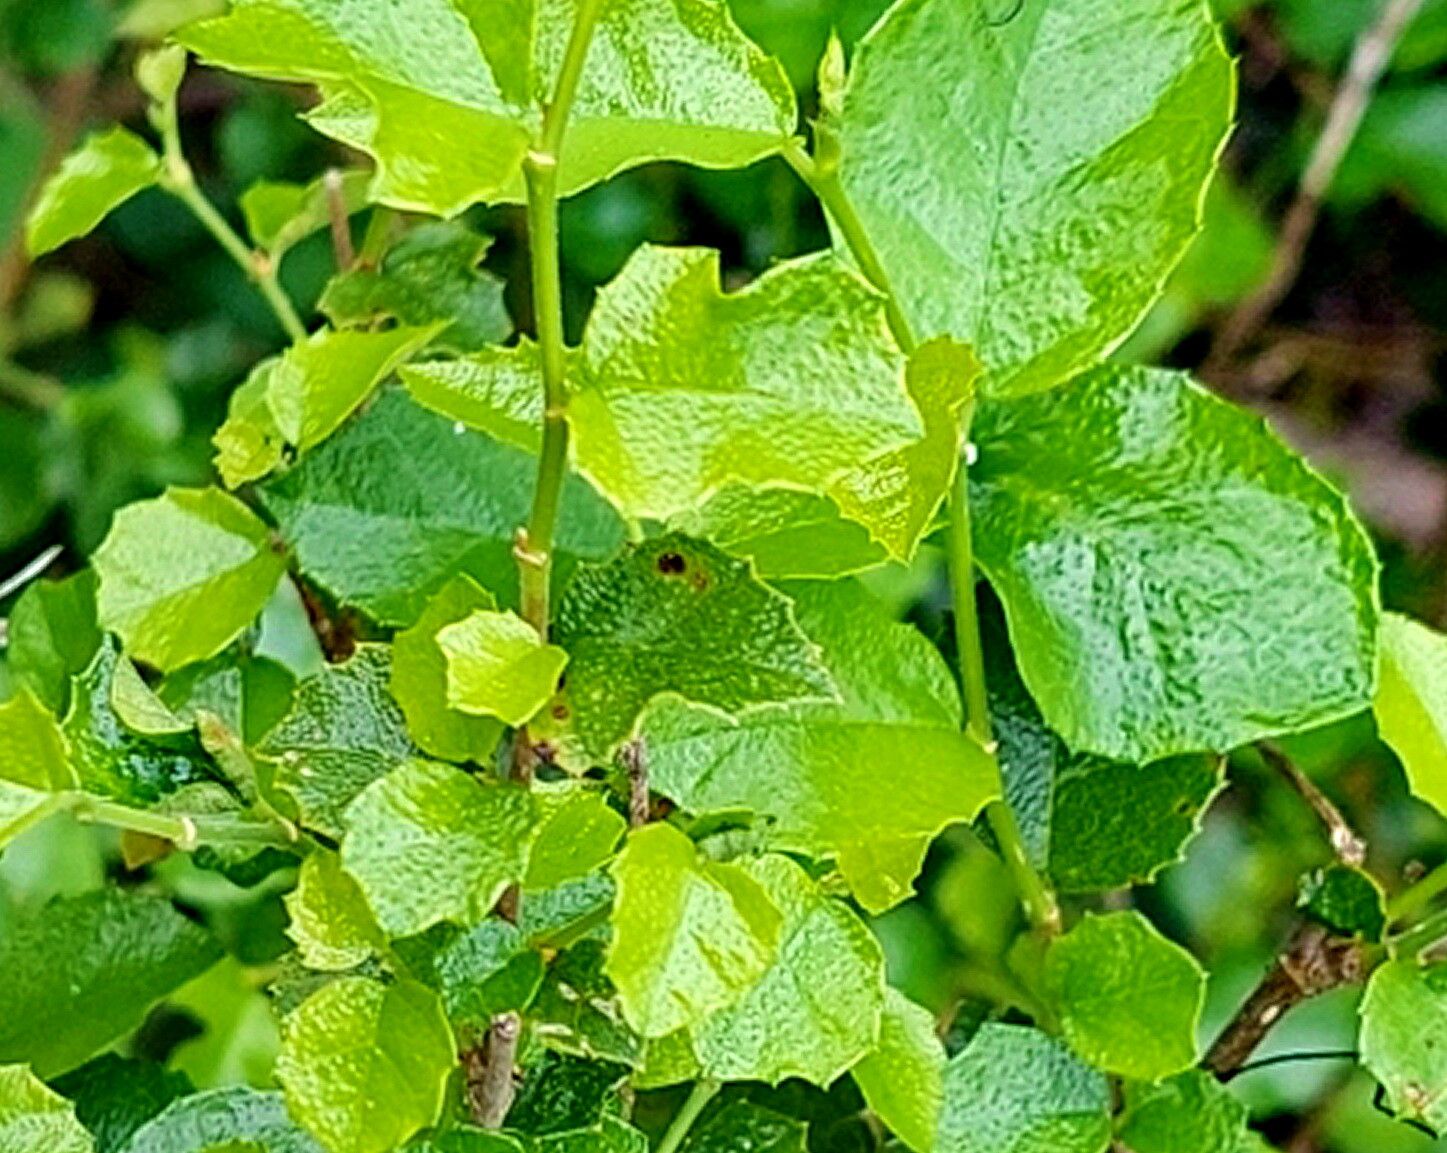
Oh, hello there! Come on in, grab a mug. Let’s chat about one of my favorite leafy friends: Paratrophis pendulina. Or, as some of us affectionately call it, the “mistletoe fig” (though it’s not a true fig or mistletoe, isn’t that a fun quirk?). This beauty, with its glossy, heart-shaped leaves and graceful, cascading habit, can truly bring a touch of understated elegance to any indoor space. And the best part? You can easily create more of them! Propagating Paratrophis pendulina is a wonderfully rewarding experience, a chance to witness new life sprout from a single piece. For beginners, I’d say it’s moderately easy. It might require a touch more attentiveness than, say, a pothos, but the success you’ll find is absolutely worth it.
The Best Time to Start
When it comes to getting your propagation party started, you really want to aim for spring or early summer. This is when the plant is actively growing and has plenty of energy to put into developing new roots. Think of it as its prime time for growth! Starting during this period gives your cuttings the best chance to establish themselves before the cooler, darker months set in.
Supplies You’ll Need
Before we get our hands dirty, let’s gather our tools. A little preparation goes a long way!
- Sharp Pruning Shears or a Knife: Clean cuts are super important for healthy propagation. Make sure they are sharp and sanitized. A quick wipe with rubbing alcohol will do the trick.
- Rooting Hormone (Optional but Recommended): This isn’t strictly necessary for Paratrophis pendulina, but a little dip can give your cuttings a significant head start.
- Well-Draining Potting Mix: I like to use a blend of equal parts peat moss or coco coir and perlite or coarse sand. This ensures good aeration and prevents waterlogging. You can also buy pre-made “cuttings mix.”
- Small Pots or Seed Trays: Whatever you have on hand will work, as long as they have drainage holes.
- Clear Plastic Bag or Dome: This creates a humid environment, which is crucial for cuttings while they root.
- Watering Can with a Fine Rose: Gentle watering is key!
Propagation Methods
Let’s get down to business. The most reliable way to multiply your Paratrophis pendulina is through stem cuttings.
- Take Your Cuttings: When you’re ready, select a healthy, non-flowering stem from your mother plant. I usually go for stems that are about 4-6 inches long. Make a clean cut just below a leaf node. A leaf node is that little bump where a leaf grows from the stem – that’s where the magic happens, where roots will form.
- Prepare the Cuttings: Gently remove the lower leaves from the cutting, leaving just a few at the top. This reduces water loss and prevents leaves from rotting in the soil. If your stem is quite thick, you can even cut the remaining leaves in half horizontally to further minimize water loss.
- Apply Rooting Hormone (If Using): Dip the cut end of the stem into your rooting hormone powder or gel. Tap off any excess.
- Plant Your Cuttings: Fill your small pots with your prepared, moist potting mix. Make a small hole in the center with your finger or a pencil. Insert the callused end of the cutting into the hole, making sure the leaf nodes are below the soil surface. Gently firm the soil around the stem.
- Create a Humid Environment: Water the soil gently until it’s evenly moist. Then, cover the pot loosely with a clear plastic bag or a propagation dome. This traps humidity, mimicking the conditions a plant would experience in its natural, humid habitat.
The “Secret Sauce”
Now, for a few little tricks of the trade. These are things I’ve learned over the years that really make a difference.
- Bottom Heat is Your Friend: If you have an old seed starting heat mat, now’s the time to use it! Placing your pots on a gentle heat source (around 70-75°F or 21-24°C) can significantly speed up root development. It’s like giving your cuttings a warm little hug to encourage them to grow roots.
- Don’t Get Greedily Soggy: While we want humidity, we don’t want soggy soil, especially around the base of the cutting. Check the moisture level by gently poking your finger into the soil. If it feels dry about an inch down, it’s time to water. Overwatering is one of the quickest ways to send a cutting to an early grave.
- Look for the “Push”: Once you start to see new leaf growth at the top of your cutting, that’s a fantastic sign! It means the roots are starting to establish themselves and are feeding the new foliage.
Aftercare & Troubleshooting
Once you see that glorious new growth, congratulations! Now comes the gentle transition. Keep the humidity high for a few more weeks. You can start to gradually acclimate your new plant to lower humidity by opening the plastic bag or dome for a few hours each day.
When you gently tug on the cutting and feel resistance, that’s a good indicator that roots have formed. You can then transplant your new little Paratrophis pendulina into a slightly larger pot with fresh potting mix. Continue to keep the soil consistently moist but not waterlogged.
If your cutting starts to yellow and wilt without any signs of new growth, it could be due to a few things. It might not have rooted, or perhaps it’s getting too much direct sunlight. Conversely, if the leaves are turning mushy and brown at the base, that’s usually a sign of overwatering and potential rot. In that case, sadly, it’s time to start again. Don’t be discouraged if it doesn’t work out the first time!
A Encouraging Closing
Growing new plants is a journey, and Paratrophis pendulina is a delightful companion for that journey. Be patient with your cuttings. Sometimes they take their sweet time, and that’s perfectly okay. Enjoy the process, observe the subtle changes, and celebrate each tiny victory. Before you know it, you’ll have a little green family spreading through your home! Happy propagating!
Resource: