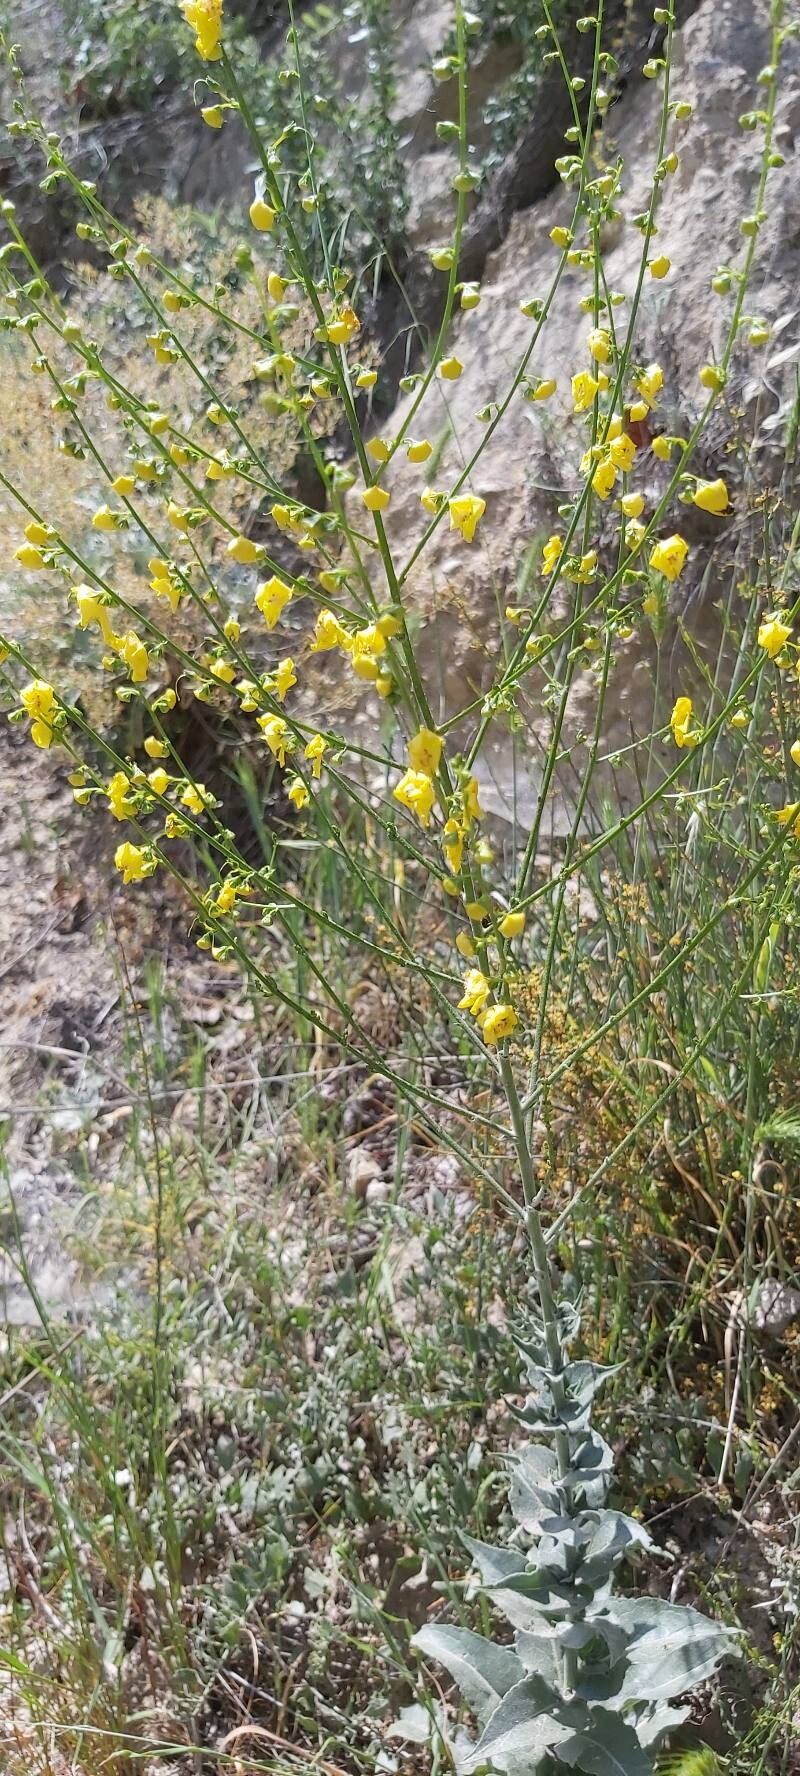
Oh, hello there! Pull up a chair and let’s chat about one of my absolute favorite garden treasures: Verbascum pseudonobile. These statuesque beauties, with their tall spires of often vibrant flowers, bring such a dramatic flair to any sunny spot. And the best part? They are surprisingly obliging when it comes to sharing babies! If you’ve ever admired a clump of these fuzzy-leaved wonders and wished you had more, you’re in luck. Propagating Verbascum pseudonobile is a wonderfully rewarding process, and I find it to be a pretty beginner-friendly plant to work with. You’ll be surrounded by more of their charm in no time!
The Best Time to Start
For the highest success rate, I always recommend starting your propagation efforts in late spring or early summer. This is when the plant is actively growing, and your cuttings or divisions will have that burst of energy needed to establish themselves. Think of it as giving them the best possible start to the growing season.
Supplies You’ll Need
Before we get our hands dirty, let’s gather our tools. You won’t need anything too fancy, just these basics:
- Sharp Pruning Shears or a Clean Knife: For making clean cuts.
- Propagation Pots or Small Containers: With good drainage holes.
- Rooting Hormone (Optional but Recommended): This can give your cuttings a helpful boost.
- Well-Draining Potting Mix: A mix of equal parts peat moss/coir and perlite/vermiculite works wonderfully. For divisions, your regular garden soilAmendments are fine.
- Watering Can or Spray Bottle: For gentle watering.
- Labels: To remind you what you planted where!
Propagation Methods
Verbascum pseudonobile is quite versatile, and I’ve found success with a couple of straightforward methods.
Division
This is my go-to method, especially with established plants. It’s simple and very effective.
- Dig Carefully: In late spring or early summer, dig around the base of a mature Verbascum pseudonobile plant. You want to loosen the soil and expose the root ball.
- Lift and Separate: Gently lift the entire plant out of the ground. You should see that the plant naturally forms clumps or offsets.
- Divide the Roots: Using your hands or a clean trowel, carefully separate the root ball into smaller sections. Each section should have at least a few healthy roots and some leafy growth. Don’t be afraid to be a little firm here; these plants are tough!
- Replant Immediately: Plant each division into its new home. Ensure the crown of the plant is at soil level. Water them in well.
Stem Cuttings
This method is great if you want to increase your numbers more rapidly or if you have a specific variety you want to clone.
- Take Cuttings: In late spring or early summer, select healthy, non-flowering stems. Using your sharp shears or knife, cut stems that are about 4-6 inches long. Make the cut just below a leaf node (where a leaf attaches to the stem).
- Prepare the Cuttings: Remove the lower leaves, leaving just a couple of leaves at the top. This helps prevent rot and encourages root development.
- Apply Rooting Hormone (Optional): Dip the cut end of each stem into rooting hormone, tapping off any excess.
- Plant the Cuttings: Fill your propagation pots with your well-draining potting mix. Make small holes in the mix and insert the cuttings. Gently firm the soil around them.
- Water Gently: Water thoroughly, but avoid making the soil soggy.
The “Secret Sauce” (Pro Tips)
Here are a few little tricks I’ve picked up over the years that can really make a difference:
- Don’t Be Afraid of a Little Roughness: When dividing, the roots might look a little messy, and that’s okay. As long as you have some good root structure on each piece, they’ll recover nicely. I often give my divided pieces a gentle rinse to remove old soil and inspect the roots.
- Bottom Heat is Your Friend for Cuttings: If you’re doing stem cuttings and want to speed things up, place your pots on a heating mat. This encourages root development from below, mimicking the warmth of spring soil. It doesn’t need to be scorching hot, just a gentle warmth.
- Consider a Mini Greenhouse: For cuttings, placing a clear plastic bag or a propagation dome over the pots can create a humid environment, which is vital for encouraging root formation. Ensure good air circulation by poking a few holes in the bag or lifting the dome daily.
Aftercare & Troubleshooting
Once your divisions are planted or your cuttings show signs of rooting (you might see new growth or feel a slight resistance when gently tugging), it’s time for continued care.
Keep the soil consistently moist but not waterlogged. For cuttings, this is especially crucial. If you see signs of wilting or yellowing leaves, it could be a sign of overwatering or underwatering. Rotting at the base of cuttings is a common issue if they sit in soggy soil. If this happens, try to salvage any healthy sections and replant them in fresh, drier mix. Patience is key here; sometimes roots take a few weeks to develop.
Go Forth and Propagate!
There you have it! Verbascum pseudonobile is a truly rewarding plant to multiply. Don’t be discouraged if your first attempt isn’t perfect. Gardening is all about learning and observing. Enjoy the process, trust your instincts, and soon you’ll be surrounded by these magnificent flowering spires. Happy planting!
Resource: