Well hello there, fellow plant enthusiast!
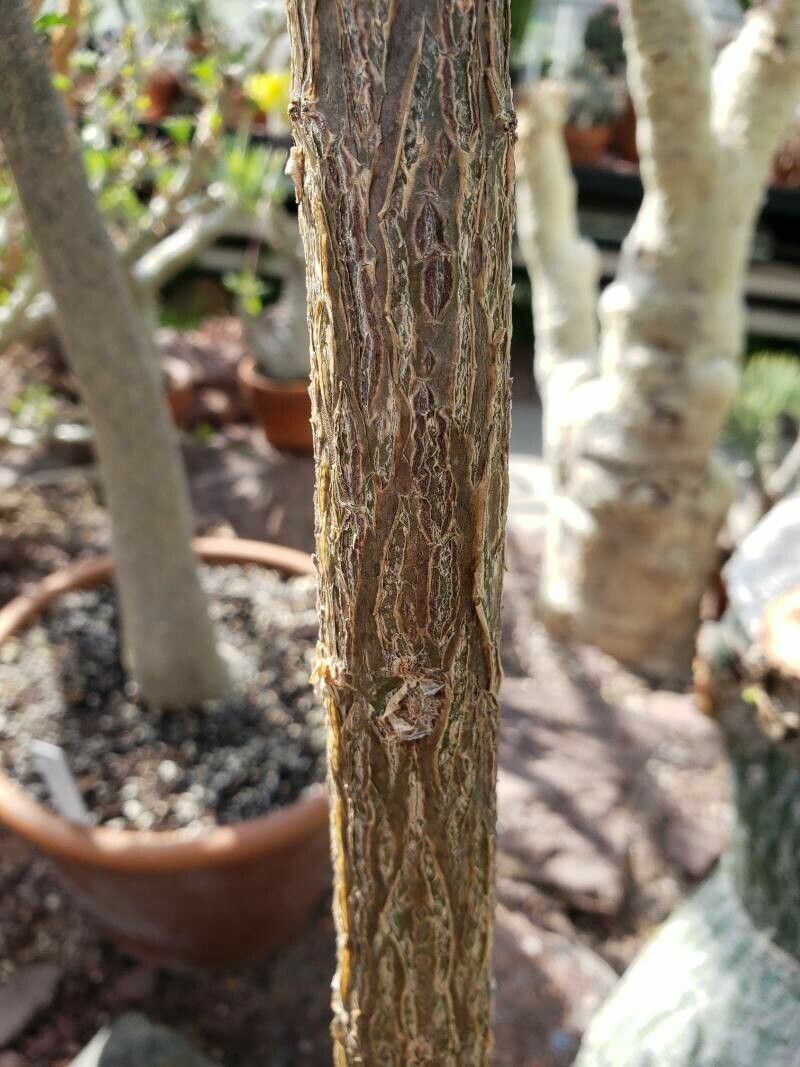
It’s so nice to have you join me for a little chat about one of my absolute favorite quirky plants: Uncarina ihlenfeldtiana. If you’ve stumbled across this desert darling, you’ll know exactly why I’m smitten. Its intriguing, almost alien-looking seed pods – those wonderfully spiny “fishhooks” – make it a true showstopper in any succulent collection. And the satisfaction of growing your own? Pure gold! Now, I’ll be honest, propagating Uncarina from seed can be a bit of a patient endeavor, but don’t let that deter you. With a few key tips, you’ll be well on your way to widening your own little Uncarina family.
The Best Time to Start
For the best chance of success, I always recommend starting your propagation efforts when the plant is actively growing. Think of it as its prime time! This usually means late spring through the summer months. The warmer temperatures and longer daylight hours encourage new growth, which is exactly what we want when we’re trying to coax a new life into being. Trying to propagate when the plant is dormant, say in the middle of winter, is like asking a sleepy bear to run a marathon – it just won’t happen!
Supplies You’ll Need
Gathering your tools beforehand makes the whole process so much smoother. Here’s what I keep on hand:
- A well-draining potting mix: I like to blend about two parts cactus and succulent mix with one part perlite or pumice for excellent aeration.
- Sharp pruning shears or a clean knife: For taking cuttings cleanly. Sterilize them with rubbing alcohol between cuts.
- Rooting hormone (optional but recommended): A good quality powder or gel can really give your cuttings a boost.
- Small pots or propagation trays: Clean, with drainage holes, of course!
- A spray bottle: For gentle misting.
- Small labels and a marker: To keep track of what you’ve propagated and when.
- Plastic wrap or a clear plastic bag: To create a mini-greenhouse effect.
Propagation Methods
While germination from seed is a whole other adventure (and one I can share another time!), propagating Uncarina ihlenfeldtiana from cuttings is a wonderfully reliable method.
Stem Cuttings
This is my go-to method for Uncarina.
- Identify healthy growth: Look for a non-flowering stem that’s at least 4-6 inches long and looks vigorous.
- Make the cut: Using your sterilized pruning shears or knife, make a clean cut just below a leaf node (where a leaf attaches to the stem).
- Remove lower leaves: Gently pull off the bottom leaves from the cutting. We want to expose a portion of the stem to encourage rooting.
- Let it callus: This is crucial! Place the cutting in a dry, airy spot away from direct sunlight for 2-7 days. You’ll see a dry, hardened scab (a callus) form over the cut end. This prevents rot before you plant it.
- Apply rooting hormone (optional): Dip the callused end of the cutting into your rooting hormone powder or gel. Tap off any excess.
- Plant the cutting: Fill your small pot with your well-draining mix. Make a small hole in the center with your finger or a pencil, and gently insert the callused end of the cutting. Firm the soil around it.
- Water lightly: Give it a gentle watering, enough to moisten the soil but not so much that it’s soggy.
- Create a mini-greenhouse: Cover the pot with plastic wrap or place it inside a clear plastic bag. Secure it loosely to allow for some air circulation.
Water Propagation (With Caution)
While I generally prefer soil for succulents, I know some of you love water propagation, and it can work for Uncarina if you’re very careful.
- Prepare your cutting: Follow steps 1-3 from the stem cutting method.
- Place in water: Get a clean jar or glass and fill it with water. Crucially, make sure the leaves do not touch the water. You only want the callused stem end submerged. If a leaf dips in, it’s just begging for rot.
- Find a good spot: Place the jar in bright, indirect light.
- Change the water regularly: Once or twice a week, change the water completely to keep it fresh and prevent bacterial growth.
- Watch for roots: You should start to see tiny roots emerging from the submerged stem. Once the roots are about an inch long, it’s time to transition it to soil.
- Plant with care: Gently plant the rooted cutting in your well-draining potting mix, just as you would a non-rooted cutting. Water sparingly at first.
The “Secret Sauce” (Pro Tips)
Through years of trial and error, I’ve picked up a few little tricks that make a big difference:
- Bottom heat is your friend: If you can, place your pots on a gentle seedling heat mat. This provides consistent warmth to the roots, mimicking spring soil temperatures and encouraging quicker root development. It’s like a warm hug for your cuttings!
- Don’t overwater, ever! This is the cardinal sin for succulents. Once the cutting is planted, water only when the soil is dry to the touch, and even then, water sparingly. The wrapped pot will help retain some moisture, so don’t be tempted to water frequently.
- Patience, dear friends, patience: Uncarina isn’t the fastest grower. Don’t get discouraged if you don’t see roots for a few weeks. Keep them in their bright spot, resist the urge to dig them up, and trust the process. I’ve had cuttings take over a month to show signs of life, and they’ve turned into magnificent plants.
Aftercare & Troubleshooting
Once you see roots forming – hooray! This is usually indicated by new leaf growth appearing at the tip of the cutting.
- Acclimate slowly: Gradually remove the plastic wrap or bag over a week or so. This allows the new plant to adjust to the ambient humidity.
- Move to brighter light: Once acclimated, you can slowly introduce it to brighter, indirect sunlight.
- Watering: Water when the soil is dry, as you would a mature succulent.
- Common issues: The biggest culprit is rot. If your cutting turns mushy, black, or just slumps over and looks sad, it’s likely rotted. This is usually due to too much moisture and not enough air circulation, or not letting it callus properly. Don’t be too hard on yourself; it happens to the best of us. Sometimes, you can salvage a piece of the cutting if you catch it early enough by cutting away the rotted parts and re-calling them.
A Encouraging Closing
So there you have it! Propagating Uncarina ihlenfeldtiana is a wonderfully rewarding journey. Be patient with your little green babies, give them the essentials – good drainage, bright light, and not too much water – and you’ll be amazed at what you can create. Happy propagating, and enjoy watching your new Uncarina plants thrive!
Resource:
https://identify.plantnet.org/k-world-flora/species/Uncarina%20ihlenfeldtiana%20Lavranos/data