Bringing More Ferny Friends Home: Your Guide to Propagating Leatherleaf Fern
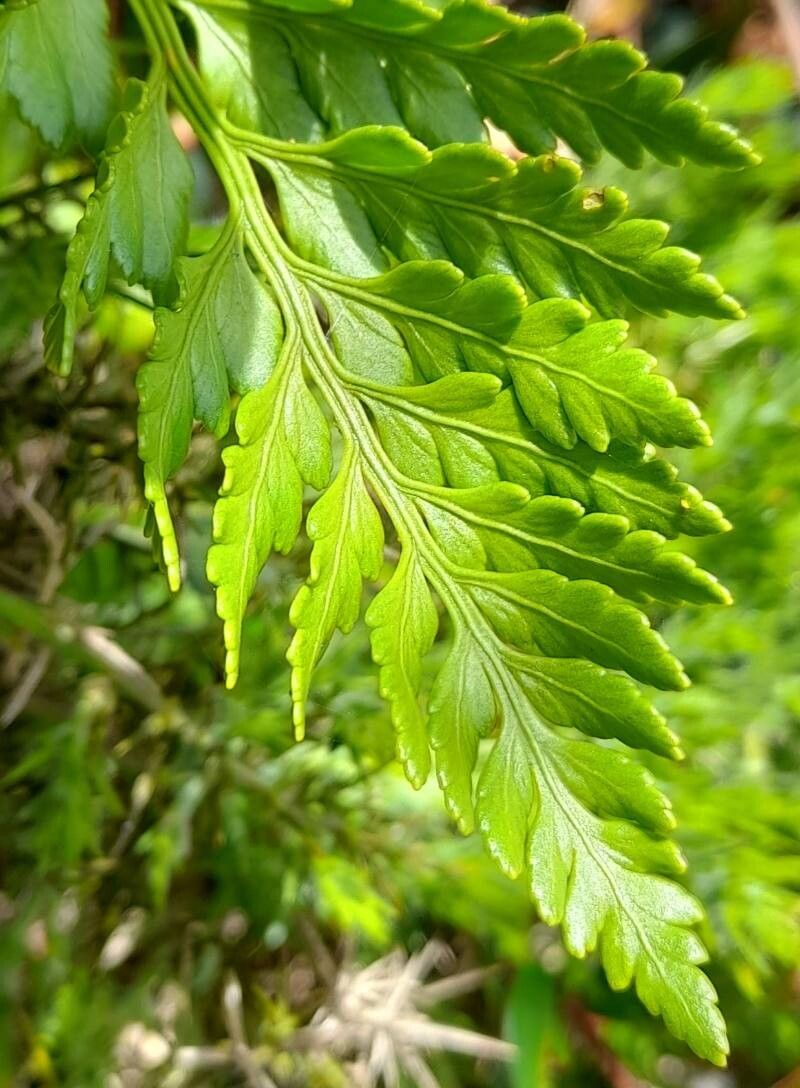
Oh, hello there! If you’re anything like me, you’ve probably fallen head over heels for the lush, leathery fronds of the Rumohra adiantiformis, also known as Leatherleaf Fern. It’s a classic for a reason, isn’t it? Its dark green, finely cut leaves bring such a touch of elegance and woodland charm to any space. And the best part? You can easily multiply this beauty yourself! Propagating your own Leatherleaf Fern is incredibly rewarding, and while some ferns can be a bit finicky, I find this one to be quite beginner-friendly, which is wonderful news for all of us!
The Best Time to Start
For the highest success rate with propagating Leatherleaf Fern, I always aim for late spring to early summer. This is when the plant is actively growing and has plenty of energy reserves. You’ll be looking for healthy, vigorous fronds that aren’t too old or too young – think of them as the prime-time performers in your fern’s life.
Supplies You’ll Need
You don’t need a whole fancy setup to get started. Here’s what I usually have on hand:
- Sharp Pruning Shears or a Clean Knife: For making clean cuts.
- Well-Draining Potting Mix: A good mix for ferns is essential. I often use a blend of peat moss, perlite, and a little bit of compost. I usually buy a good quality indoor potting mix and then add extra perlite for drainage.
- Small Pots or Propagation Trays:uffin cups with drainage holes work in a pinch!
- Clear Plastic Bags or Domes: To create a humid environment.
- Watering Can with a Fine Rose: For gentle watering.
- Rooting Hormone (Optional but Recommended): This can give your cuttings a helpful boost.
- A Sunny (but Indirect) Spot: Or grow lights if you don’t have enough natural light.
- Labels and a Marker: Trust me, you’ll thank yourself later!
Propagation Methods
Leatherleaf Fern is most commonly and successfully propagated through division. It’s really straightforward, so let’s dive in!
Division: The Tried and True Method
This is my go-to for Leatherleaf Fern. It’s like giving your plant a mini haircut and a chance to spread its wings!
- Gently Remove from Pot: Water your fern thoroughly a day or two before you plan to divide it. This helps the soil hold together. Carefully tip the pot on its side and gently slide the plant out.
- Inspect the Root Ball: Look for dense clumps of rhizomes (those thick, brown, creeping stems) that are producing fronds. You’ll often see that the plant has naturally formed separate sections.
- Separate the Divisions: Here’s where your sharp tools come in. You can gently pull the root ball apart with your hands, or if it’s quite dense, use your clean knife or shears to cut through the rhizomes. Aim to create sections that have both roots and several healthy fronds. Don’t worry about a little bit of root disturbance; they’ll bounce back.
- Pot Up Your New Babies: Plant each division in its own pot filled with your well-draining potting mix. Make sure the top of the rhizome is just at or slightly below the soil surface. They don’t like to be buried too deep.
- Water Gently: Water thoroughly immediately after potting, ensuring the water drains freely from the bottom of the pot.
- Create Humidity: This is crucial! Cover each pot with a clear plastic bag or a propagation dome. This traps moisture and creates that humid microclimate ferns adore. Prop the bag up with a few stakes so it doesn’t touch the new fronds.
The “Secret Sauce” (Pro Tips)
Here are a couple of little tricks I’ve learned over the years that really make a difference:
- Don’t Be Afraid to Get Your Hands Dirty: When dividing, sometimes the best way to see where to make a clean separation is to gently wash away some of the soil around the rhizomes. I often do this in a shallow basin of water. It helps you see the natural growth points and avoid damaging precious roots.
- Acclimatize Slowly: Once your new divisions have started to show signs of active growth (new fronds unfurling), gradually begin to introduce them to less humid conditions. Start by poking a few holes in the plastic bag, then open it for a few hours each day, eventually removing it entirely over a week or two. This prevents shock.
Aftercare & Troubleshooting
Once your new Ferns are potted, place them in a spot with bright, indirect light. Direct sun is a big no-no and will scorch those delicate new fronds. Keep the soil consistently moist but not soggy. That humid environment you created with the plastic bag is your goal for the first few weeks.
The most common issue you might encounter is rot. This usually happens from overwatering or poor drainage. If you see brown, mushy stems, or the fronds start to yellow and wilt rapidly, it’s a sign that things are too wet. In this case, try to let the soil dry out a bit more and ensure good air circulation. Sometimes, if rot sets in deeply, it’s hard to save a division, but don’t despair! You might have other healthy ones.
Happy Fern Growing!
Propagating Leatherleaf Fern is really about patience and observation. You’re essentially giving a happy, mature plant a chance to share its joy. Watch for those new fiddleheads to emerge – it’s the most exciting sign that your efforts have paid off! Enjoy the process, and before you know it, you’ll have a whole collection of these beautiful ferns to adorn your home and share with friends. Happy gardening!
Resource: