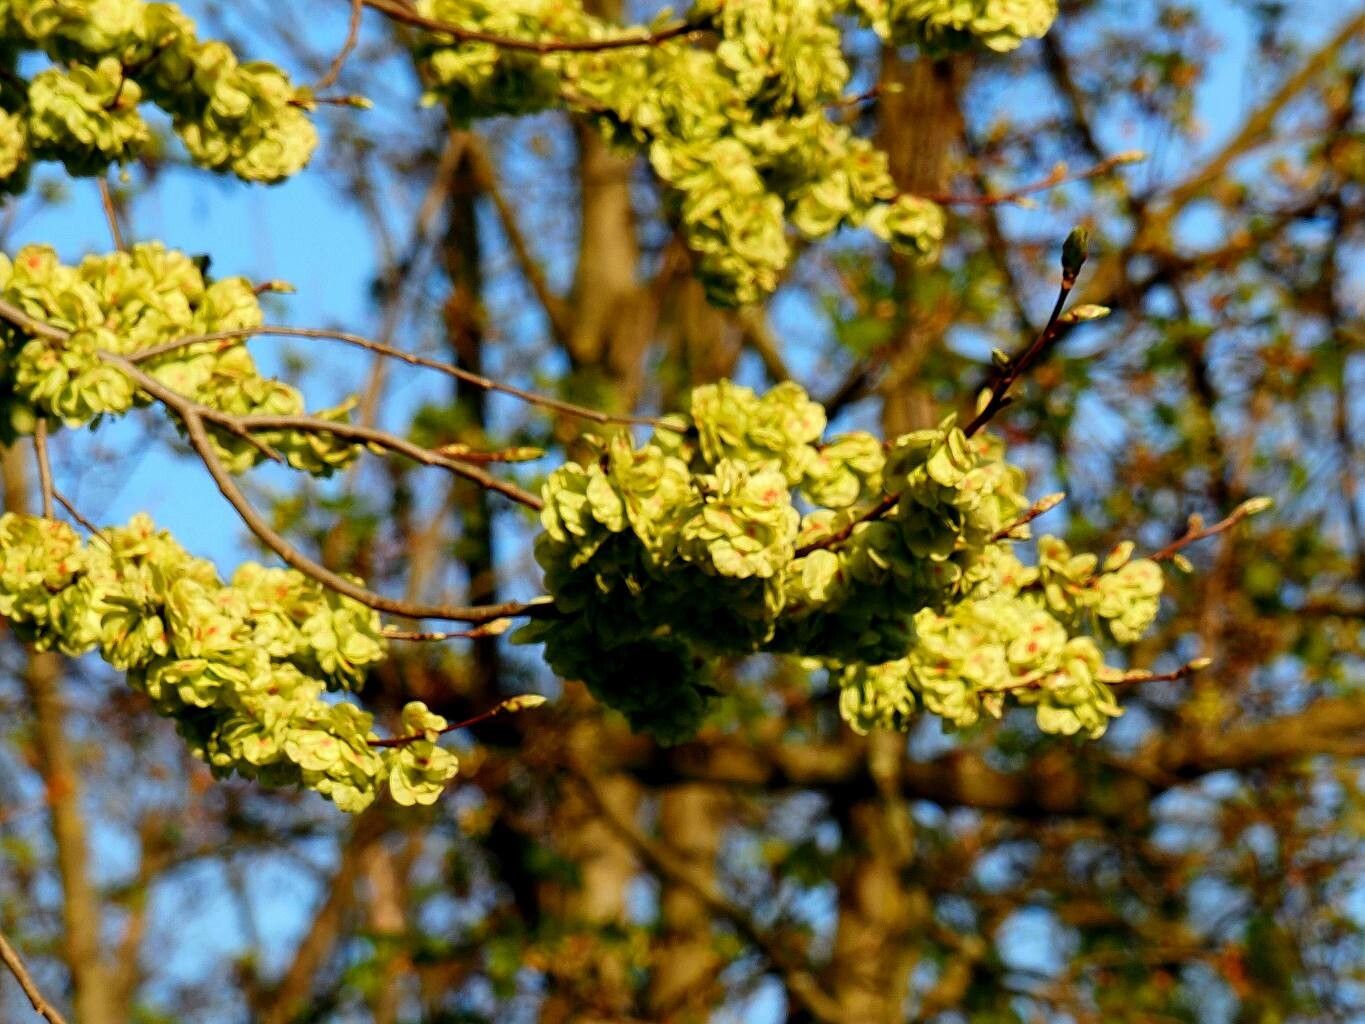
Hello there, fellow plant lovers! I’m so excited to chat with you today about a tree that holds a special place in my heart: Ulmus minor, or the Field Elm. It’s got this lovely, graceful habit, with branches that often sway and dance in the breeze, and its resilience is truly inspiring. If you’ve ever admired an elm and wished you could have one of your own, or perhaps wanted to share that beauty with a friend, propagating your own is incredibly rewarding. Now, full disclosure – Ulmus minor can be a little bit of a challenge for absolute beginners, but with a few key steps and a bit of patience, you’ll be well on your way. Don’t let that deter you!
The Best Time to Start
My experience tells me that late spring to early summer is your golden window for propagating Ulmus minor from stem cuttings. This is when the plant is actively growing, and the new shoots are semi-hardwood – meaning they’re firm enough to hold their shape but still flexible. This stage offers the best chance for those cuttings to root successfully.
Supplies You’ll Need
Gathering your supplies beforehand makes the whole process so much smoother. Think of it like preparing your kitchen before baking a delicious cake!
- Sharp Pruning Shears or a Sharp Knife: For clean cuts that heal well.
- Rooting Hormone (Powder or Gel): This is a game-changer, especially for woody plants.
- Suitable Potting Mix: I recommend a well-draining mix. A good blend of peat moss, perlite, and fine bark chips works wonders. You can also buy specific seed starting or cutting mixes.
- Small Pots or Propagation Trays: With drainage holes, of course!
- Plastic Bag or Propagation Dome: To create a humid environment.
- Watering Can with a Fine Rose: For gentle watering.
- Labels: To keep track of what you’ve planted and when.
Propagation Methods: Stem Cuttings
This is generally the most reliable method for Ulmus minor. Here’s how I do it:
- Take Your Cuttings: On a mild, overcast day, select healthy, vigorous stems from your parent elm. Look for shoots that are about the thickness of a pencil. Using your sharp shears, make a clean cut just below a leaf node (where a leaf attaches to the stem). Aim for cuttings around 6-8 inches long.
- Prepare the Cuttings: Gently remove the lower leaves from your cuttings, leaving just a few at the top. This helps prevent them from rotting in the soil and redirects the plant’s energy towards rooting. You can also make a slight slit on one or two sides of the very bottom of each cutting, about an inch long. This exposes more surface area for root development.
- Apply Rooting Hormone: Dip the cut end of each prepared cutting into your rooting hormone, ensuring it’s coated. Tap off any excess.
- Plant Your Cuttings: Fill your small pots or trays with your well-draining potting mix. Moisten the soil evenly. Make a hole in the center of the soil with your finger or a pencil – deep enough to accommodate the bottom half of your cutting. Insert your cutting into the hole and gently firm the soil around it. Space cuttings a few inches apart if using a tray.
- Create a Humid Environment: Water gently again. Then, cover the pots with a plastic bag, ensuring the bag doesn’t touch the leaves of the cuttings (this is crucial to prevent rot). You can use stakes to prop up the bag. Alternatively, use a propagation dome.
The “Secret Sauce” (Pro Tips)
Over the years, I’ve picked up a few little tricks that have really boosted my success rates.
- Bottom Heat is Your Friend: If you can, place your pots on a heated propagation mat. Elms, like many woody plants, benefit greatly from warmth at their base, which encourages root formation. It’s like giving them a warm hug to get things started!
- Don’t Disturb Too Soon: I know it’s tempting to peek, but leave those cuttings untouched for at least 4-6 weeks. Resist the urge to tug on them! You’ll know they’re rooting when you see new leaf growth.
- Timing of the Parent Plant: When I’m taking cuttings, I try to do it from a tree that has had plenty of good sunlight and consistent watering. A happy, healthy parent plant will produce stronger, more viable cuttings.
Aftercare & Troubleshooting
Once you start to see new leaves unfurling, it’s a cause for celebration! This is the first sign that your cuttings are rooting.
- Gradually Acclimate: Once roots have formed (you might see them peeking from the drainage holes, or new growth is robust), it’s time to gradually introduce your new plants to drier air. Start by opening the plastic bag or prop dome for a few hours each day, slowly increasing the time over a week or so.
- Watering: Keep the soil consistently moist but not waterlogged. As the plant grows accustomed to ambient humidity, you can adjust your watering schedule.
- Troubleshooting – Rot: The most common issue you might face is rot. This usually happens if the soil is too wet and there’s not enough airflow. You’ll often see the stem turn black and mushy at the soil line. If you catch it early, you might be able to salvage unaffected parts of the cutting, but it’s often a sign that the cutting hasn’t established itself. Good drainage and proper watering are your best defense against rot. If a cutting shrivels and turns yellow without new growth, it might simply be that the cutting wasn’t viable or didn’t get enough light.
A Gentle Encouragement
Propagating Ulmus minor is a journey, not a race. There will be times when things don’t go as planned, and that’s perfectly okay. Every ‘failure’ is a learning opportunity. The real magic happens when you nurture these tiny beginnings and watch them grow into something quite remarkable. Be patient, enjoy the process, and soon you’ll have your very own field elms to cherish. Happy propagating!
Resource:
https://identify.plantnet.org/k-world-flora/species/Ulmus%20minor%20Mill./data