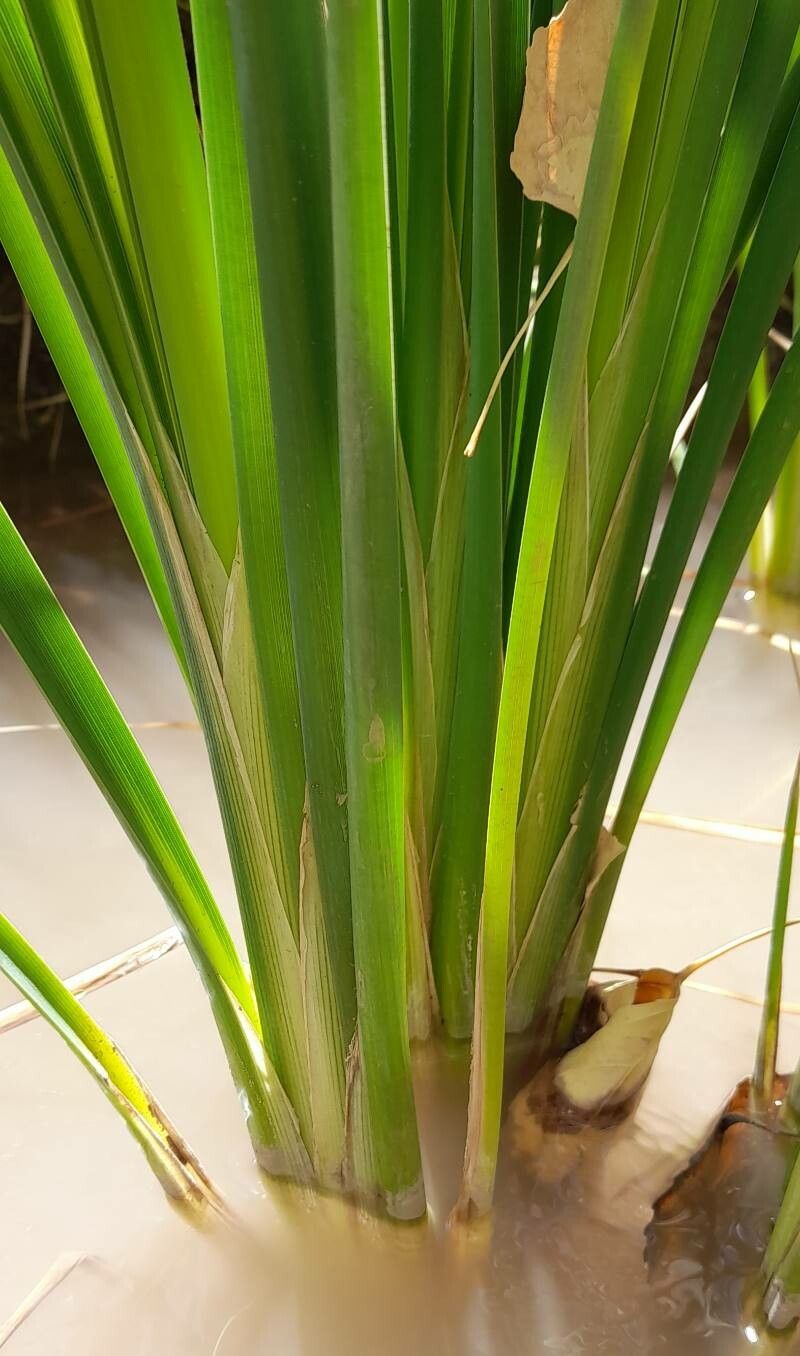
Hello there, fellow plant lovers! Today, we’re going to talk about a water garden gem that brings so much life and texture to any aquatic setting: Typha domingensis, also known as cattail. Trust me, there’s something incredibly satisfying about seeing those iconic brown spikes emerge from your own propagated plants. It’s not a difficult plant to work with at all, which makes it a fantastic choice for beginners eager to expand their water garden family. Let’s dive in!
The Best Time to Start
For Typha domingensis, timing is everything. The absolute best time to think about propagation is late spring to early summer, right as the plant is really hitting its stride in terms of growth. You want to work with healthy, actively growing material. Trying to do this when the plant is dormant or stressed just won’t give you the results you’re hoping for.
Supplies You’ll Need
Gathering your tools beforehand makes the whole process much smoother. Here’s what you’ll want on hand:
- Sharp, clean pruning shears or a sharp knife: Essential for making clean cuts.
- A spade or trowel: For dividing larger rhizomes.
- Containers or pots: For your new cuttings or divisions. These can be small pots or even just sturdy plastic buckets if you’re starting small.
- A well-draining potting mix: A sand-heavy, aquatic plant mix is ideal. If you can’t find a specialized one, a mix of potting soil, sand, and perlite in equal parts usually does the trick.
- Roots for your cuttings: Not a physical item, but a necessity! You’ll be looking for healthy sections of the plant.
- Optional: Rooting hormone: While not strictly necessary for cattails, it can give your cuttings a little boost.
Propagation Methods
Typha domingensis is most commonly propagated through division, which is super straightforward, or by rhizome cuttings. Both are very effective.
Method 1: Division
This is my favorite for cattails because it’s so forgiving.
- Dig up the plant: Gently unearth your established cattail. You’ll see it has a network of thick, fleshy rhizomes (underground stems).
- Inspect the rhizomes: Look for healthy sections that have buds or growth points. These are where new shoots will emerge.
- Divide carefully: Using your spade or a sharp knife, cut the rhizome into sections, making sure each piece has at least one or two healthy buds. It’s okay if they’re not huge pieces; a small section can still grow into a robust plant.
- Plant the divisions: Place each divided section into a pot filled with your aquatic potting mix. Make sure the buds are pointing upwards and are just barely covered with soil.
- Water thoroughly: Give them a good soak, ensuring the soil is moist but not waterlogged.
Method 2: Rhizome Cuttings
This method is a bit more precise but also works wonderfully.
- Collect rhizome sections: Similar to division, dig up your plant and identify healthy rhizomes.
- Cut into sections: Using your clean knife, cut the rhizome into pieces that are about 3-4 inches long. Each piece should have at least one visible bud or eye.
- Optional: Apply rooting hormone: If you’re using it, dip the cut ends of the rhizome sections into the rooting hormone powder.
- Plant the cuttings: Place the cuttings into pots filled with your aquatic potting mix. Sticking them into the soil vertically, with the bud-facing end up, works best. Ensure the bud is just at or slightly above the soil surface.
- Water well: Water them in to settle the soil around the cuttings.
The “Secret Sauce” (Pro Tips)
There are a few little tricks I’ve picked up over the years that can really improve your success rate with cattails.
Firstly, don’t be afraid to leave a little bit of the old stem attached to the rhizome when you’re dividing. This can actually help the new piece establish itself. Secondly, and this is a big one for any aquatic plant, ensure your containers have drainage holes, but place these pots into a larger, solid container or pond area. Cattails love wet feet, but you don’t want your delicate new roots sitting in stagnant, potentially disease-ridden water if you’re starting them in individual pots. Think of it as giving them a shallow, controlled environment to get going.
Aftercare & Troubleshooting
Once your divisions or cuttings are planted, keep them consistently moist. You can place the pots in a shallow tray of water, about an inch or two deep. Keep them in a bright spot, but out of direct, scorching sun for the first few weeks.
The most common issue you might encounter is rot. If you see your cutting turning mushy and dark, it’s likely rotting. This often happens if the soil is too waterlogged without enough air circulation, or if the cutting was already compromised. Prevention is key: ensure good drainage within the pot itself (even if it’s sitting in water) and use a mix that isn’t too heavy. If rot does set in, try to remove the affected section immediately and give the pot a good rinse before replanting any seemingly healthy nearby fragments. Patience is your best friend here; sometimes just giving them time and the right conditions is all they need. You’ll know they’re happy when you see fresh green shoots appearing!
A Encouraging Closing
Propagating Typha domingensis is a wonderfully rewarding experience. It allows you to share the beauty of your water garden or simply expand your own aquatic paradise. Don’t be discouraged if your first attempt isn’t perfect; gardening is always a journey of learning and adaptation. Just be patient, observe your plants, and enjoy the magical process of bringing new life into your world. Happy planting!
Resource:
https://identify.plantnet.org/k-world-flora/species/Typha%20domingensis%20Pers./data