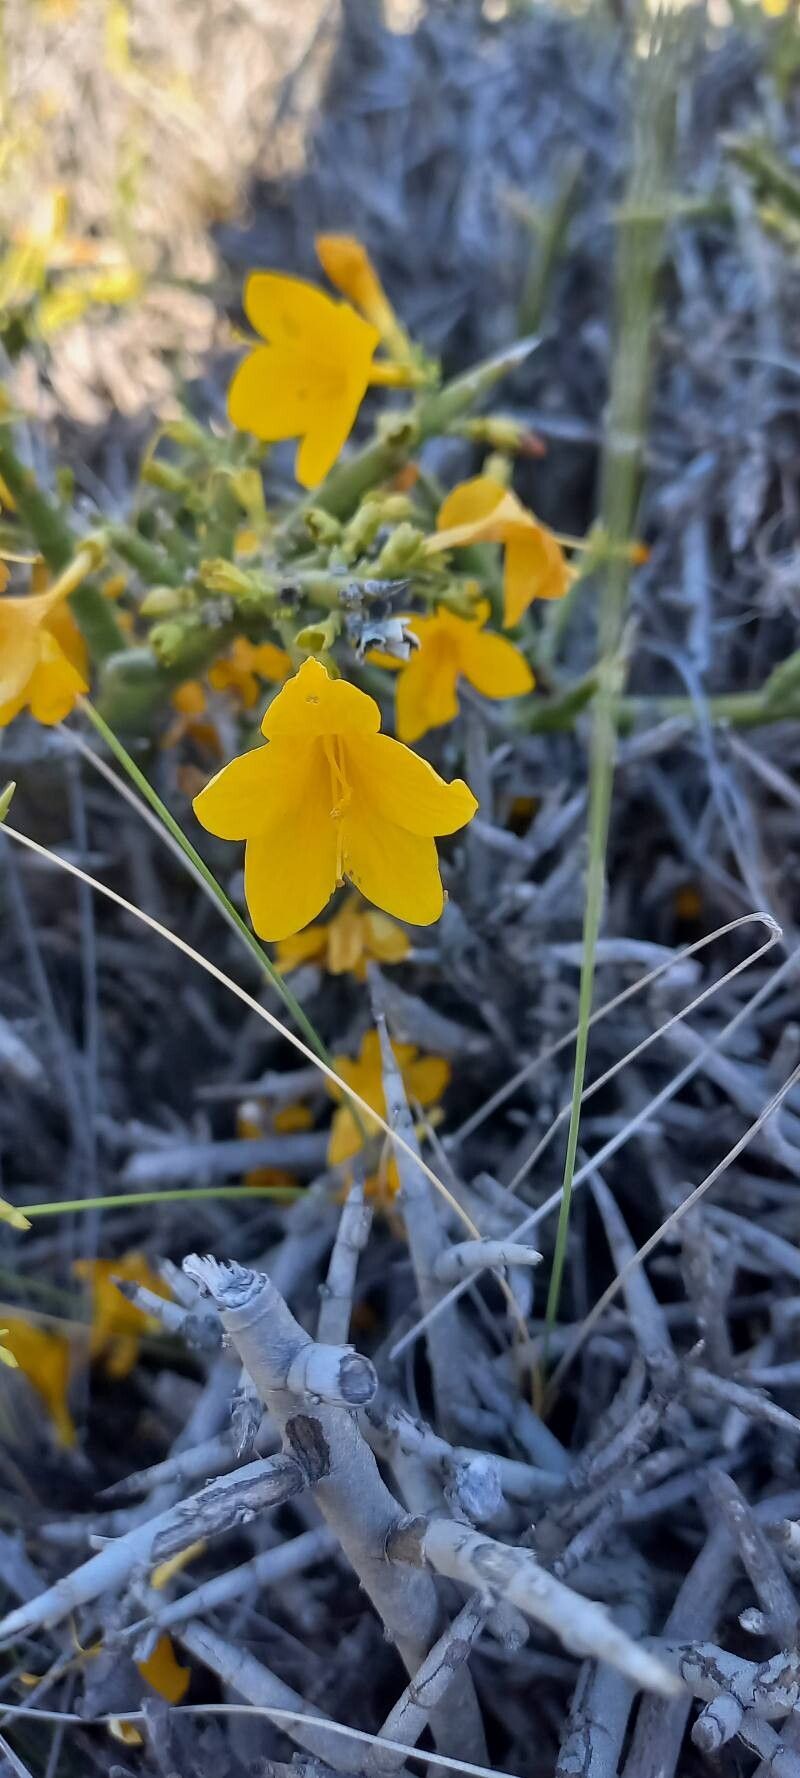
Hello everyone! It’s so lovely to chat with you all today. I’m thrilled to dive into propagating one of my favorites: Menodora robusta. If you’ve ever admired this plant, with its lovely glossy foliage and those delicate, star-shaped yellow flowers that just seem to glow, you’re not alone. Getting more of these beauties to grow for yourself is incredibly rewarding. It’s actually quite forgiving, making it a fantastic choice even if you’re just starting your propagation adventure.
The Best Time to Start
For Menodora robusta, spring and early summer are your golden windows. This is when the plant is actively growing and has plenty of energy to put into developing new roots. Waiting until the new growth has softened a bit, but isn’t completely woody yet, is key. Think of it as that perfect stage of growth – not too floppy, not too stiff.
Supplies You’ll Need
Before we get our hands dirty, let’s gather our tools:
- Sharp Pruning Shears or a Knife: Cleanliness is paramount to prevent disease.
- Rooting Hormone (Optional but Recommended): This little helper gives your cuttings a boost. Look for a powdered or liquid form.
- Well-Draining Potting Mix: A mix designed for houseplants or a blend of potting soil with perlite and sand works wonderfully.
- Small Pots or Seed Trays: Clean containers are a must.
- Plastic Bags or a Clear Plastic Dome: To create a humid environment for your cuttings.
- Watering Can or Spray Bottle: For gentle watering.
Propagation Methods
I find stem cuttings to be the most reliable and straightforward method for Menodora robusta.
- Taking the Cuttings: Using your clean shears, select healthy, non-flowering stems. Aim for cuttings that are about 4-6 inches long. Make your cut just below a leaf node – where the leaves emerge from the stem. This is where roots are most likely to form.
- Preparing the Cuttings: Gently remove the lower leaves from the cutting. You want to expose the nodes where you’ll be encouraging root growth. Leave just a couple of leaves at the very top to help the cutting photosynthesize.
- Applying Rooting Hormone (Optional): If you’re using rooting hormone, dip the freshly cut tip of the stem into the powder or liquid. Tap off any excess.
- Planting the Cuttings: Fill your small pots with the well-draining potting mix. Insert the prepared cuttings about an inch deep into the soil. Gently firm the soil around the base of each cutting.
- Creating Humidity: Water the soil lightly. Then, cover the pots with a plastic bag, securing it around the pot with a rubber band, or place them under a clear plastic dome. This traps moisture and creates that vital humid microclimate.
The “Secret Sauce” (Pro Tips)
Here are a few little tricks I’ve learned over the years that can really make a difference:
- Don’t Drown Your Cuttings: When you water initially, make sure the soil is moist but not waterlogged. Excess moisture is the fastest way to rotten luck.
- The Power of Bottom Heat: If you can, placing your pots on a heated propagator mat can work wonders. The gentle warmth encourages root development from below, giving your cuttings a significant head start and improving success rates.
- Observe, Don’t Disturb (Too Soon!): Resist the urge to tug on your cuttings to see if they have roots. Wait until you see initial signs of new growth or feel a gentle resistance when you very carefully give one a tiny tug.
Aftercare & Troubleshooting
Once your cuttings have rooted – you might see new leaves appearing or feel that resistance when you gently pull – it’s time to transition them. Gradually acclimate them to drier air by opening the plastic bag or dome a little each day before removing it completely. Continue to water when the top inch of soil feels dry.
The most common sign of failure is rot. If your cuttings turn mushy, black, or start to fall apart, it’s usually a sign of too much moisture. If you see this, unfortunately, it’s time to compost that cutting and try again, perhaps with slightly drier soil or better ventilation.
A Encouraging Closing
Propagating Menodora robusta is a journey, and like all good gardening endeavors, it requires a bit of patience. Don’t be discouraged if your first attempts aren’t perfect. Each time you try, you learn something new. Enjoy the process of coaxing new life from your established plants. Happy propagating!
Resource:
https://identify.plantnet.org/k-world-flora/species/Menodora%20robusta%20(Benth.)%20A.Gray/data