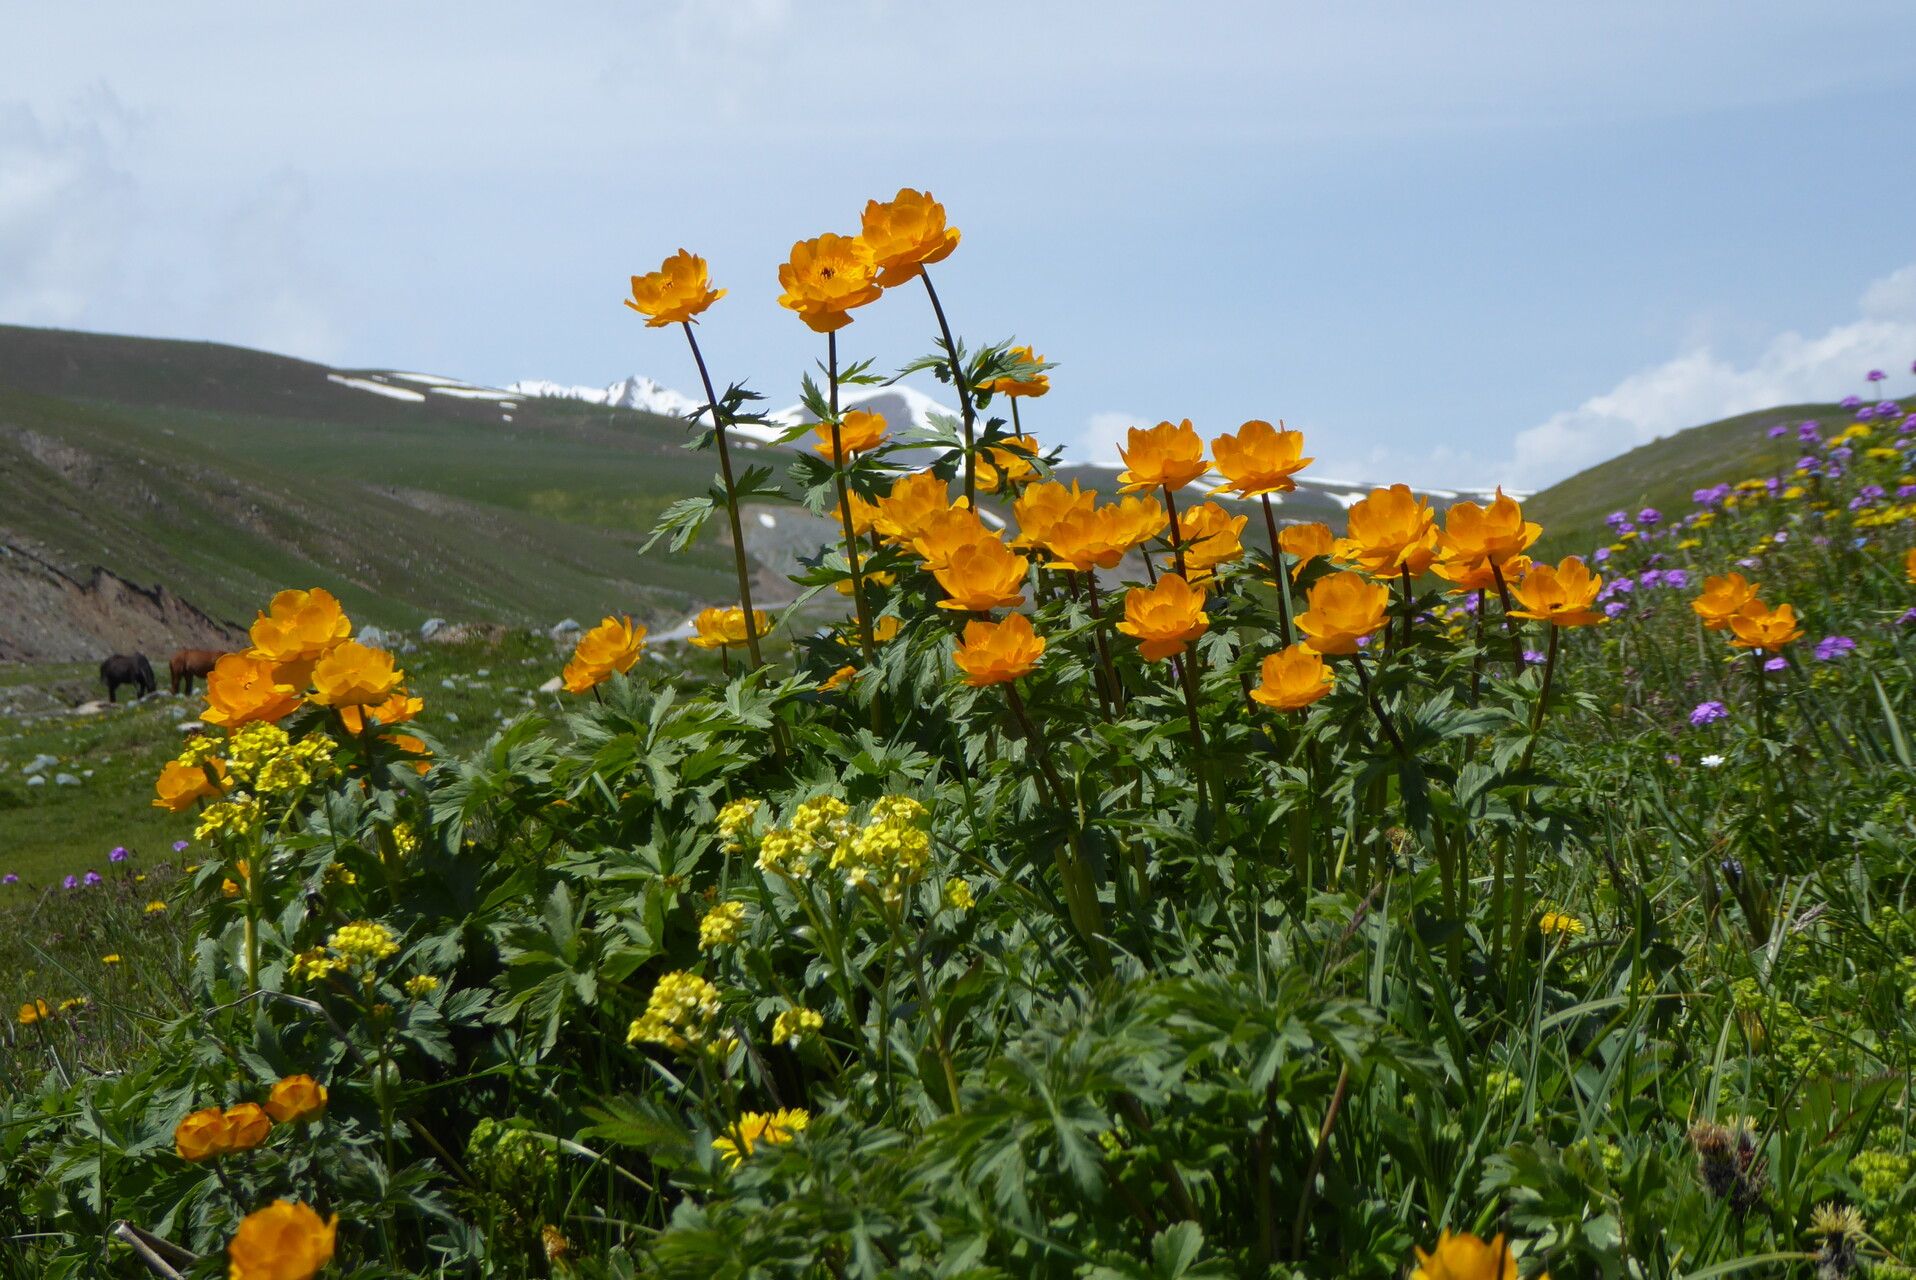
Ah, Trollius altaicus! Also known affectionately as the alpine globeflower, this beauty is an absolute delight to have in the garden. Its cheerful, buttercup-like blooms in vibrant shades of orange and yellow truly brighten up any shady corner or damp border. And let me tell you, coaxing a new plant into existence from an existing one? It’s one of the most satisfying gardening experiences there is. For Trollius altaicus, I’d say it’s moderately easy, especially if you choose the right time and method. It’s a gentle learning curve, perfect for those dipping their toes into propagation.
The Best Time to Start
My absolute favorite time to tackle propagating Trollius altaicus is in the early spring, just as new growth is starting to emerge. You can also have good success with taking cuttings in late spring or early summer, when the plant has gathered a bit more energy. The key is to work with actively growing, healthy material. Starting too late in the season might mean your new divisions or cuttings don’t have enough time to establish before winter.
Supplies You’ll Need
Here’s what I always have on hand when I’m propagating globeflowers:
- Sharp pruning shears or a clean knife: For taking cuttings and dividing established clumps. Sterilize them first with rubbing alcohol to prevent disease.
- Potting mix: A good quality, well-draining potting mix is crucial. I often use a blend that includes perlite or coarse sand to ensure good aeration. For divisions, a standard good potting soil is fine.
- Small pots or seed trays: For housing your cuttings or divisions. Make sure they have drainage holes!
- Rooting hormone powder (optional but recommended for cuttings): This can give your cuttings a nice boost.
- Watering can or spray bottle: For gentle watering.
- Plastic bags or a propagator: To create a humid environment for cuttings.
- Labels and a marker: So you actually remember what you planted where!
Propagation Methods
Now, let’s get our hands dirty! For Trollius altaicus, division is your most reliable bet. Cuttings can work, but they can be a bit more finicky.
Division: The Tried and True Method
- Assess your plant: In early spring, when you see new shoots emerging, gently dig around the base of your mature clump.
- Gently lift the plant: Be careful not to damage the roots too much. You want to see how the plant is naturally divided.
- Separate the divisions: With your hands or using a clean, sharp knife, carefully tease apart sections of the plant. Each division should have at least one or two healthy shoots and a good portion of roots. If the root ball is very dense, a sharp spade can help you cut through it cleanly.
- Trim if needed: If the root system is exceptionally long or tangled, a light trim can encourage new root growth.
- Replant immediately: Have your prepared pots ready. Plant each division in its own pot filled with your well-draining potting mix. Water it in thoroughly.
Stem Cuttings (A Bit More Advanced)
- Take cuttings: In late spring or early summer, select a healthy, non-flowering stem. Using your sterilized shears, take a cutting about 4-6 inches long, just below a leaf node.
- Prepare the cutting: Remove the lower leaves, leaving only the top few. If you’re using rooting hormone, dip the cut end into it now, tapping off any excess.
- Pot it up: Fill a small pot with your well-draining mix. Make a small hole with a pencil or your finger and insert the cutting. Gently firm the soil around it.
- Create humidity: Water gently. Then, cover the pot with a clear plastic bag or place it in a propagator. This keeps the humidity high, which is essential for cuttings to root.
The “Secret Sauce” (Pro Tips)
As I’ve learned over the years, a few little tricks can make all the difference:
- For divisions, don’t over-pot: Give your new divisions small to medium-sized pots. Don’t put a tiny division into a huge pot; it can lead to waterlogged soil and rot.
- When doing cuttings, give them a view: Always use a clear pot or tray from the beginning if you can. It allows you to visually check for root development without disturbing the cutting. Sometimes, you can actually see tiny white roots forming!
- Bottom heat is your friend for cuttings: If you’re serious about cuttings, even a little warmth from a seedling heat mat can significantly speed up the rooting process. It mimics that cozy spring soil temperature.
Aftercare & Troubleshooting
Once your Trollius altaicus divisions or cuttings have rooted (you’ll see new growth or feel resistance when you gently tug), it’s time to treat them with a little extra care.
- Gradually acclimate: If your cuttings were in a humid cover, gradually introduce them to drier air over a week or so. Open the bag a little wider each day.
- Water wisely: Keep the soil consistently moist, but not soggy. Overwatering is the quickest way to invite trouble.
- Watch for rot: The biggest enemy of newly propagated plants is rot. If you see stems turning mushy and black, or the soil feels constantly waterlogged and smells unpleasant, you’ve likely got a rot issue. This often happens with too much moisture and not enough air circulation. Remove any affected parts immediately and try to let the soil dry out a bit more.
A Encouraging Closing
Remember, gardening is a journey, and propagation is a wonderful part of that adventure. Be patient with your new globeflowers. Sometimes, they take their sweet time to get going. Celebrate the small victories – a new leaf unfurling, a bit of root peeking through! Enjoy the process, and soon you’ll have even more of these cheerful blooms to share. Happy propagating!
Resource:
https://identify.plantnet.org/k-world-flora/species/Trollius%20altaicus%20C.A.Mey./data