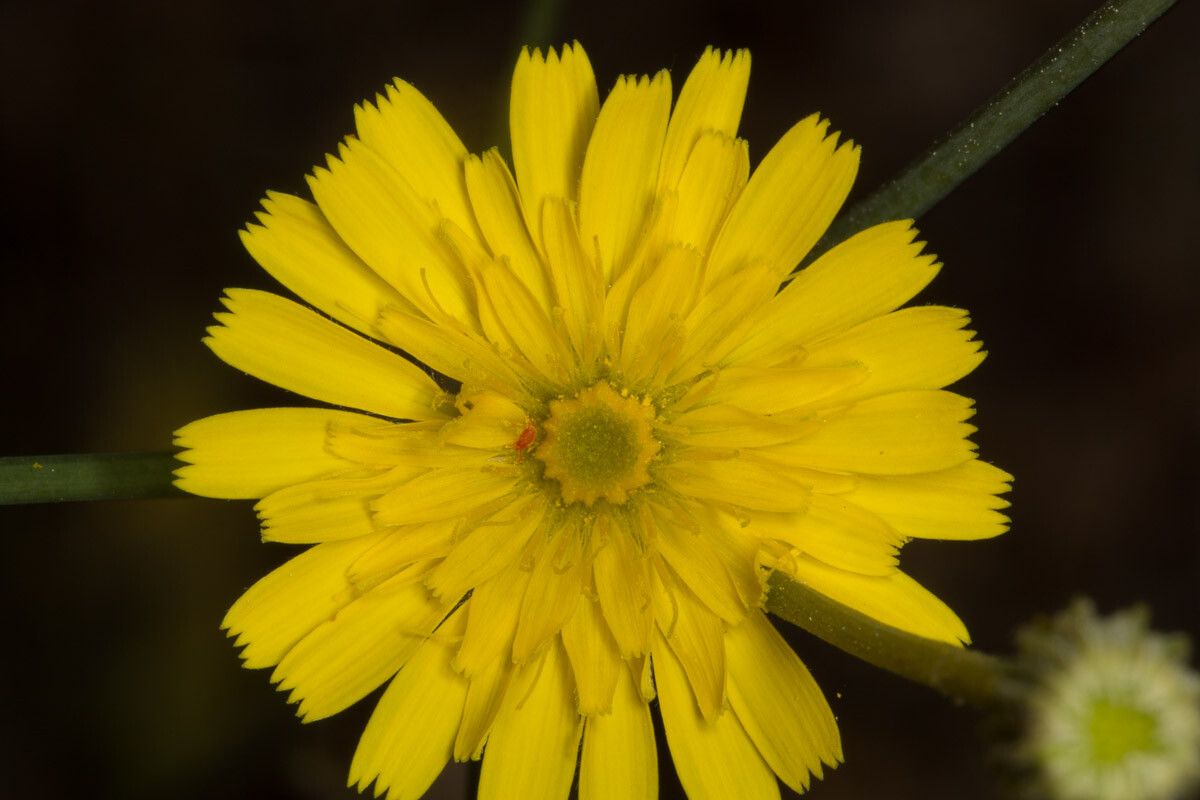
Hello fellow garden enthusiasts! Today, we’re diving into the wonderful world of Tolpis virgata, often called the “Yellow Hawkweed” or “Spanish Salsify.” This cheerful plant, with its daisy-like yellow blooms that grace the garden from late spring through summer, is an absolute delight. Its bright disposition truly brightens up any border or container. And the best part? It’s quite rewarding to propagate! For beginners, I’d say Tolpis virgata is a moderately easy plant to work with. A little patience and a few key steps will have you sharing these beauties in no time.
The Best Time to Start
For the highest success rate, I always recommend starting your Tolpis virgata propagation in the late spring or early summer, right as the plant is in its active growth phase. You’re looking for healthy, non-flowering shoots. This is when the plant has plenty of energy to put into developing new roots.
Supplies You’ll Need
Gathering your supplies beforehand makes the whole process so much smoother. Here’s what you’ll want in your arsenal:
- Sterile small pots or seed trays: About 3-4 inches are perfect.
- Well-draining potting mix: A mix of equal parts peat moss, perlite, and a little bit of compost works wonders. You can also find specialized seedling or cutting mixes.
- Sharp, clean pruning shears or a sharp knife: Cleanliness is key to preventing disease.
- Rooting hormone (optional but recommended): A powder or gel form can give your cuttings a helpful boost.
- Small plastic bags or a clear plastic dome: For creating a humid environment.
- Watering can or spray bottle: For gentle watering.
- Soft brush (optional): To gently remove excess rooting hormone.
Propagation Methods
I’ve found stem cuttings to be the most reliable method for Tolpis virgata. It’s straightforward and yields great results.
- Taking the Cuttings: Select a healthy, non-flowering stem from your mature plant. Using your sterilized pruning shears or knife, make a clean cut just below a leaf node. A leaf node is where a leaf attaches to the stem. Aim for cuttings that are about 4-6 inches long.
- Preparing the Cuttings: Gently remove the lower leaves from the cutting, leaving just a few at the top. If your cutting has a flower bud, carefully pinch it off. We want all the plant’s energy to go into root development, not flower production.
- Applying Rooting Hormone (Optional): If you’re using rooting hormone, dip the cut end of the stem into the powder or gel. Gently tap off any excess.
- Planting the Cuttings: Fill your small pots or trays with your prepared potting mix. Make a small hole in the center of the soil with your finger or a pencil. Insert the cut end of the Tolpis cutting into the hole, ensuring the leaf nodes are below the soil surface. Gently firm the soil around the stem to secure it.
- Creating Humidity: Water the soil gently. Then, cover the pots with a clear plastic bag (making sure the leaves don’t touch the inside) or place them under a clear plastic dome. This traps moisture and creates a humid environment that encourages rooting.
- Placement: Place your cuttings in a bright spot that receives indirect sunlight. Avoid direct sun, as it can scorch the young cuttings.
The “Secret Sauce” (Pro Tips)
Here are a couple of tricks I’ve learned over the years that really make a difference:
- Bottom Heat is Your Friend: If you have access to a heat mat, placing your pots on it can significantly speed up root formation. It mimics the warm soil temperatures of summer and gives those developing roots a real boost.
- Don’t Drown Your Dreams: Overwatering is the quickest way to invite rot. While humidity is crucial, make sure the soil is consistently moist, not waterlogged. Let the surface of the soil dry out slightly between waterings.
Aftercare & Troubleshooting
Once your cuttings have been planted, the waiting game begins! Keep them in that humid environment and check them regularly. You’ll know they’re starting to root when you see new leaf growth, usually after 3-6 weeks. You might also feel a gentle tug if you very carefully try to lift a cutting.
Once roots have formed and you see good new growth, it’s time to gradually acclimate your new plants to normal conditions. Remove the plastic bag or dome for a few hours each day, increasing the time until they can be fully exposed. Continue to water them as needed, letting the soil dry out slightly between waterings.
The most common sign of failure is wilting and eventual rot. This is usually a sign of overwatering or a lack of airflow. If a cutting turns black and mushy, unfortunately, it’s likely a goner. Just discard it and try again, perhaps with different watering habits or a slightly better-draining soil mix.
A Encouraging Closing
Watching those tiny new plants emerge from simple cuttings is one of gardening’s greatest joys. Be patient with your Tolpis virgata, give them the care they need, and don’t be discouraged if a few don’t make it. Every gardener has had their share of propagation mishaps! The process itself is a wonderful learning experience. Happy propagating, and may your gardens be filled with sunshine and yellow blooms!
Resource:
https://identify.plantnet.org/k-world-flora/species/Tolpis%20virgata%20(Desf.)%20Bertol./data