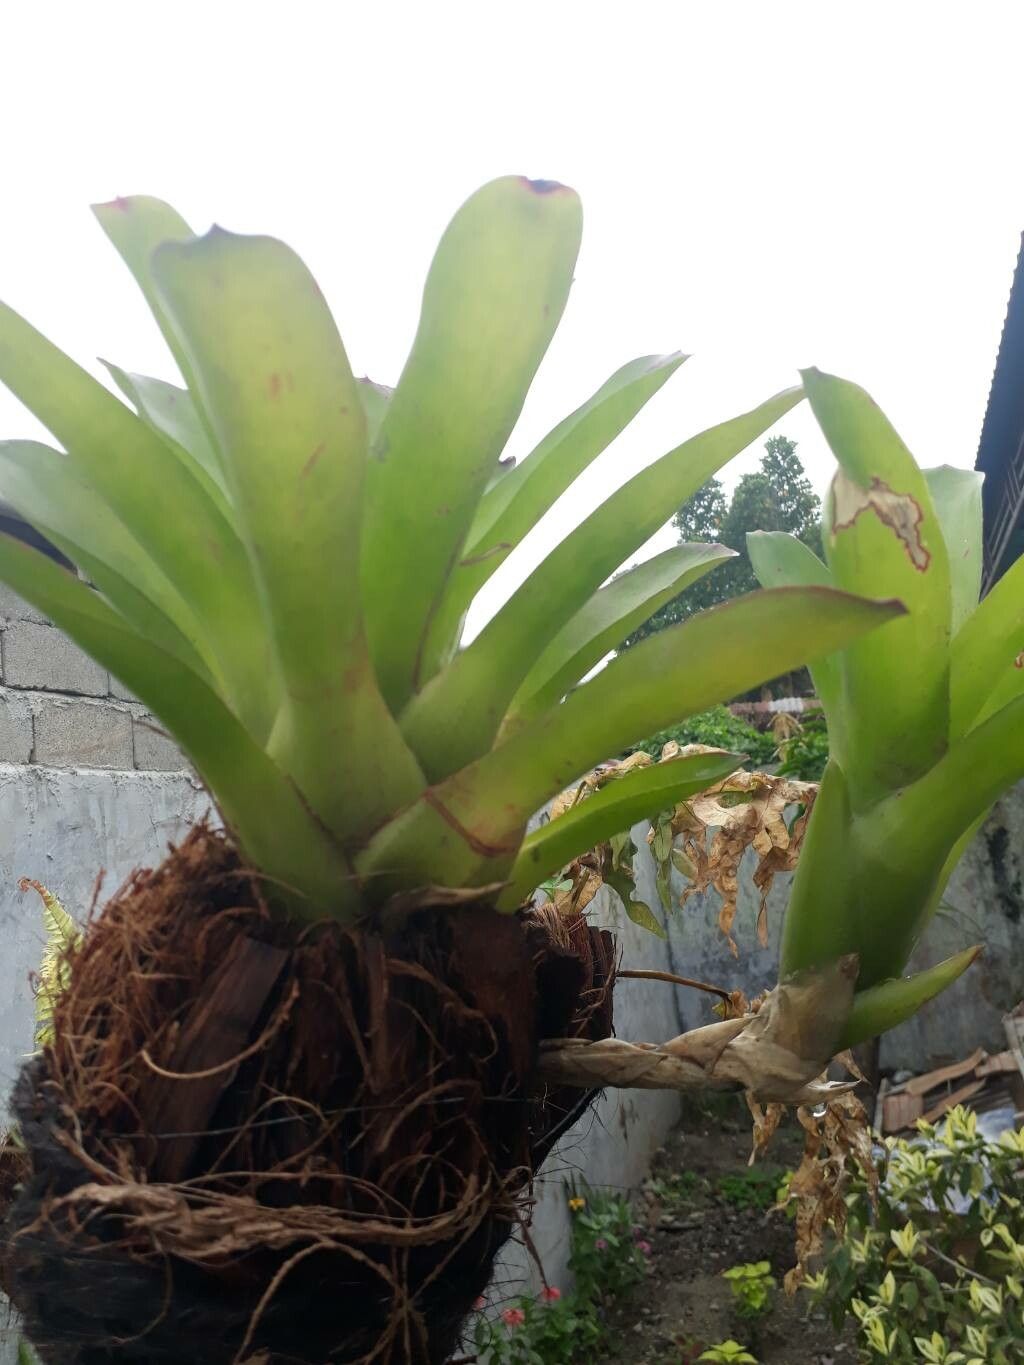
Ah, Tillandsia complanata! If you’ve ever admired its elegant, arching leaves that often sport a beautiful silver fuzz, you’re not alone. This lovely air plant has a unique charm, and successfully propagating it feels like a little gardening victory. It’s a rewarding plant to get more of, and thankfully, for those of you just dipping your toes into the world of tillandsias, it’s actually quite forgiving to propagate. You’ve got this!
The Best Time to Start
For the most reliable results, I find spring is your golden ticket. This is when most plants, including our Tillandsia complanata, are gearing up for their most vigorous growth. You’re looking for a plant that’s healthy and actively growing. If your plant has recently bloomed and is showing signs of new pup development – those little baby plants emerging from the base – that’s an even better indicator that it’s ready to share some of its energy with new propagations.
Supplies You’ll Need
Here’s what I usually have on hand when I’m ready to get some new Tillandsia complanata underway:
- Sharp Pruning Shears or a Clean Knife: Sterilized, of course!
- Small Container or Dish: To hold your new cuttings or pups while they root.
- Watering Can or Mister: For gentle watering.
- A Bright, Indirect Light Location: Away from harsh, direct sun.
- (Optional) Rooting Hormone: While not strictly necessary for Tillandsia complanata, it can give a little boost for some.
Propagation Methods
The most straightforward and successful way to propagate Tillandsia complanata is through division of pups. These plants are known for producing offsets, or “pups,” from their base.
- Identify a Healthy Pup: Look for a new growth emerging from the mother plant. Ideally, the pup should be about one-third to one-half the size of the parent plant. It should look plump and green, with no signs of rot or damage.
- Gently Separate the Pup: This is the crucial step. Wait until the pup has at least a few leaves and appears sturdy. You can try to gently wiggle the pup from the base. If it separates easily, great! If it’s still quite attached, you might need to use your sterilized pruning shears or knife to carefully cut the pup away from the mother plant. Try to get as much of the pup’s base as possible, ideally with a tiny bit of the mother plant’s tissue attached. This will help it root faster.
- Allow it to Callus (Optional but Recommended): Once separated, place the pup in a dry, well-ventilated spot for a day or two. This allows the cut surface to callus over. This is a natural protective barrier that helps prevent rot when you reintroduce it to moisture.
- Place and Water: Lay your callused pup in a shallow dish or on a clean surface. For the first week or so, you can mist it lightly every other day. Avoid letting it sit in standing water. You’re aiming for propagation that mimics its natural air-dwelling environment.
The “Secret Sauce” (Pro Tips)
Now, for a couple of little tricks I’ve picked up over the years:
- Don’t Over-Mist Too Soon: While air plants need moisture, a newly separated pup is vulnerable. It hasn’t developed a robust root system yet. Over-misting can lead to rot before it even has a chance to establish itself. Mist only lightly and ensure ample airflow around the pup.
- Think About Humidity, Not Soaking: If you live in a very dry climate, consider placing your new pup in a terrarium with some damp moss (not touching the plant directly!) to create a slightly more humid microclimate. But again, good air circulation is paramount. You don’t want a soggy situation.
Aftercare & Troubleshooting
Once you start seeing signs of new roots or new leaf growth on your pup, you’re in business! You can continue to mist it every few days, or even give it a gentle soak every week or two (making sure to shake out excess water and let it dry completely upside down afterward is a good habit to get into).
The most common issue you might encounter is rot. This usually happens when the plant sits in stagnant water or doesn’t have enough airflow. If you notice mushy, brown, or black spots on your pup, it’s a sign of rot. Don’t despair! If it’s caught early, you can try to cut away the rotted parts with your sterilized tool. If the rot is extensive, sadly, it might be time to start again.
A Encouraging Closing
Propagating plants is a journey, and with Tillandsia complanata, you have a great chance for success. Be patient, observe your new little green sprout, and enjoy the process of nurturing it into its own beautiful, independent plant. Happy growing!
Resource:
https://identify.plantnet.org/k-world-flora/species/Tillandsia%20complanata%20Benth./data