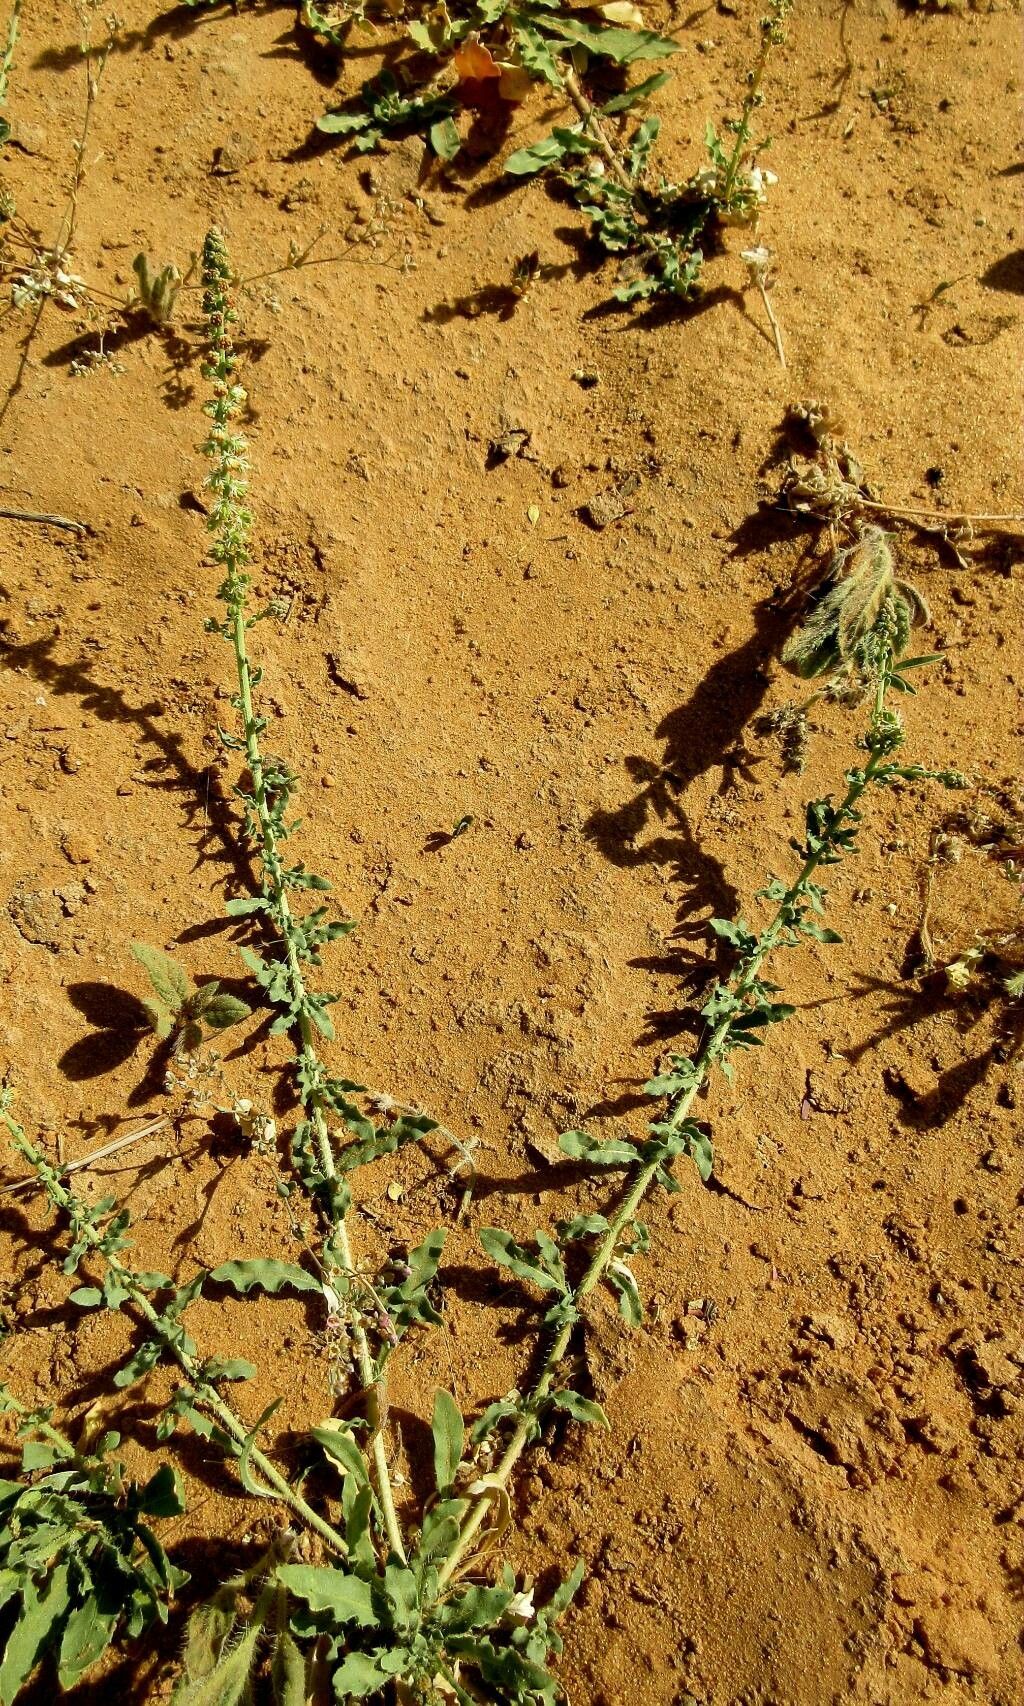
Hello fellow garden enthusiasts! I’m so excited to chat with you today about a plant that’s a real charmer: Caylusea hexagyna. If you’re looking for a touch of delicate beauty in your garden – perhaps something with lovely, subtle flowers that invite buzzing friends – this might be your next obsession. Propagating Caylusea hexagyna is a truly rewarding endeavor, sort of like coaxing a shy beauty into sharing herself with the world. For beginners, I’d say it’s moderately easy, especially with a few helpful pointers. You’ll feel a real sense of accomplishment when you see those first roots take hold!
The Best Time to Start
For Caylusea hexagyna, the early to mid-spring is your golden window. Think of it as the plant waking up and feeling energized after its winter rest. This is when new growth is vigorous and full of life, making it the perfect time to take cuttings. You’ll find the plant is bursting with potential, and your cuttings will have the best chance of establishing themselves quickly.
Supplies You’ll Need
Gathering your tools before you begin will make the whole process smoother. Here’s what I recommend:
- Sharp Pruning Shears or a Craft Knife: Clean cuts are essential for successful propagation.
- Rooting Hormone: While not always strictly necessary for Caylusea, it can give your cuttings a significant boost. Look for a powder or gel.
- Well-Draining Potting Mix: A good blend for this is typically 50% perlite and 50% peat moss or coco coir. You want it to hold moisture but drain freely.
- Small Pots or Seed Trays with Drainage Holes: Clean containers are key to preventing disease.
- Plastic Bags or a Propagation Dome: To create a humid environment for your cuttings.
- Watering Can with a Fine Rose or Spray Bottle: For gentle watering.
- Labels and a Marker: To keep track of your cuttings!
Propagation Methods
Caylusea hexagyna can be propagated primarily through stem cuttings. It’s pretty straightforward.
Stem Cuttings:
- Select Your Cuttings: In early spring, look for healthy, non-flowering stems. You want pieces that are about 4-6 inches long. Gently snap or use your clean shears to make a cut just below a leaf node (where a leaf joins the stem).
- Prepare the Cuttings: Gently remove the lower leaves from your cuttings, leaving just a few at the top. This prevents them from rotting when buried.
- Apply Rooting Hormone: Dip the cut end of each stem into your rooting hormone, tapping off any excess.
- Plant Your Cuttings: Fill your clean pots with the prepared potting mix. Make a small hole in the center of the mix with your finger or a pencil. Insert the cut end of your Caylusea cutting into the hole, ensuring the nodes where you removed leaves are below the soil surface. Gently firm the soil around the stem.
- Water Gently: Water the soil lightly but thoroughly. You want it moist, not soggy.
- Create Humidity: Cover the pots with a clear plastic bag, securing it around the rim with a rubber band. Alternatively, use a propagation dome. This traps moisture and creates the humid environment your cuttings need to root. Place the pots in a bright spot, but avoid direct sunlight, which can scorch the tender cuttings.
The “Secret Sauce”
Here are a couple of my tried-and-true tricks for getting Caylusea to root successfully:
- Don’t Let Leaves Touch the Water: If you’re tempted to try water propagation (though I find stem cuttings in soil are more reliable for this plant), it’s crucial that no leaves are submerged. Rot sets in fast if they are. For stem cuttings in soil, this tip is about ensuring the soil level is right – no leaves should be resting on the soil surface either, as it can encourage fungal issues.
- Bottom Heat is Your Friend (Sometimes): If you’re propagating in a cooler room, or if spring is particularly chilly, a gentle heat mat placed under your pots can make a world of difference. It encourages root development from below. Just make sure the heat isn’t too intense; you’re aiming for comfortably warm, not hot.
Aftercare & Troubleshooting
Once your cuttings are potted, keep the soil consistently moist and the humidity high. You should start to see signs of new growth within 3-6 weeks. This is your signal that roots have formed!
- Rooted Cuttings: When you see new leaves unfurling, it’s time to gradually acclimate your new plants to normal conditions. This means opening the plastic bag or propagation dome a little each day for about a week to let them adjust to lower humidity. Once they’re used to it, you can remove the cover completely. Continue to water as needed, allowing the top inch of soil to dry out between waterings.
- Troubleshooting: The most common issue you might face is rot. If your cuttings look mushy or black at the base, or if they simply refuse to root and seem limp, it’s usually a sign of too much moisture and poor drainage. Ensure your soil mix is airy, and don’t overwater. Fungal issues can also arise in overly humid, stagnant conditions, so good ventilation when you’re acclimating is important.
A Rewarding Journey
Propagating plants is an exercise in patience and observation. Don’t get discouraged if not every cutting takes. Gardening is a learning process, and each attempt teaches you something new. The joy of nurturing a tiny stem into a full-fledged plant is truly unmatched. So grab your shears, get your hands in the soil, and enjoy the delightful journey of propagating your own Caylusea hexagyna! Happy growing!
Resource:
https://identify.plantnet.org/k-world-flora/species/Caylusea%20hexagyna%20(Forssk.)%20M.L.Green/data