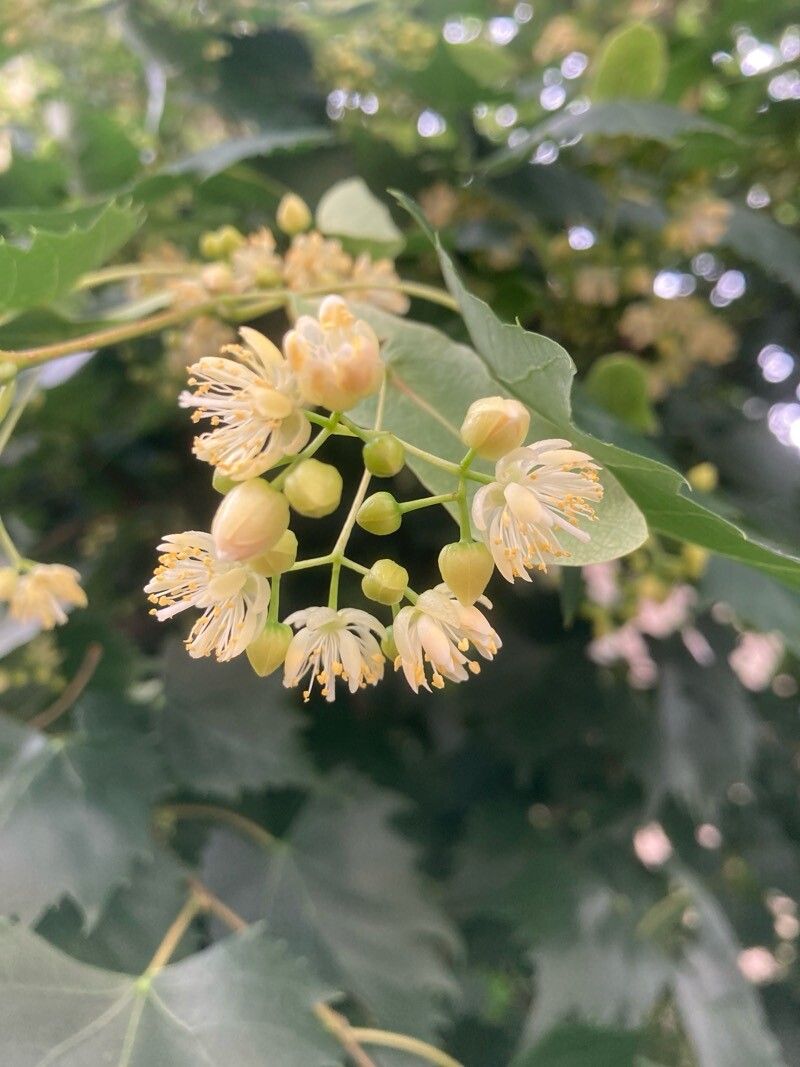
Oh, hello there! Come on in, grab a mug. Let’s chat about Tilia mongolica, shall we? I’ve grown to absolutely adore this tree over the years. Its delicate, maple-like leaves are just beautiful, and the way it smells in bloom… pure magic! Plus, getting one to grow from a cutting or division feels like a real horticultural victory. It’s a plant that truly rewards a bit of your time and attention. For beginners dipping their toes into propagation, I’d say Tilia mongolica is moderately rewarding. It’s not as fuss-free as some, but with a little know-how and patience, you’ll be well on your way.
The Best Time to Start
My favorite time to get started with propagating Tilia mongolica is late spring to early summer. This is when the plant is actively growing, and those new shoots are nice and pliable. You’re looking for stems that have started to firm up a bit but aren’t yet woody – think of them as semi-hardwood cuttings. They have the right balance of flexibility and firmness for successful rooting.
Supplies You’ll Need
Here’s what I usually have on hand when I’m ready to propagate:
- Sharp Pruning Shears or a Knife: Clean cuts are crucial for preventing disease.
- Rooting Hormone: A powder or gel works wonders to encourage root development.
- Well-Draining Potting Mix: I like a blend of about 50% peat moss or coco coir and 50% perlite or coarse sand.
- Small Pots or Seedling Trays: Clean ones are a must!
- Plastic Bags or a Propagator: To maintain humidity.
- Water: For misting and, of course, for water propagation.
- Optional: Bottom Heat Mat: For an extra boost when things are cooler.
- Optional: Small Labels: To keep track of what you’ve got!
Propagation Methods
Let’s get our hands dirty with a couple of my go-to methods for Tilia mongolica.
1. Stem Cuttings (Semi-Hardwood)
This is my preferred method for Tilia mongolica.
- Take Your Cuttings: On a mild morning, use your clean shears to take 4-6 inch cuttings from healthy, actively growing stems. Look for those semi-hardwood shoots I mentioned. Make your cut just below a leaf node – that’s where the magic happens for rooting.
- Prepare the Cuttings: Gently remove the leaves from the bottom half of each cutting. If a leaf is very large, I’ll often cut it in half horizontally to reduce water loss and fit it into the pot. This prevents the leaves from wilting too quickly.
- Apply Rooting Hormone: Dip the cut end of each prepared cutting into your rooting hormone. Tap off any excess so you have a thin, even coating.
- Pot Them Up: Fill your clean pots or trays with your well-draining potting mix. Make a small hole with a pencil or your finger, and insert the treated end of the cutting. Gently firm the soil around it.
- Water and Cover: Water thoroughly, allowing excess to drain away. Now, the crucial part for humidity: place the pots inside a plastic bag or cover them with a propagator lid. Make sure the plastic doesn’t touch the leaves if possible – if it does, trim them back a bit.
2. Division (For Established Plants)
If you have a mature Tilia mongolica and are thinning it out, division is a straightforward option.
- Dig Carefully: In early spring, before new growth starts, carefully dig around the base of your established tree. You want to expose the root ball.
- Separate the Roots: Gently shake off some of the soil. Look for natural divisions in the root system. With a sharp spade or even your hands, carefully pull or cut the root ball into sections. Ensure each section has a good amount of roots and at least one healthy stem or a potential growth bud.
- Replant Immediately: Replant the divided sections in their new homes or in pots with fresh potting mix. Water them in well.
The “Secret Sauce” (Pro Tips)
Over the years, I’ve picked up a few tricks that seem to make all the difference:
- Bottom Heat is Your Friend: Especially if your propagation area is a bit cool or drafty, placing your pots on a bottom heat mat can dramatically speed up root formation. It gives those nascent roots a cozy place to grow.
- Don’t Over-Water, But Don’t Let Them Dry Out: This is a delicate balance. You want the soil to be consistently moist, like a wrung-out sponge, but never waterlogged. Feeling the weight of the pot is a good indicator – if it feels light, it’s time for a gentle watering.
- Air Circulation Matters: While we want high humidity, stagnant air can breed fungal issues. Briefly ventilate your propagator or bag daily for a few minutes to refresh the air.
Aftercare & Troubleshooting
Once you spot those first tiny roots pushing out – hooray! This is a sign your new Tilia is on its way.
- Acclimatize Slowly: Once roots are well-established (you can gently tug on a leaving to feel resistance), begin to gradually acclimatize your new plant to lower humidity. Remove the plastic cover for longer periods each day over a week or two before removing it entirely.
- Potting Up: When the pot is well-filled with roots, it’s time to move your cutting into a slightly larger pot with good quality potting soil.
- Watch for Rot: The most common failure is rot, often caused by overwatering or poor air circulation. If you see stems turning black and mushy at the base, it’s usually a sign of rot. Sadly, these are often too far gone to save. Prevention is key here!
- Wilting Leaves: Some initial leaf wilting is normal as the cutting adjusts. If it persists extensively, check your watering and humidity levels.
There you have it! Propagating Tilia mongolica is a wonderfully rewarding endeavor. Don’t get discouraged if your first few attempts aren’t perfect. Gardening is all about learning and experimenting. Just keep at it, enjoy the process of nurturing something new, and soon you’ll have your very own young Tilia trees to admire. Happy propagating!
Resource:
https://identify.plantnet.org/k-world-flora/species/Tilia%20mongolica%20Maxim./data