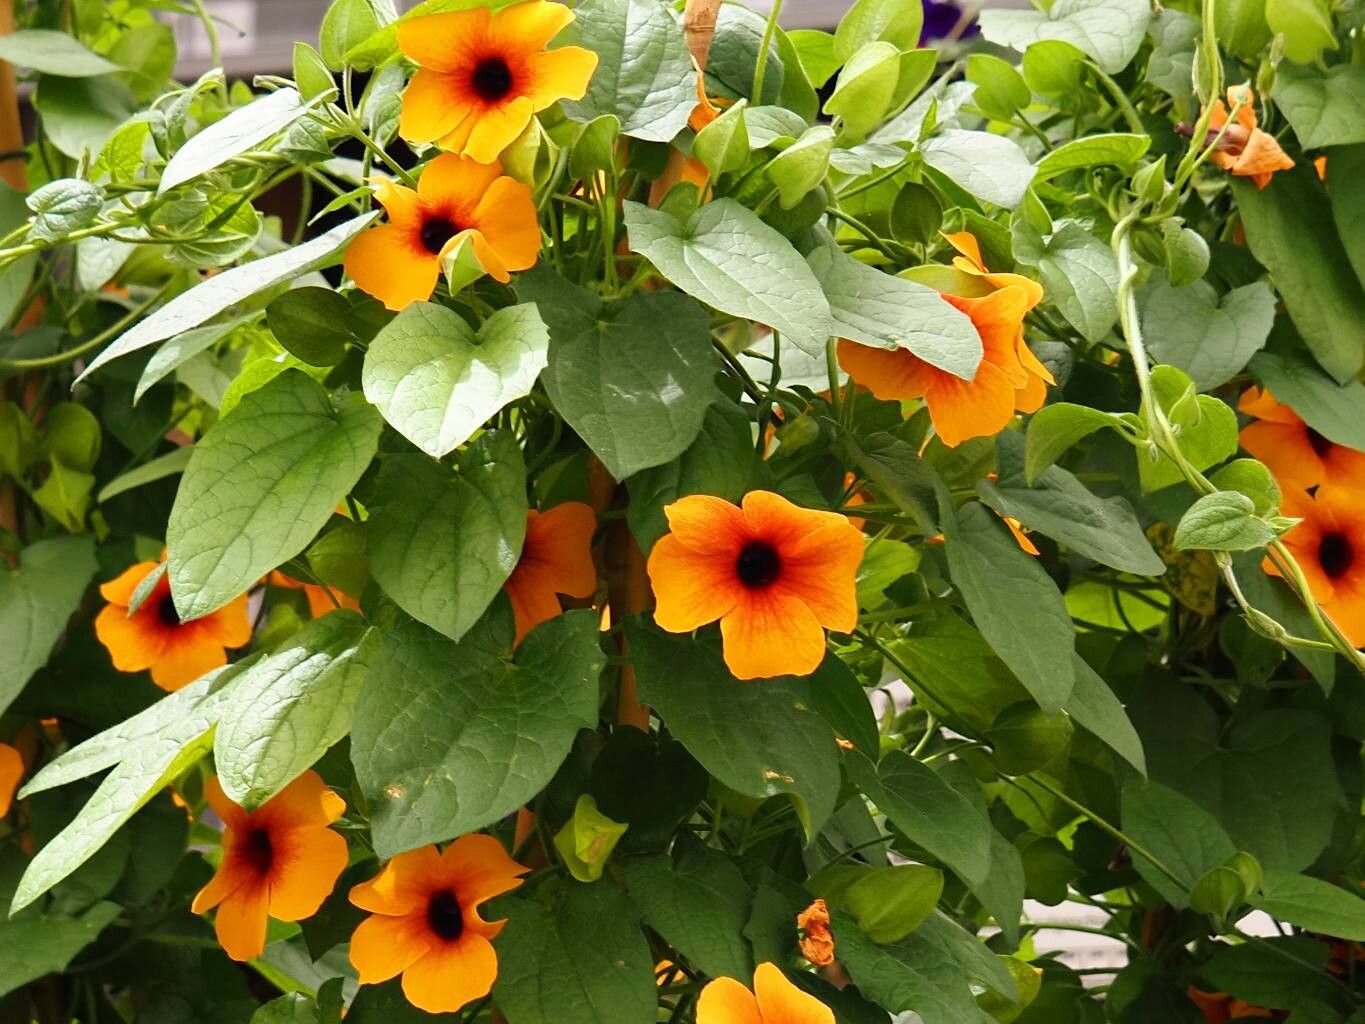
Hello fellow garden enthusiasts! Today, we’re diving into a topic that always brings a smile to my face: propagating Black-Eyed Susans, or as we gardeners know them, Thunbergia alata. These charming vines, with their cheerful orange, yellow, or white flowers and distinctive dark centers, are absolute showstoppers. They climb, they cascade, and they bring so much life to any garden space. The best part? They’re incredibly rewarding to multiply! If you’re a beginner, you’ll be delighted to know that Thunbergia alata is generally quite forgiving and a fantastic plant to start your propagation journey with.
The Best Time to Start
For the highest success rate, start your propagation efforts in late spring or early summer. This is when the plant is actively growing and has plenty of energy to dedicate to rooting new stems. You can also take cuttings from established plants in early fall, giving them a chance to root before cooler weather sets in, though results might be a little slower.
Supplies You’ll Need
Here’s what you’ll want to have on hand:
- Sharp pruning shears or a clean knife: For taking clean, precise cuts.
- Rooting hormone (optional but recommended): This powder or gel helps stimulate root development.
- Small pots or seed trays: About 3-4 inches in diameter work well.
- Well-draining potting mix: A mix of peat moss, perlite, and a little bit of compost is ideal. You can also buy specific seed starting mix.
- Clear plastic bags or a propagation dome: To create a humid environment.
- Watering can with a fine rose or spray bottle: For gentle watering.
- A warm location: Consider a heat mat if you have one.
Propagation Methods
My favorite way to propagate Thunbergia alata is through stem cuttings. It’s efficient and often yields impressive results quickly.
- Take Your Cuttings: Select healthy, non-flowering stems from your mature plant. Look for stems that are about 4-6 inches long and have at least two sets of leaves. Using your clean shears or knife, make a clean cut just below a leaf node (the spot where a leaf attaches to the stem). Remove the lower leaves, leaving just two to four at the top.
- Apply Rooting Hormone: Dip the cut end of the stem into your rooting hormone, tapping off any excess. This step is like giving your cutting a little boost.
- Pot Them Up: Fill your small pots with your damp potting mix. Make a small hole in the center of each pot with your finger or a pencil. Gently insert the cut end of the stem into the hole, ensuring the node where you removed the leaves is below the soil surface. Firm the soil gently around the stem.
- Create Humidity: Water the soil lightly until it’s moist but not waterlogged. Cover each pot with a clear plastic bag or place them under a propagation dome. This creates a mini-greenhouse effect, keeping the humidity high which is crucial for cuttings. You can poke a few small holes in the bag for ventilation if you’re worried about it getting too stagnant.
- Provide Light and Warmth: Place the pots in a bright spot, but out of direct sunlight. A sunny windowsill that doesn’t get harsh afternoon sun is perfect. If you have a heat mat, placing the pots on it will really speed up root development.
The “Secret Sauce”
Here are a couple of tricks I’ve learned over the years that really make a difference:
- Don’t let the leaves touch the water (if you decide to try water propagation): While stem cuttings in soil are my go-to, some folks like to start them in water. Just be sure to change the water every few days to keep it fresh and, importantly, make sure the leaves are well above the water line. Rot can set in quickly if they sit in water.
- Bottom Heat is Your Friend: As I mentioned, bottom heat from a heat mat is a game-changer, especially if your home tends to be on the cooler side. It encourages those roots to form much more readily. You’ll see happy development in weeks instead of months.
Aftercare & Troubleshooting
Keep the soil consistently moist but not soggy. Check the humidity daily by touching the soil and the inside of the plastic bag. If it feels dry, give it a light misting or water.
You’ll know your cuttings have rooted when you see new leaf growth appearing at the top. You can also gently tug on the stem; if there’s resistance, it means roots have formed. This usually takes 3-6 weeks. Once roots are established, you can gradually remove the plastic bag over a few days to acclimate them to normal humidity before repotting into slightly larger containers.
The most common issue you might encounter is rot, which usually happens from overwatering or poor drainage. If a cutting appears to be wilting and mushy at the base, unfortunately, it’s usually a lost cause. Discard it immediately to prevent it from affecting other cuttings. Ensure your watering is judicious and your soil drains well.
A Encouraging Closing
Propagating Thunbergia alata is a journey, and like any good garden project, it requires a little patience and a lot of love. Don’t be discouraged if every single cutting doesn’t make it – that’s perfectly normal! Celebrate the successes, learn from any setbacks, and most importantly, enjoy the process of nurturing new life. Soon you’ll have a whole cascade of beautiful Black-Eyed Susans to share or plant throughout your garden. Happy propagating!
Resource:
https://identify.plantnet.org/k-world-flora/species/Thunbergia%20alata%20Bojer%20ex%20Sims/data