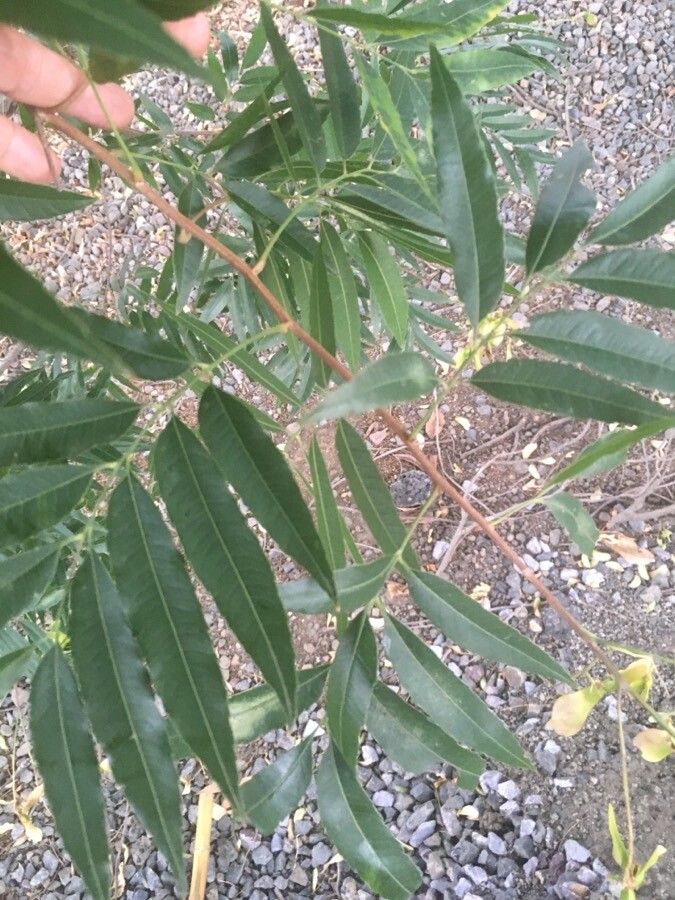
Hello, fellow plant enthusiasts! It’s wonderful to have you here today for a little garden chat. We’re diving into the delightful world of Thouinidium decandrum, a plant that brings such a unique spark to any collection. Its delicate, intricately fronded foliage creates such a lush, almost ethereal feel. And the best part? You can multiply this beauty yourself! Propagating Thouinidium decandrum is a wonderfully rewarding journey, and I’m here to guide you every step of the way. While it’s not quite a “stick it in the ground and forget it” situation, it’s certainly achievable for a keen beginner who’s willing to pay a little attention.
The Best Time to Start
For the absolute highest chance of success, I find that late spring to early summer is your sweet spot. Think of it as the plant’s peak growth period. When the days are getting longer and warmer, your Thouinidium decandrum is actively pushing out new growth, meaning it has more energy and resources to dedicate to forming new roots. Trying to propagate when it’s dormant or stressed just makes life harder for you and the plant.
Supplies You’ll Need
Gathering your supplies beforehand makes the whole process much smoother. Here’s what I always have on hand:
- Sharp, clean pruning shears or a razor blade: This is non-negotiable for clean cuts.
- A well-draining potting mix: I like a blend of regular potting soil with perlite or orchid bark to ensure good aeration. A mix formulated for ferns or aroids works beautifully.
- Small pots or propagation trays: Clean, appropriately sized containers are key.
- Rooting hormone (optional but recommended): This is like a little boost for your cuttings. Opt for a powdered or liquid form.
- A clear plastic bag or propagation dome: This creates a humid environment, which is crucial for ferns.
- Watering can or spray bottle: For gentle watering.
- A trowel or dibber: For making holes in the soil.
Propagation Methods
Let’s get our hands dirty! We’ll focus on the two methods that typically work best for Thouinidium decandrum.
Stem Cuttings
This is my go-to method and often yields the best results.
- Select a healthy stem: Look for a stem that has at least two to three sets of healthy leaves and is actively growing. Avoid any that look old, yellowing, or spindly.
- Make the cut: Using your clean shears or razor, make a clean cut just below a leaf node. A leaf node is where a leaf attaches to the stem. This is where new roots will emerge.
- Prepare the cutting: Gently remove the lowest set of leaves from the cutting. If your cutting is very long, you can trim some of the upper leaves in half to reduce water loss through transpiration.
- Apply rooting hormone (optional): Dip the cut end into your rooting hormone, tapping off any excess.
- Pot it up: Fill your small pot with your prepared potting mix. Use your trowel or dibber to create a hole, then gently insert the cutting, ensuring the leaf node is below the soil surface. Firm the soil gently around the base of the cutting.
- Water gently: Water the soil thoroughly but gently until water drains from the bottom.
- Create humidity: Place the pot inside a clear plastic bag or cover it with a propagation dome. Ensure the bag doesn’t touch the leaves too much. Place it in a bright spot, but out of direct sunlight.
Division
If your Thouinidium decandrum has grown into a larger, clumped specimen, division is a fantastic way to get more plants.
- Gently remove the plant from its pot: Tip the pot on its side and carefully ease the plant out. It’s okay if a little soil falls away.
- Inspect the root ball: Look for natural divisions. You’ll see where the plant has started to grow in separate sections from the base.
- Separate the divisions: Using your hands or a clean, sharp knife, gently tease apart the root ball into smaller sections. Each section should have a good number of leaves and a healthy root system. Don’t be afraid to sacrifice a few fragile roots if necessary; the plant can recover.
- Pot up the divisions: Pot each division into its own appropriately sized pot filled with your well-draining potting mix. Ensure the crown (where the leaves emerge from the roots) is at or slightly above soil level.
- Water thoroughly: Water each newly potted division well.
- Maintain humidity: As with cuttings, you can cover these divisions with a plastic bag or dome for a week or two to help them acclimate.
The “Secret Sauce”
Here are a couple of little tricks I’ve learned over the years that can really make a difference:
- Bottom heat is a game-changer: Place your pots on a gentle heat mat. This encourages root development from below, mimicking the warmth of spring soil. You can find these at most garden centers. Just make sure it’s not too hot – warm, not scorching!
- Don’t overcrowd the pot: When planting cuttings, give them a little breathing room. Trying to cram too many into one pot can lead to competition for resources and increased risk of disease. One good cutting per pot is often best.
Aftercare & Troubleshooting
Once roots have formed (you can often tell by new growth appearing or by gently tugging on the cutting to feel resistance), it’s time to transition your new Thouinidium decandrum.
- Gradually reduce humidity: If you’ve been using a plastic bag, start by opening it a little each day for a week before removing it entirely. This lets the plant adjust to normal humidity levels.
- Water consistently but avoid soggy soil: Keep the soil evenly moist but never waterlogged. Overwatering is the quickest way to invite root rot. If the pot feels heavy, it’s likely wet enough.
- Look out for signs of trouble: Brown, mushy stems are a clear indicator of rot, usually caused by too much moisture and not enough air circulation. If you see this, unfortunately, that cutting is likely lost. Yellowing leaves can sometimes mean too much light or inconsistent watering. White, fuzzy mold on the soil surface is usually a sign of poor air circulation.
A Heartwarming Closing
Propagating plants is all about patience and observation. It’s a beautiful way to connect with your plants, understand their needs, and fill your home with even more greenery. Don’t be discouraged if not every attempt is a wild success right away. Each plant, and each cutting, is a learning experience. Enjoy the process, celebrate the little victories, and soon you’ll be admiring your own Thouinidium decandrum babies! Happy propagating!
Resource:
https://identify.plantnet.org/k-world-flora/species/Thouinidium%20decandrum%20(Bonpl.)%20Radlk./data