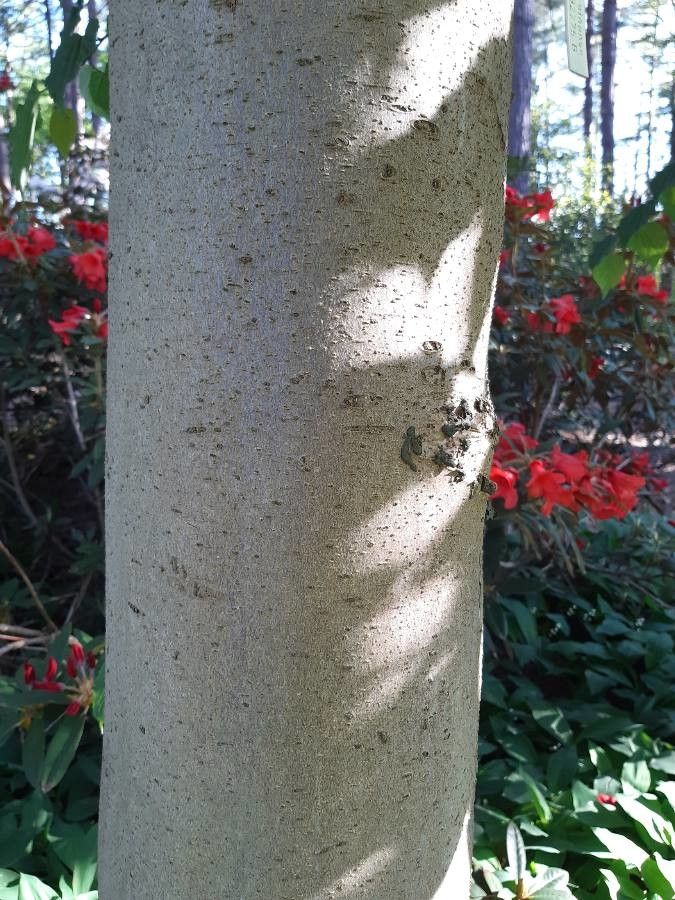
Oh, hello there! Come on in, grab a mug. I’m so glad you’re interested in Tetracentron sinense. It’s one of those truly special trees, isn’t it? With its unique, almost prehistoric looking foliage and that lovely habit of holding its leaves upright, it’s a real conversation starter in the garden. And you know what’s even more satisfying than admiring Tetracentron? Growing your very own from scratch!
Now, I won’t sugarcoat it entirely: propagating Tetracentron sinense isn’t quite as straightforward as whipping out a few rose cuttings. It’s more of a thoughtful, patient endeavor, especially for absolute beginners. But trust me, the reward of nurturing a tiny new tree from what initially looks like a simple twig is immense. It’s a connection to the plant that’s hard to beat.
The Best Time to Start
For the highest chance of success, I find late spring to early summer is your golden window. This is when the plant is actively growing, and its stems have hardened just enough to be a good candidate for cuttings. You’re looking for what we call “semi-hardwood” growth – it should snap cleanly when you try to bend it, not bend limply.
Supplies You’ll Need
Here’s what you’ll want to have on hand before you begin:
- Sharp, clean pruning shears or a sharp knife: Essential for making clean cuts.
- Rooting hormone powder or gel: This really gives your cuttings a boost.
- A well-draining potting mix: I like a blend of peat moss, perlite, and a bit of coarse sand. You want something that holds moisture but doesn’t get waterlogged.
- Small pots or seed trays: Clean ones, of course!
- A plastic bag or humidity dome: To create a mini-greenhouse effect.
- Perlite or gravel: For drainage in the bottom of your pots.
- Optional: A heat mat: This can significantly speed up root formation.
Propagation Methods: Stem Cuttings
Stem cuttings are generally the most reliable method for Tetracentron sinense. Here’s how I do it:
- Take the Cuttings: In late spring or early summer, select healthy, well-established branches. Using your sharp shears, take several cuttings, each about 6-8 inches long. Make the cut just below a leaf node (where the leaf attaches to the stem).
- Prepare the Cuttings: Gently remove the lower leaves, leaving just a couple of leaves at the very top. This reduces water loss. If your cuttings are larger, you can even cut those top leaves in half to further minimize transpiration.
- Apply Rooting Hormone: Dip the cut end of each stem into your rooting hormone, tapping off any excess. Make sure the hormone coats the bottom inch or so of the cutting.
- Plant the Cuttings: Fill your pots with your prepared potting mix. Make a hole in the center of the mix with your finger or a dibber. Insert the hormone-coated end of the cutting into the hole, ensuring it goes deep enough to be stable. Gently firm the soil around the base of the cutting.
- Create a Humid Environment: Water the potting mix lightly until it’s moist but not saturated. Pop the pot into a plastic bag, ensuring the leaves don’t touch the sides of the bag, or cover it with a humidity dome. This traps moisture, which is crucial for preventing the cuttings from drying out before they can root.
- Place in a Suitable Spot: Keep the cuttings in a bright spot with indirect light. Avoid direct sun, which can scorch them. If you have a heat mat, place the pots on top – this really makes a difference!
The “Secret Sauce” (Pro Tips)
Alright, lean in close. Here are a few things I’ve learned over the years that can really tip the scales in your favor:
- Don’t Rush the Cuts: After taking your cuttings, let them sit for 15-30 minutes on a dry surface before applying hormone and planting. This allows the cut end to callous over slightly, which can help prevent rot.
- Bottom Heat is Your Friend: Honestly, I can’t stress this enough. Providing gentle bottom heat (around 70-75°F or 21-24°C) from a heat mat will dramatically speed up root formation. It mimics spring soil temperatures and encourages the plant to get going.
- Cleanliness is Key: Always, always, always use sterilized tools and pots. Fungus and bacteria are the enemies of new cuttings. A quick wipe with rubbing alcohol goes a long way.
Aftercare & Troubleshooting
Once your cuttings are potted, patience is your greatest virtue. Resist the urge to pull them out and check for roots too often! You’ll know they’re rooting when you see new leaf growth appearing. This usually takes several weeks, sometimes even a couple of months.
If you notice wilting that doesn’t perk up after watering, or mushy, black stems, that’s a sign of rot. This is usually due to overwatering or a lack of air circulation. If you see this, try to remove the affected cutting immediately and ensure your mix is draining well. If you’re using a plastic bag, open it for a few hours each day to allow for some air exchange.
Once roots have formed and you can feel some resistance when you gently tug on the cutting, it’s time to acclimate your new plant to normal conditions. Gradually open the plastic bag or dome over a week or two. Your new Tetracentron can be repotted into a slightly larger container once it’s actively growing. Keep it well-watered but avoid soggy feet.
A Closing Thought
Growing a Tetracentron sinense from a cutting is a journey. There will be moments of hopeful anticipation, and maybe a little disappointment if some cuttings don’t make it. But don’t let that discourage you! Each attempt is a learning experience. Enjoy the process, celebrate every tiny new leaf, and before you know it, you’ll have your very own special tree. Happy propagating!
Resource:
https://identify.plantnet.org/k-world-flora/species/Tetracentron%20sinense%20Oliv./data