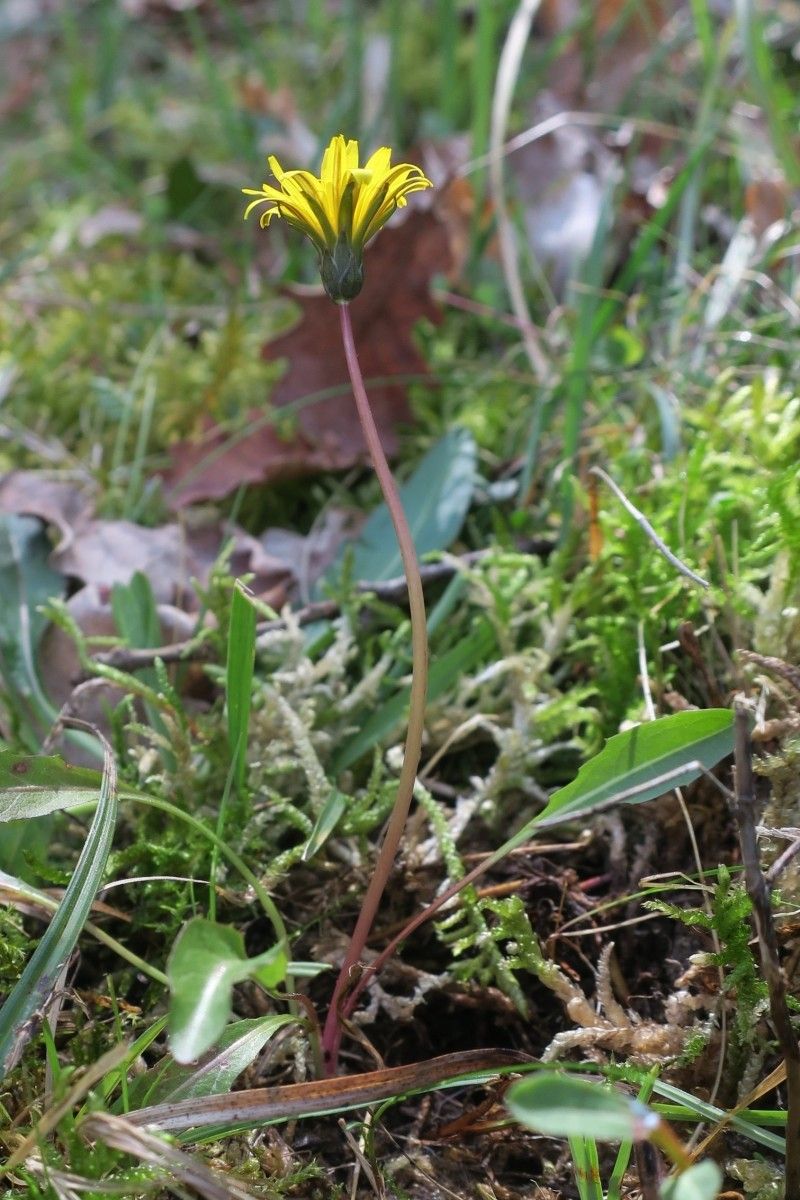
Oh, hello there! Pull up a chair, let’s chat about plant babies. Today, we’re diving into the wonderful world of Taraxacum ciliare, a plant that brings a cheerful touch to any garden. You might know it better by its more common, dandy-lion-esque look, but Taraxacum ciliare has a subtle charm. Its slightly ruffled leaves and delicate, sunny blooms are a delight.
Propagating this beauty is incredibly rewarding. It’s not just about having another plant; it’s about understanding its life cycle and coaxing new life from an existing one. For beginners, I’d say propagating Taraxacum ciliare is fairly straightforward. With a little patience, you’ll be well on your way to success.
The Best Time to Start
The absolute best time to get your hands dirty and start propagating your Taraxacum ciliare is in early spring. This is when the plant is waking up after its winter rest and has a burst of energy. You’ll find it’s much more receptive to new beginnings at this time. You can also have some success in late summer, but spring usually yields the most vigorous results.
Supplies You’ll Need
Before we get started, let’s gather our tools. It’s always good to have everything ready so you can move smoothly through the process.
- Sharp pruning shears or a clean, sharp knife: For making clean cuts.
- Well-draining potting mix: A good general potting mix amended with perlite or sand works wonderfully. I like a blend that mimics its natural sandy habitat if possible.
- Small pots or seed trays: Clean ones, please!
- Rooting hormone (optional but helpful): Especially if you’re feeling a bit nervous.
- Watering can or spray bottle: For gentle watering.
- Labels and a marker: To keep track of your new charges.
- A sunny windowsill or bright, indirect light location: Where your propagation station will live.
Propagation Methods
For Taraxacum ciliare, the most effective and accessible method is through division. This plant produces a sturdy taproot and often forms clumps, making it perfect for this technique.
Here’s how we’ll do it:
- Gentle Excavation: Carefully dig up your Taraxacum ciliare plant. The goal is to get the entire root ball out with as little damage as possible. If it’s a large plant, you might need a trowel.
- Inspect the Roots: Once it’s out of the ground, gently brush away excess soil to get a good look at the root system. You’re looking for natural divisions – points where the root appears to split into two or more distinct sections, each with its own crown (the area where the leaves emerge from the root).
- The Divide: With your hands or a clean knife, carefully separate these sections. If it’s a stubborn division, a sharp knife will make a cleaner cut. Ensure each new piece has a good portion of roots and at least one healthy leaf or bud.
- Potting Up: Fill your small pots with the well-draining potting mix. Make a small well in the center of each pot.
- Planting Your Divisions: Place each Taraxacum ciliare division into its pot, ensuring the crown is at soil level. Gently firm the soil around the roots.
- Water Wisely: Water the newly potted divisions thoroughly but gently. You want the soil to be moist but not waterlogged.
- First Set-Up: Place your pots in a location that receives bright, indirect light. Avoid direct, scorching sun for the first week or two.
The “Secret Sauce” (Pro Tips)
Now, let’s talk about those little tricks that make a big difference.
- My absolute favorite tip is to avoid overwatering new divisions. It’s tempting to drench them, but a slightly drier soil environment encourages the roots to seek out moisture and establish themselves. Think “moist, not soggy.”
- If your Taraxacum ciliare has been in the ground for a while, you might find its taproot is quite deep and potentially fragile. When dividing, try to keep as much of the taproot intact as possible. Cutting back a long taproot can stress the plant.
- And one last thing: don’t be afraid to give your divisions a little encouragement. A very dilute liquid fertilizer, maybe a quarter strength, a couple of weeks after they’ve settled in can give them a gentle boost.
Aftercare & Troubleshooting
Once your Taraxacum ciliare divisions are potted and settled, keep their soil consistently moist but not soaking wet. Watch for new leaf growth. This is your signal that they are happy and establishing themselves. New leaves emerging within a few weeks are a great sign!
Now, what if things don’t go as planned? The most common issue you might encounter is root rot. This usually happens from overwatering. You’ll notice the leaves yellowing, wilting, and potentially becoming mushy at the base. If you see this, gently unpot the division, trim away any rotted roots with a clean blade, and repot in fresh, dry soil. Then, adjust your watering habits.
Another sign of struggle is if the plant simply doesn’t show any new growth after several weeks. This could mean the division was too small, the roots weren’t viable, or it’s just taking its sweet time. Don’t give up immediately! Keep providing good light and the right moisture balance, and sometimes they surprise you.
A Encouraging Closing
Propagating plants is a journey, and Taraxacum ciliare is a wonderful companion for that ride. Remember, nature works on its own timeline. Be patient with your new plant babies, celebrate every tiny new leaf, and most importantly, enjoy the process of nurturing life. Happy gardening!
Resource:
https://identify.plantnet.org/k-world-flora/species/Taraxacum%20ciliare%20Soest/data