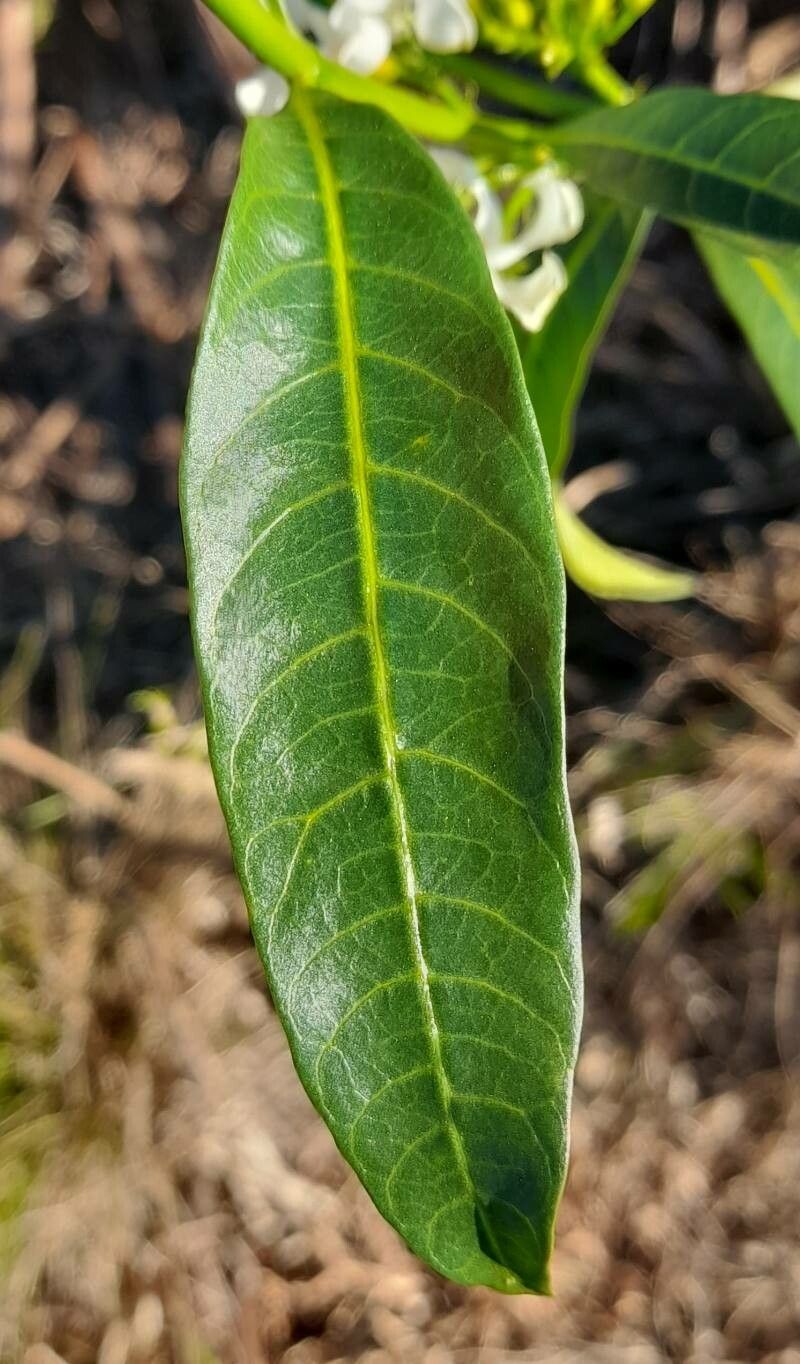
Oh, hello there, fellow plant lover! Come on in, grab a cuppa. Today, we’re diving into the wonderful world of Tabernaemontana catharinensis, or as some of us fondly call it, the Catherine Rose. If you’ve ever admired its glossy, deep green leaves and dreamt of its star-shaped, fragrant white blooms gracing your own garden (or patio), then you’re in the right place. Propagating this beauty is incredibly rewarding, and while it might seem a tad tricky at first glance, I promise, it’s absolutely achievable. Think of it as nurturing a little piece of magic.
The Best Time to Start
For Tabernaemontana catharinensis, the sweet spot for propagation is definitely spring and early summer. This is when the plant is in its active growth phase. It has the energy to heal from cuttings and push out roots. Trying to propagate when it’s dormant in cooler months is like asking a sleepy bear to build a new den – it’s just not going to happen with much enthusiasm! Look for stems that are semi-hardwood – not brand new and floppy, but not old and woody either. They should snap cleanly when bent.
Supplies You’ll Need
Before we get our hands dirty, let’s gather our trusty tools. Think of it as prepping for a delicious bake – all the ingredients and equipment ready to go!
- Sharp Pruning Shears or a Clean Knife: Essential for taking clean cuts. A dull tool can crush the stem and invite disease.
- Rooting Hormone (Optional but Recommended): A little boost helps those cuttings along. I prefer a powder or gel.
- Well-Draining Potting Mix: A blend of peat moss or coco coir, perlite, and a bit of good quality potting soil works wonders. Aim for something that won’t hold too much moisture.
- Small Pots or Seedling Trays: Clean containers are key to preventing any unwanted guests (like fungi) from making themselves at home.
- Plastic Bag or Clear Dome: To create a humid microclimate for your cuttings.
- Water: For your cuttings, of course!
Propagation Methods
We’ll focus on the most reliable method here: stem cuttings. It’s tried and true for Tabernaemontana catharinensis.
- Take Your Cuttings: First, find a healthy, vibrant stem on your mature plant. Using your sharp pruning shears, take a cutting that is about 4 to 6 inches long. Make the cut just below a leaf node – that’s where the new roots will want to emerge from.
- Prepare the Cutting: Gently remove the lower leaves from your cutting. You want to leave just a few at the top. If any leaves are particularly large, you can even snip them in half to reduce water loss.
- Apply Rooting Hormone: If you’re using rooting hormone, dip the cut end of the stem into the powder or gel. Tap off any excess. This step is like giving your cutting a little pep talk for root growth.
- Plant Your Cuttings: Fill your small pots with your prepared potting mix. Make a small hole in the center with your finger or a pencil. Gently insert the prepared cutting into the hole, ensuring the leaf nodes you removed are below the soil surface. Firm the soil gently around the stem.
- Water and Cover: Water the soil lightly until it’s evenly moist but not soggy. Then, cover the entire pot with a clear plastic bag or place it under a clear dome. This traps humidity, which is crucial for preventing the cuttings from drying out before they can root.
The “Secret Sauce” (Pro Tips)
Here are a couple of little tricks I’ve picked up over the years that can really make a difference:
- Think “Swampy, Not Soggy!”: When watering your potted cuttings, the goal is consistently moist soil, not waterlogged. If your pots are sitting in a tray holding water, don’t let the bottom of the pot be submerged for too long. A bit of dampness is good; roots sitting in standing water are invitations for rot.
- Embrace the Warm Glow: For those really stubborn types, a little gentle bottom heat can work wonders. A seedling heat mat placed under your tray of cuttings provides warmth to the soil, encouraging root development. Just place your pots on top – it’s like a cozy heated blanket for your little propagations.
Aftercare & Troubleshooting
Once your cuttings are nestled in their moist environment, patience is your best friend. You should start to see signs of rooting within 4-8 weeks. You can gently tug on a cutting – if there’s resistance, you’ve got roots!
When you see healthy new leaf growth, it’s a good sign that roots have formed. Gradually acclimate your new plants to normal humidity by slowly opening the plastic bag or dome over a few days. Once they’re well-rooted, you can transplant them into slightly larger pots.
The most common pitfall? Rot. If your cutting turns black and mushy, or the leaves wilt and fall off despite the soil being moist, it’s likely root rot. This is usually caused by overwatering or a potting mix that drains poorly. Unfortunately, a rotted cutting is usually a lost cause, but don’t despair! Just clean everything thoroughly and try again, focusing on your watering and soil.
A Encouraging Closing
So there you have it! Propagating your Tabernaemontana catharinensis is a journey of patience and observation. Don’t get discouraged if your first few attempts aren’t perfect. Every gardener has learned from their mistakes! Enjoy the process of watching those tiny beginnings transform into new life. Happy propagating, and may your Catherine Roses bloom beautifully!
Resource:
https://identify.plantnet.org/k-world-flora/species/Tabernaemontana%20catharinensis%20A.DC./data