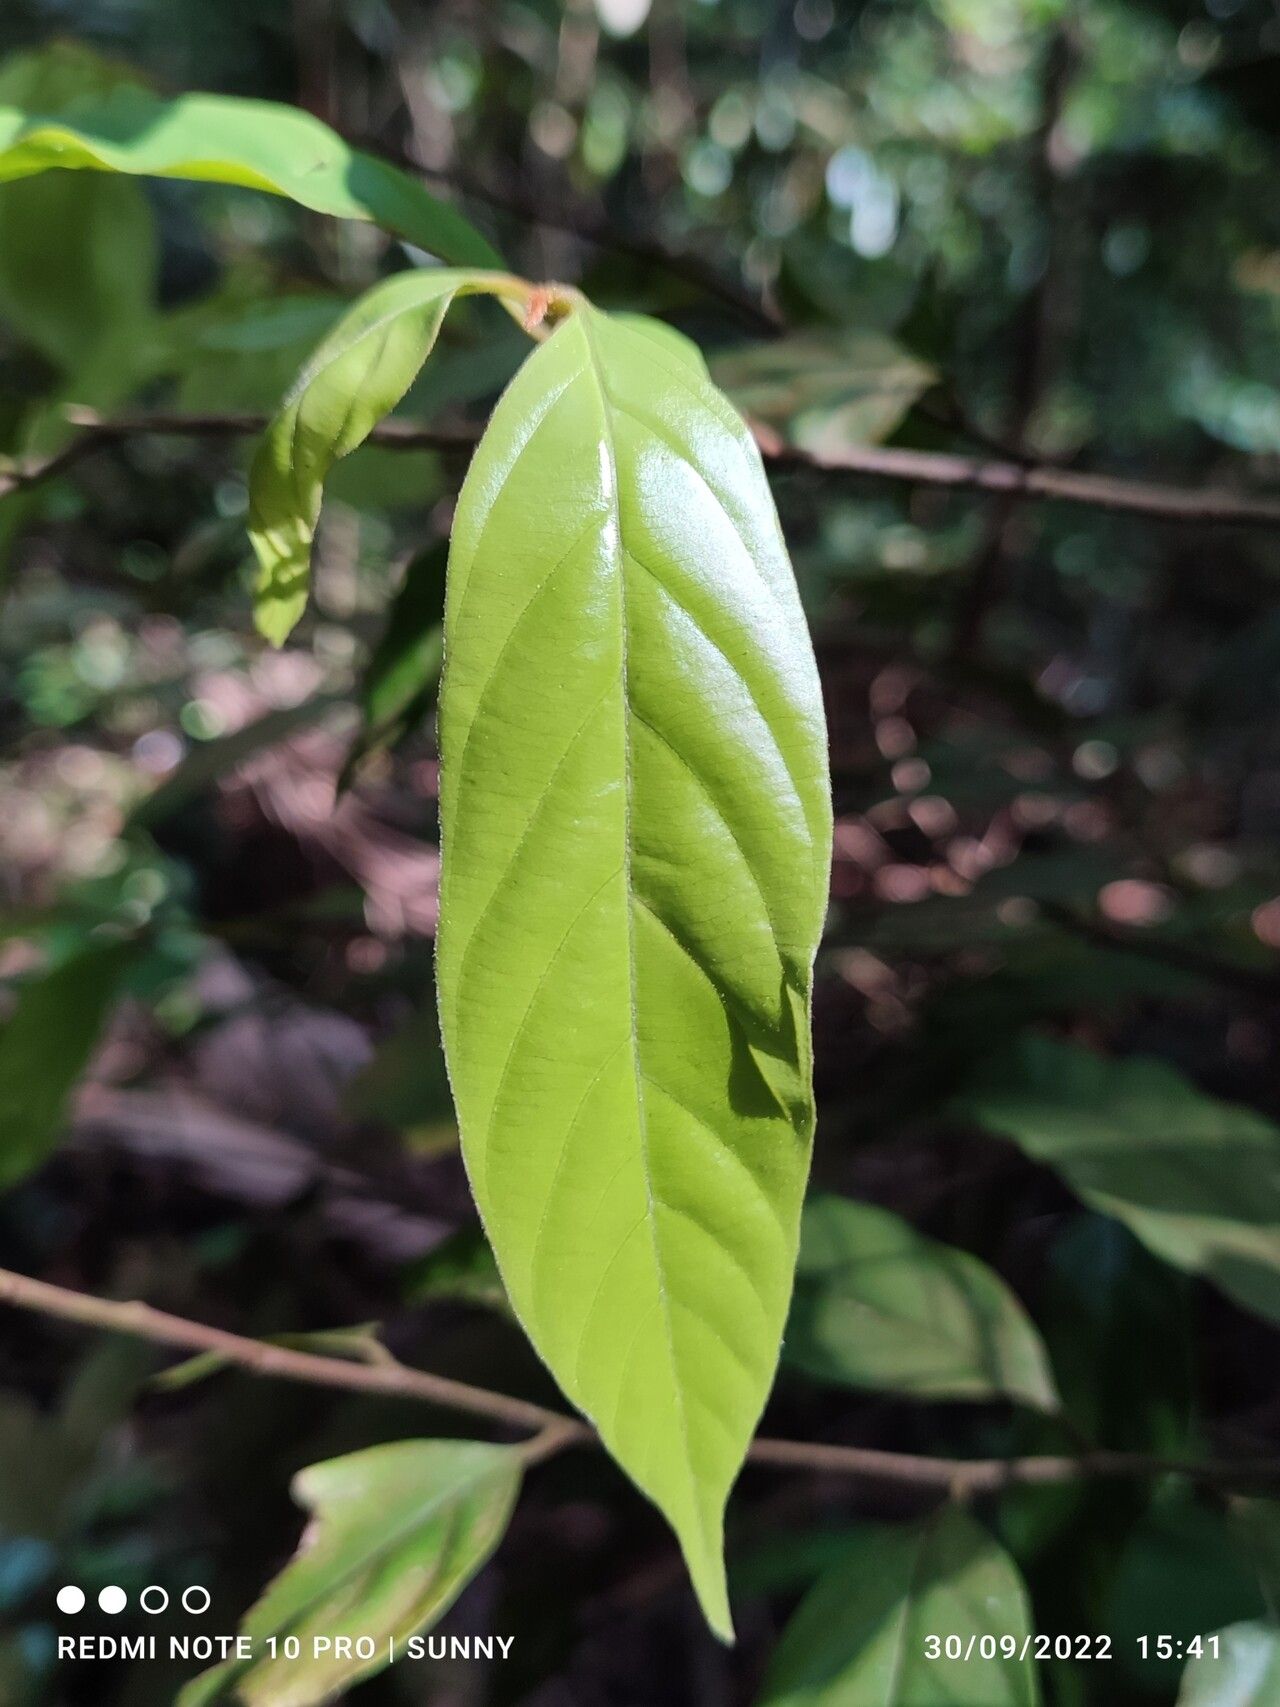
Oh, Phaeanthus ophthalmicus! What a truly delightful plant to bring into your garden. Those delicate, almost star-like blooms are such a treat, and their subtle fragrance is just heavenly on a warm evening. If you’ve ever admired this beauty and wished you had more of them, you’re in the right place. Propagating Phaeanthus ophthalmicus is a hugely rewarding experience. Now, I won’t lie to you, it’s not quite as straightforward as sticking a leaf in water for some plants, but with a little care and attention, you’ll be well on your way to success. It’s a wonderful project for anyone looking to stretch their gardening skills just a bit.
The Best Time to Start
For Phaeanthus ophthalmicus, I find that the spring, just as new growth is really taking off, is your golden ticket. You want to catch the plant in its active growing phase. This is when it has the most energy to put into developing those new roots. Waiting until after the main flush of spring growth has begun, but before the really hot summer weather sets in, is usually perfect. If you miss spring, early autumn can also work, but I’ve personally seen the best results with spring cuttings.
Supplies You’ll Need
To set yourself up for success, gather these essentials:
- Sharp, clean pruning shears or a craft knife: Sterilize them with rubbing alcohol before you start.
- Rooting hormone powder or gel: This is really helpful for encouraging root development.
- Well-draining potting mix: A good blend for us is equal parts perlite, peat moss, and coarse sand. You can also find specialized propagation mixes.
- Small pots or seed trays with drainage holes: Terracotta pots are excellent as they allow the soil to breathe a bit.
- A mister or spray bottle: For keeping things nice and humid.
- A plastic bag or propagation dome: To create a mini-greenhouse effect.
- Optional: Bottom heat mat: This can give cuttings a real boost.
Propagation Methods
The most reliable way I’ve found to propagate Phaeanthus ophthalmicus is through stem cuttings. Here’s how we’ll do it:
- Take your cuttings: Look for healthy, non-flowering stems from your established plant. You want to select pieces that are about 4-6 inches long and have at least two sets of leaves. Make a clean cut just below a leaf node (where a leaf attaches to the stem). This is where roots will most readily form.
- Prepare the cuttings: Gently remove the lower leaves from the cutting, leaving about two leaves at the top. This helps prevent rot and directs the plant’s energy towards rooting.
- Apply rooting hormone: Dip the cut end of the stem into your rooting hormone, tapping off any excess.
- Plant the cuttings: Fill your small pots with your prepared, moistened potting mix. Make a small hole with your finger or a pencil, and then insert the cutting. Gently firm the soil around the base of the stem.
- Create a humid environment: Water the soil lightly after planting. Then, cover the pot with a clear plastic bag or a propagation dome. You want to create a humid environment without the leaves touching the plastic if possible. If you don’t have a dome, you can use a plastic bag secured with a rubber band, propping it up with stakes if needed.
Another method, though sometimes a little trickier for Phaeanthus ophthalmicus, can be water propagation.
- Follow steps 1 and 2 above for taking and preparing your cuttings.
- Instead of potting mix, place your cuttings in a clean glass of room-temperature water.
- Crucially, ensure none of the leaves are submerged. Submerged leaves will rot, which can quickly kill your cutting.
- Place the glass in a warm spot with bright, indirect light. Change the water every few days to keep it fresh.
The “Secret Sauce” (Pro Tips)
- Bottom heat is your friend: If you have a heat mat, placing your pots on it can significantly speed up root formation. It mimics the warmth of spring soil, and the Phaeanthus ophthalmicus really loves it.
- Don’t overwater: While humidity is key, soggy soil is the enemy. Let the top inch of the potting mix dry out slightly between waterings. Root rot is a common culprit for failed propagations.
- Patience with the roots: When propagating from stem cuttings, I like to gently tug on a cutting after several weeks. If you feel a slight resistance, it usually means roots have formed. For water propagation, you’ll see the roots emerging from the stem. Don’t be disheartened if it takes a month or even longer!
Aftercare & Troubleshooting
Once you see signs of new growth on your cuttings – tiny leaves unfurling or roots emerging from the bottom of the pot – that’s a great sign! Gradually acclimate your new plant to normal room humidity by slowly opening the plastic bag or dome over a week or two. Continue to keep the soil consistently moist but not waterlogged.
If your cuttings wilt dramatically, turn mushy, or develop black spots, these are often signs of root rot. This usually happens from overwatering or a lack of air circulation. Unfortunately, if rot sets in, it’s often difficult to save the cutting. Sometimes, if you catch it early, you can try to salvage a healthy section and start again.
A Warm Encouraging Closing
Propagating plants is a journey, and like any gardening endeavor, it involves a bit of trial and error. Don’t be discouraged if your first attempt isn’t perfect. Each time you try, you learn something new. Be patient with your Phaeanthus ophthalmicus cuttings. Watching those tiny roots develop and seeing your new plant thrive is an incredibly satisfying feeling. So grab your shears, get your hands in the soil, and enjoy the magical process of bringing more beauty into your life! Happy propagating!
Resource: