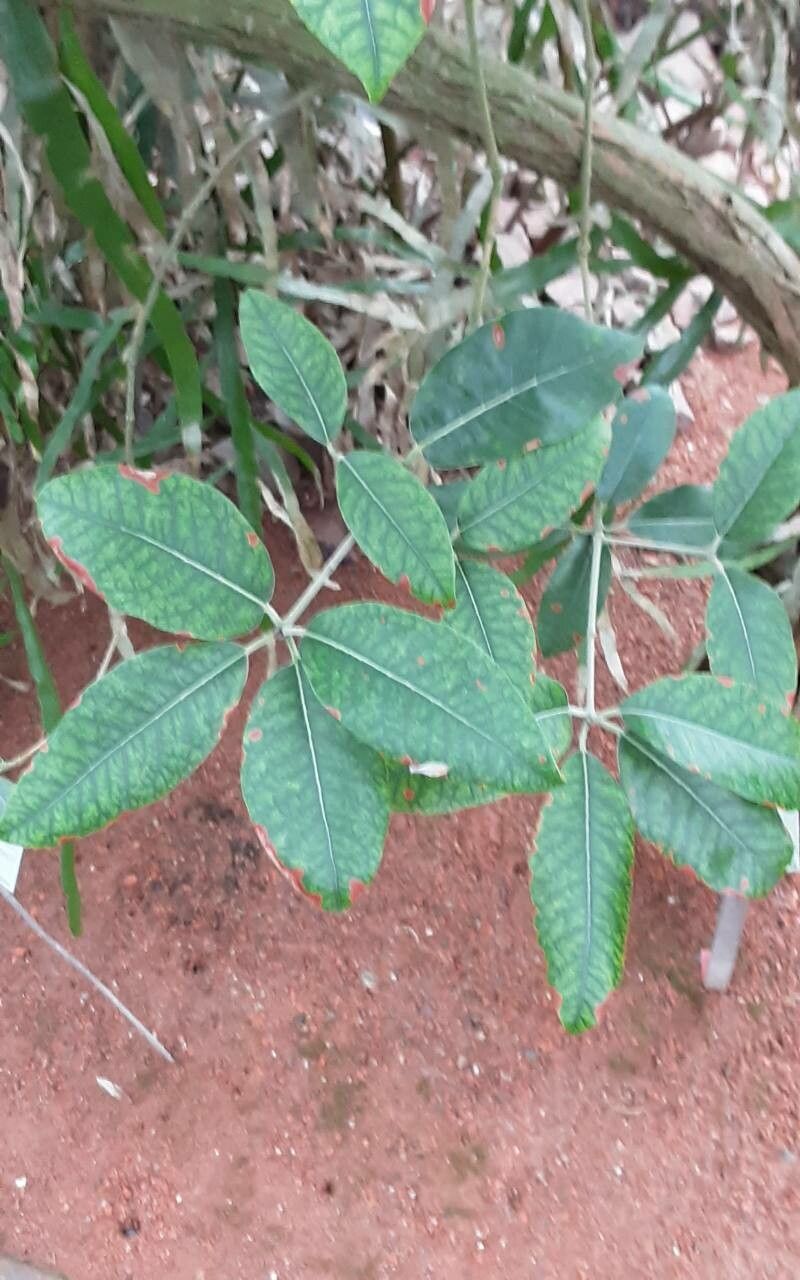
Hey there, fellow plant lovers! I’ve got a real treat for you today – something a little different, but absolutely worth the effort. We’re going to talk about Syncarpia glomulifera, often called the Turpentine Tree. Now, I know that name might sound a bit industrial, but trust me, this Australian native is a stunner. Its glossy, leathery leaves and the beautiful texture it brings to a garden make it a truly special find.
And the best part? Propagating it yourself is incredibly rewarding. Watching a tiny cutting transform into a robust new plant truly fills my heart with joy. Now, I won’t sugarcoat it – Syncarpia glomulifera can be a little bit of a challenge for absolute beginners. It’s not a “stick it in water and forget it” kind of plant. But with a bit of care and understanding, it’s definitely achievable, and I’m here to guide you every step of the way!
The Best Time to Start
When it comes to coaxing new life from your Turpentine Tree, spring is your golden ticket. Think of it as the plant’s natural awakening. The days are getting longer, the energy is surging, and that’s precisely when cuttings are most receptive to rooting. Aim for when the plant is actively growing, but before the intense heat of summer really kicks in. Late spring, when new shoots are forming, is perfect.
Supplies You’ll Need
Before we get our hands dirty, let’s gather our tools. Having everything ready makes the whole process smoother.
- Sharp, clean pruning shears or a knife: Sterilize them with rubbing alcohol to prevent disease.
- Rooting hormone: This isn’t strictly essential for every plant, but for Syncarpia glomulifera, it gives you a fantastic edge. Look for a powder or gel.
- A well-draining potting mix: I like a blend of equal parts perlite, fine bark, and a good quality seed-starting mix. You want something airy.
- Small pots or trays: Clean containers with drainage holes are a must.
- A clear plastic bag or propagtion dome: To create a humid environment.
- Watering can with a fine rose: For gentle watering.
Propagation Methods: Stem Cuttings
This is my go-to method for Syncarpia glomulifera. It’s reliable and gives you the best results.
- Select your parent plant: Choose a healthy, vigorous specimen. You want to take cuttings from young, semi-hardwood growth. This means the stem is starting to firm up but still has a bit of flexibility.
- Take your cuttings: Using your clean shears, cut stems that are about 4-6 inches long. Make your cut just below a leaf node (where a leaf attaches to the stem).
- Prepare the cuttings: Gently remove the lower leaves, leaving just a few at the very top. This reduces water loss and prevents leaves from rotting in the soil. If your leaves are very large, you can even cut them in half.
- Apply rooting hormone: Dip the cut end of each stem into your rooting hormone, tapping off any excess.
- Plant your cuttings: Make a small hole in your potting mix with a pencil or your finger. Insert the cutting about 1-2 inches deep, ensuring it makes good contact with the soil. Gently firm the soil around the base.
- Water gently: Water the soil thoroughly but avoid waterlogging.
- Create humidity: Cover the pot or tray with a clear plastic bag or a propagation dome. This traps moisture, which is crucial for the cuttings to root. Make sure the leaves aren’t touching the plastic if possible.
The “Secret Sauce” (Pro Tips)
Ah, the little pearls of wisdom that make all the difference!
- Bottom heat is your friend: If you have it, pop your potted cuttings on a heat mat set to around 70-75°F (21-24°C). This encourages root development from below, giving you a much higher success rate.
- Don’t be afraid to experiment with different cutting types: While semi-hardwood cuttings are usually best, I’ve had luck with slightly softer new growth in spring too. Keep an eye on your plants and see what works best for you.
- Fresh is best: Try to get your cuttings into their rooting medium as soon as possible after taking them. The longer they sit out, the more stress they endure.
Aftercare & Troubleshooting
Once your cuttings are potted and cozy, the waiting game begins. Keep them in a bright spot, but avoid direct, scorching sunlight. The humidity created by the plastic cover is key. Check the soil moisture regularly; it should be consistently moist, not soggy.
You’ll know your cuttings are rooting when you see new leaf growth or feel a slight resistance when you gently tug on the cutting. This can take anywhere from 4 to 12 weeks, so patience is vital!
The most common issue you might encounter is rot. This usually happens when the soil stays too wet or the humidity is too high with poor air circulation. If you see a cutting wilting and turning black or mushy, it’s likely rotted. Remove it immediately to prevent it from affecting others. A little bit of gentle airflow can help prevent this.
A Encouraging Closing
Propagating Syncarpia glomulifera is a journey, not a race. There might be a few failed attempts along the way, and that’s perfectly okay! Every gardener learns through experience. So, be patient, enjoy the process of nurturing these new little lives, and before you know it, you’ll have your very own Turpentine Trees to admire and share. Happy growing!
Resource:
https://identify.plantnet.org/k-world-flora/species/Syncarpia%20glomulifera%20(Sm.)%20Nied./data