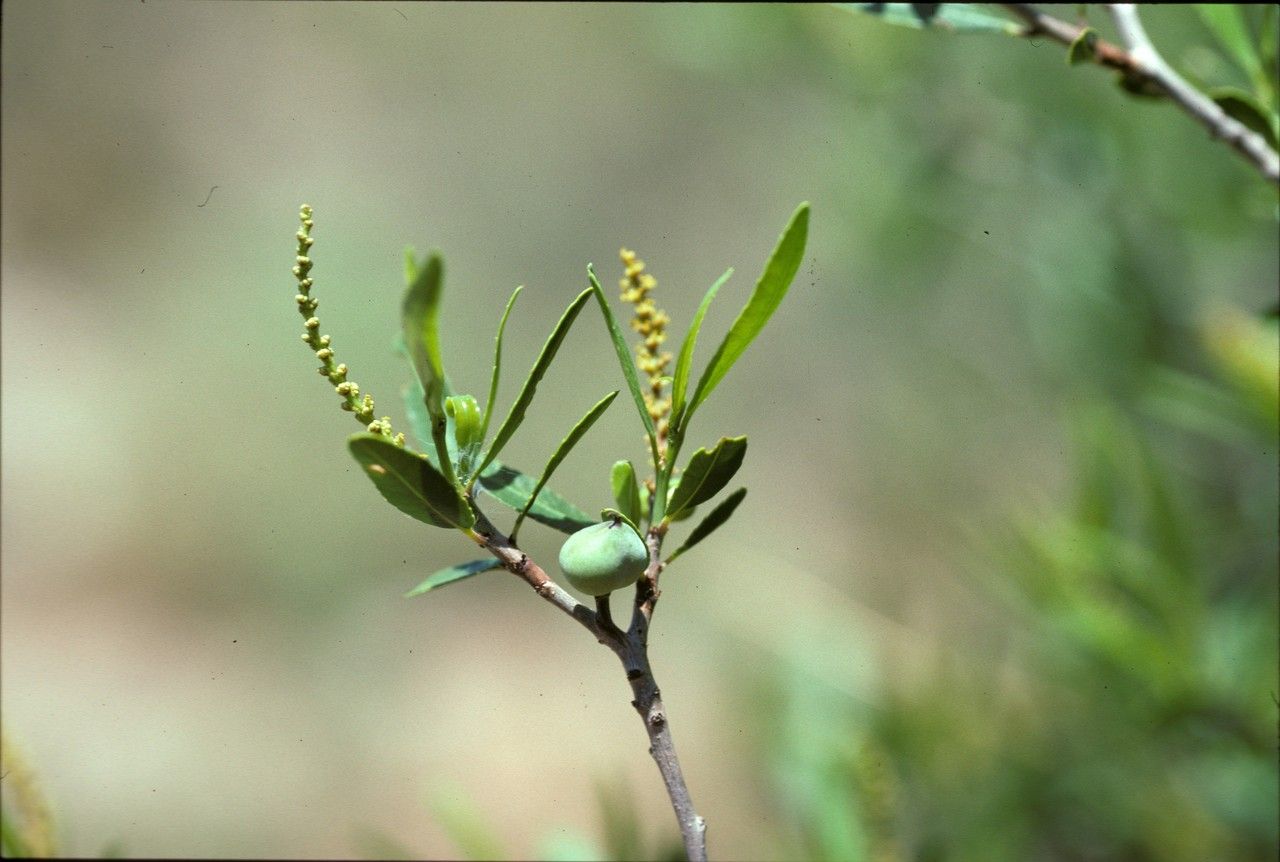
Ah, Pleradenophora bilocularis! What a handsome specimen. I can see why you’re drawn to this one. It’s got that lovely, slightly architectural look that can really elevate a shady corner or a bright windowsill. Propagating it yourself? That’s where the real magic happens. Not only do you get more of these beauties to share or fill your space, but there’s a deep satisfaction in nurturing a new life from a tiny piece of your existing plant. Now, for beginners, I’d say Pleradenophora bilocularis is in the manageable-to-moderately-challenging category. It’s not impossible, but it rewards a little extra attention.
The Best Time to Start
For the highest success rate with Pleradenophora bilocularis, I always aim for late spring or early summer. This is when the plant is in its most vigorous growth phase. Think of it like getting a head start on the year’s energy – those new shoots are full of life and ready to root. Waiting until after the plant has truly settled into its active growing season makes a world of difference.
Supplies You’ll Need
Here’s what I keep on hand when I’m propagating:
- Sharp, clean pruning shears or a hobby knife: Cleanliness is crucial to prevent disease.
- Rooting hormone (optional but helpful): A good quality powder or gel can give your cuttings an extra boost.
- Well-draining potting mix: I usually use a blend of equal parts coco coir, perlite, and a little bit of compost. You want it to be light and airy.
- Small pots or propagation trays: These should have drainage holes, of course.
- Plastic bag or humidity dome: To keep the humidity up around your cuttings.
- Spray bottle with water: For misting.
- (Optional) A heat mat: Especially if your propagation area tends to be on the cooler side.
Propagation Methods
Let’s get our hands dirty! For Pleradenophora bilocularis, stem cuttings are my go-to method. It’s straightforward and yields great results.
- Select Your Cuttings: Look for healthy, non-flowering stems that are at least 4-6 inches long. Make your cut just below a leaf node. This is the little bump where a leaf emerges from the stem; it’s where the magic of rooting tends to happen.
- Prepare the Cuttings: Gently remove the lower leaves from the cutting. You want to expose at least two leaf nodes that will be below the soil line. If the leaves are very large, I sometimes carefully trim them in half to reduce water loss through transpiration.
- Apply Rooting Hormone (Optional): Dip the cut end of the stem into your rooting hormone, tapping off any excess.
- Plant Your Cuttings: Fill your small pots or trays with your prepared potting mix. Moisten the mix thoroughly. Make a small hole with your finger or a pencil and insert the prepared cutting, ensuring at least one or two leaf nodes are buried in the soil.
- Provide a Humid Environment: Water the soil gently. Now, this is important: cover the pot with a clear plastic bag or a humidity dome. This traps moisture and creates a mini-greenhouse. You can prop the bag up with a few small stakes so it doesn’t touch the leaves. If you don’t have a dome, a clear plastic grocery bag works in a pinch.
- Placement: Place your cuttings in a bright spot but out of direct sunlight. Too much sun will scorch them before they have a chance to root.
The “Secret Sauce”
Here are a couple of things I’ve learned over the years that often make the difference:
- Don’t Overwater the Soil Initially: While you want the soil to be moist, waterlogged soil is a death sentence for cuttings. It encourages rot before roots can even form. Let the surface of the soil dry out slightly between waterings, but the inside should remain consistently moist.
- Bottom Heat is Your Friend: If you’re struggling with rooting times or live in a cooler climate, a gentle heat mat placed under the propagation tray can significantly speed up the root development. Many plants, including Pleradenophora bilocularis, much prefer a bit of warmth from below to encourage those roots to sprout.
Aftercare & Troubleshooting
Once you start seeing new leaf growth on your cuttings (this is your big clue that roots are forming!), you can gradually start to acclimate them to normal humidity. Carefully lift the plastic bag for a few hours a day, increasing the time over a week or two. Then, you can remove it entirely.
Water regularly, allowing the top inch of soil to dry out between waterings. Treat them as you would a young, established plant.
What if things go wrong? The most common culprit is rot. If your cutting turns mushy, black, or smells unpleasant, it’s likely rotted. This usually stems from too much moisture and not enough air circulation. If you see a small bit of rot, you might be able to salvage it by cutting away the affected part and replanting in fresh, drier soil, but often it’s best to start again. Another sign of failure is wilting that doesn’t recover even after watering, which can indicate that the cutting hasn’t rooted and is simply drying out.
A Little Patience Goes a Long Way
Propagating plants is a journey, and Pleradenophora bilocularis is no exception. Be patient with your little ones. It might take several weeks, or even a couple of months, to see significant root development. Celebrate every tiny new leaf, every hint of green. Enjoy the process, the learning, and the reward of creating new life. Happy propagating!
Resource: